Contents
Why Should You Record a Webinar?
Step 1: Download the Screen Recording Software
Step 2: Pin the Plug-In to Your Browser
Step 3: Customize Your Preferences for Your Recording
Step 4: Edit and Download The Webinar Recording
Step 5: Share your Recording Effectively
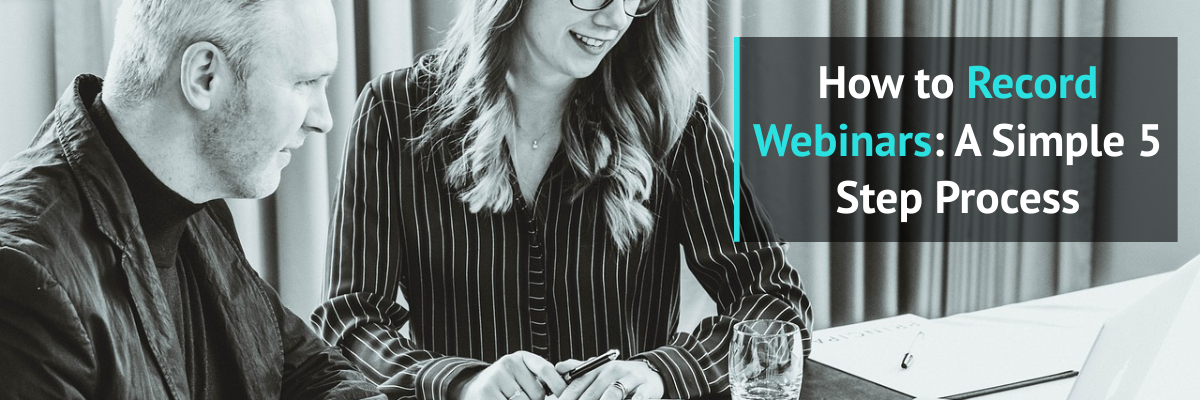
How to Record Webinars: A Simple 5-Step Process (2025)
Went to record virtual events?
Online classes, Virtual Meetings, and Webinars became widely popular. As a result, video conferencing SaaS platforms such as Zoom, WebEx, and GoToMeeting gained a lot of traction!
Among these, webinars became one of the most commonly used mediums to help businesses present information to users.
Webinars are actively used by marketers, businesses, and coaches to present, engage, educate, and convert their audience into successful customers. In fact, according to a report by BrightTALK, more than 80% of professionals chose webinars as their favorite video-based learning format.
That's why more than 53% of marketers choose webinars in their funnel marketing strategies. It also helps them generate high-quality leads.
As more and more marketers, businesses, and individual brands look for ways to educate their customers via webinars, there are a few challenges both webinar hosts and participants face.
One of them is not knowing how to record webinars.
Irrespective of whether you're a host or a participant, recording webinars can be a headache at times.
To be able to record videos in popular teleconferencing platforms such as Zoom, WebEx, and GoToMeeting, the participants either require access from the host or require an upgrade to a premium account.
On other platforms like Google Meet, there isn't any option available to record the virtual webinar sessions.
Why Should You Record a Webinar?
Recording a webinar will be useful for both hosts and participants.
For hosts, recording webinars will prove to be useful as it helps them edit the mistakes in a pre-recorded webinar. It also helps them reach out to registrants with a re-play link of the recorded webinar session. On average, only 40% to 50% of the registered participants usually attend the live webinar. Others either don't watch it or prefer to watch it at their own convenient time.
If a participant finds the webinar insightful and if he/she prefers to re-watch it, learning how to record webinars will prove to be beneficial.
That's why today we are going to help you learn how to record webinars in one of the easiest ways possible.
How to Record Webinars on PC?
In order to record a webinar, you will need the help of an external screen recording software. There are so many screen recording platforms available online. Choosing the best software is important as it ensures you have a hassle-free video recording experience.
Some user-friendly screen recorders available online are,
In this step-by-step guide, you will learn how to record webinars easily in 5 simple steps.
We take you through this guide with the help of Vmaker as it is one of the most user-friendly screen recorders available online. Its free version allows you to record across various tabs allowing you to customize your recording according to your own requirements.
- You can choose to record your screen alone, or
- Choose to record via your webcam alone, or
- Go ahead and turn both your screen and your webcam on for the recording.
As an additional bonus, you will also be able to cancel the background noises in the recording for free. It also helps you store your recordings with an unlimited cloud storage option.
Step 1: Download the Screen Recording Software
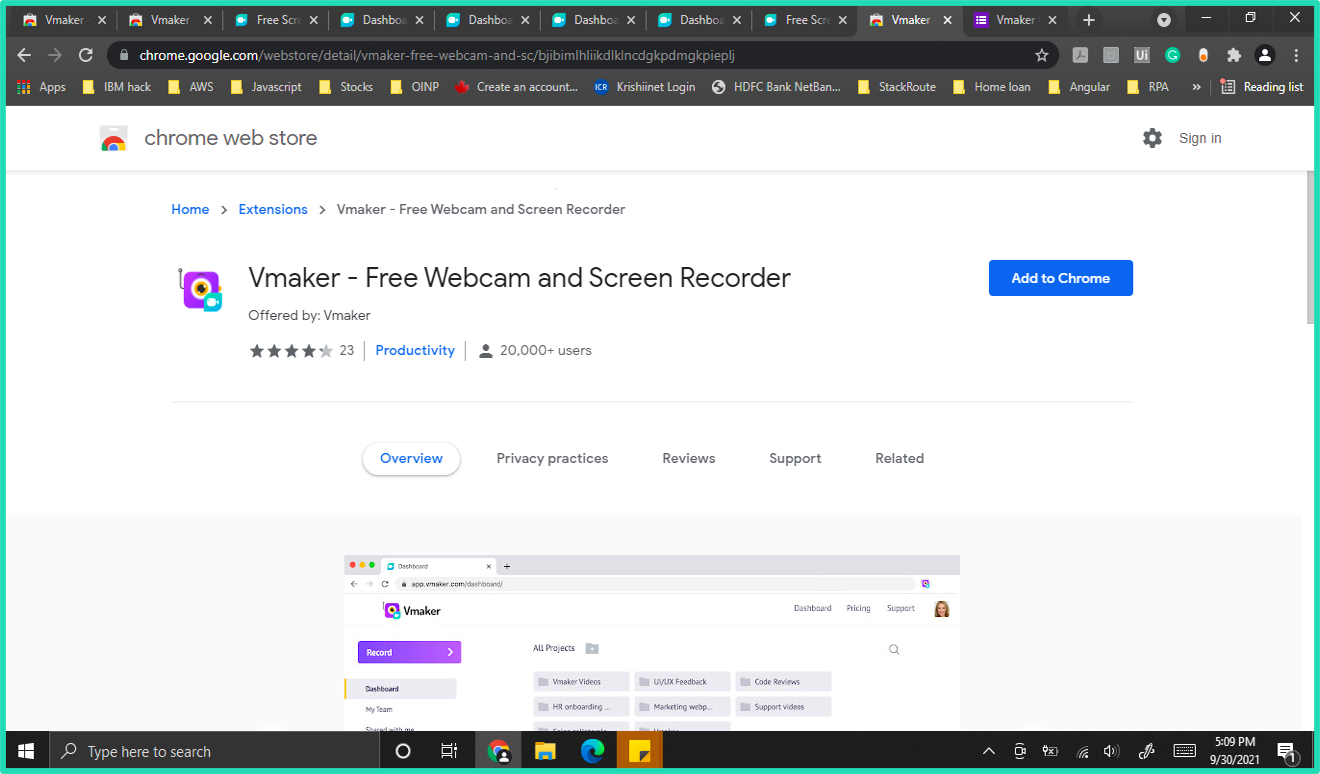
Start by downloading the screen recording software. You have two options to download Vmaker. You can either choose to download it via the ‘Chrome Web Store’ or Vmaker Screen Recorder for Windows or Mac Screen Recorder.
Here, we will be taking you through the Chrome Web Store option.
- Search for “Vmaker” in the search bar.
- Add the plug-in to your chrome browser by clicking the “Add to Chrome” tab.
Step 2: Pin the Plug-In to Your Browser

Vmaker allows you to switch windows and helps you record any number of videos for free. You no longer need to worry about seeking permission from webinar hosts to record webinars!
- After adding the plug-in, you can pin the plug-in to your browser by clicking on the pin option. Now, you are free to access the Vmaker screen recording software by simply clicking on the plug-in.
- Click on the Vmaker plug-in and you will be directed to the Vmaker dashboard that looks like this.
Step 3: Customize Your Preferences for Your Recording
You can customize your preferences for your recording now. Vmaker has a ton of features available for free users and premium users. Make sure you make good use of it. Some of the remarkable features available for users are,
- Download option to download your recording,
- Access to a built-in video editor for free,
- A sharable link that helps you share your recording across various platforms,
- A Noise cancellation feature,
- A Scheduling feature to schedule the webinar recording,
- Access to record screen, webcam, or both screen + webcam,
- Allows you to add your name under your profile on your webcam recording, and
- Helps connect to external microphones.
Now that you are aware of the wide variety of choices available, learn how to customize your preferences to start recording the webinar.
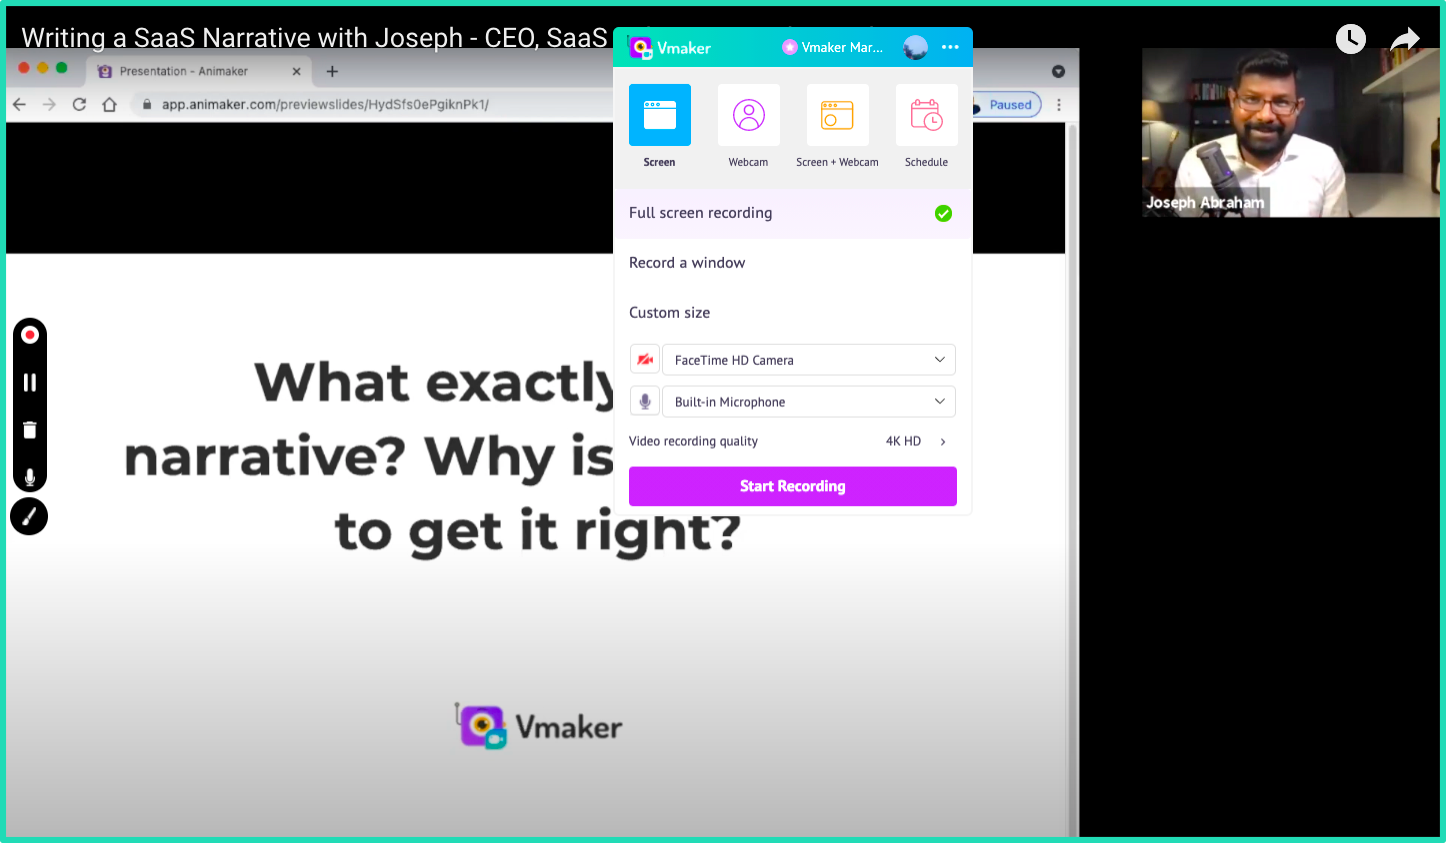
- Once you’re in the Vmaker Dashboard, click on the “Record Tab”.
- Click on the horizontal dot-matrix icon and select ‘Preferences’ to customize your preferences.
- After customizing your preferences according to your personal needs, click on the “Start Recording” tab.
- Choose the windows or tabs you’d like to record and select “Share”.
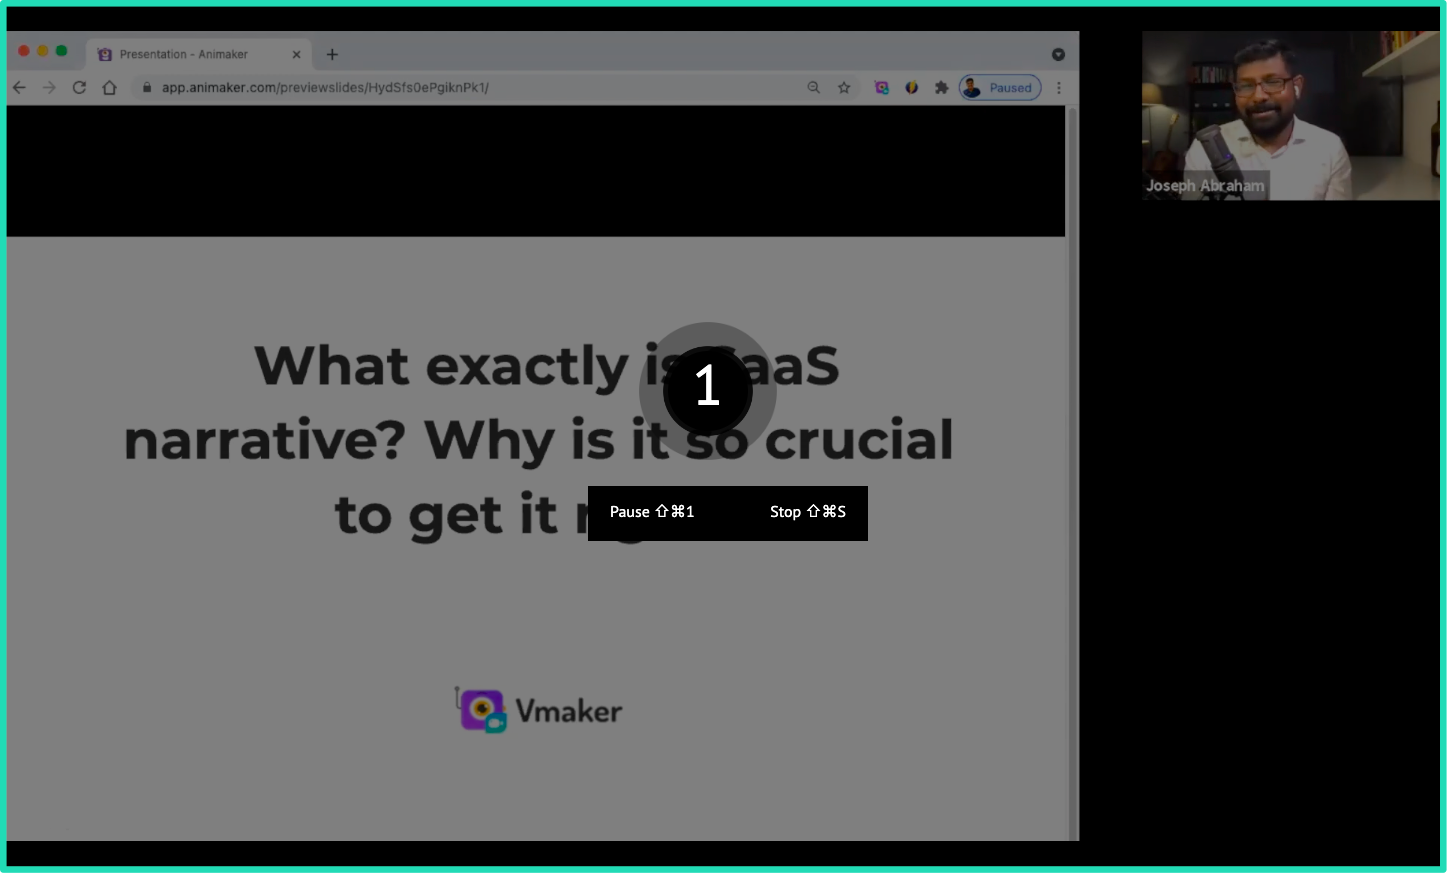
- The timer starts, indicating you to prepare for the webinar.
- When you are done recording your webinar, click on the “Stop Recording” option to stop the recording.
- Now, you can change the name of your webinar recording by clicking on the pencil icon that appears while you hover on top of the name.
Step 4: Edit and Download The Webinar Recording
If you did a perfect job recording the webinar, you can go ahead and download the webinar using the ‘Download’ option.
But, if you’d like to edit your webinar recording, you can choose our AI Video editor to edit your webinar.
Vmaker AI is the world's first-ever AI video editor to automate the creative part of video editing. Upload your raw footage and let AI create a publish-ready video for you in just one click.
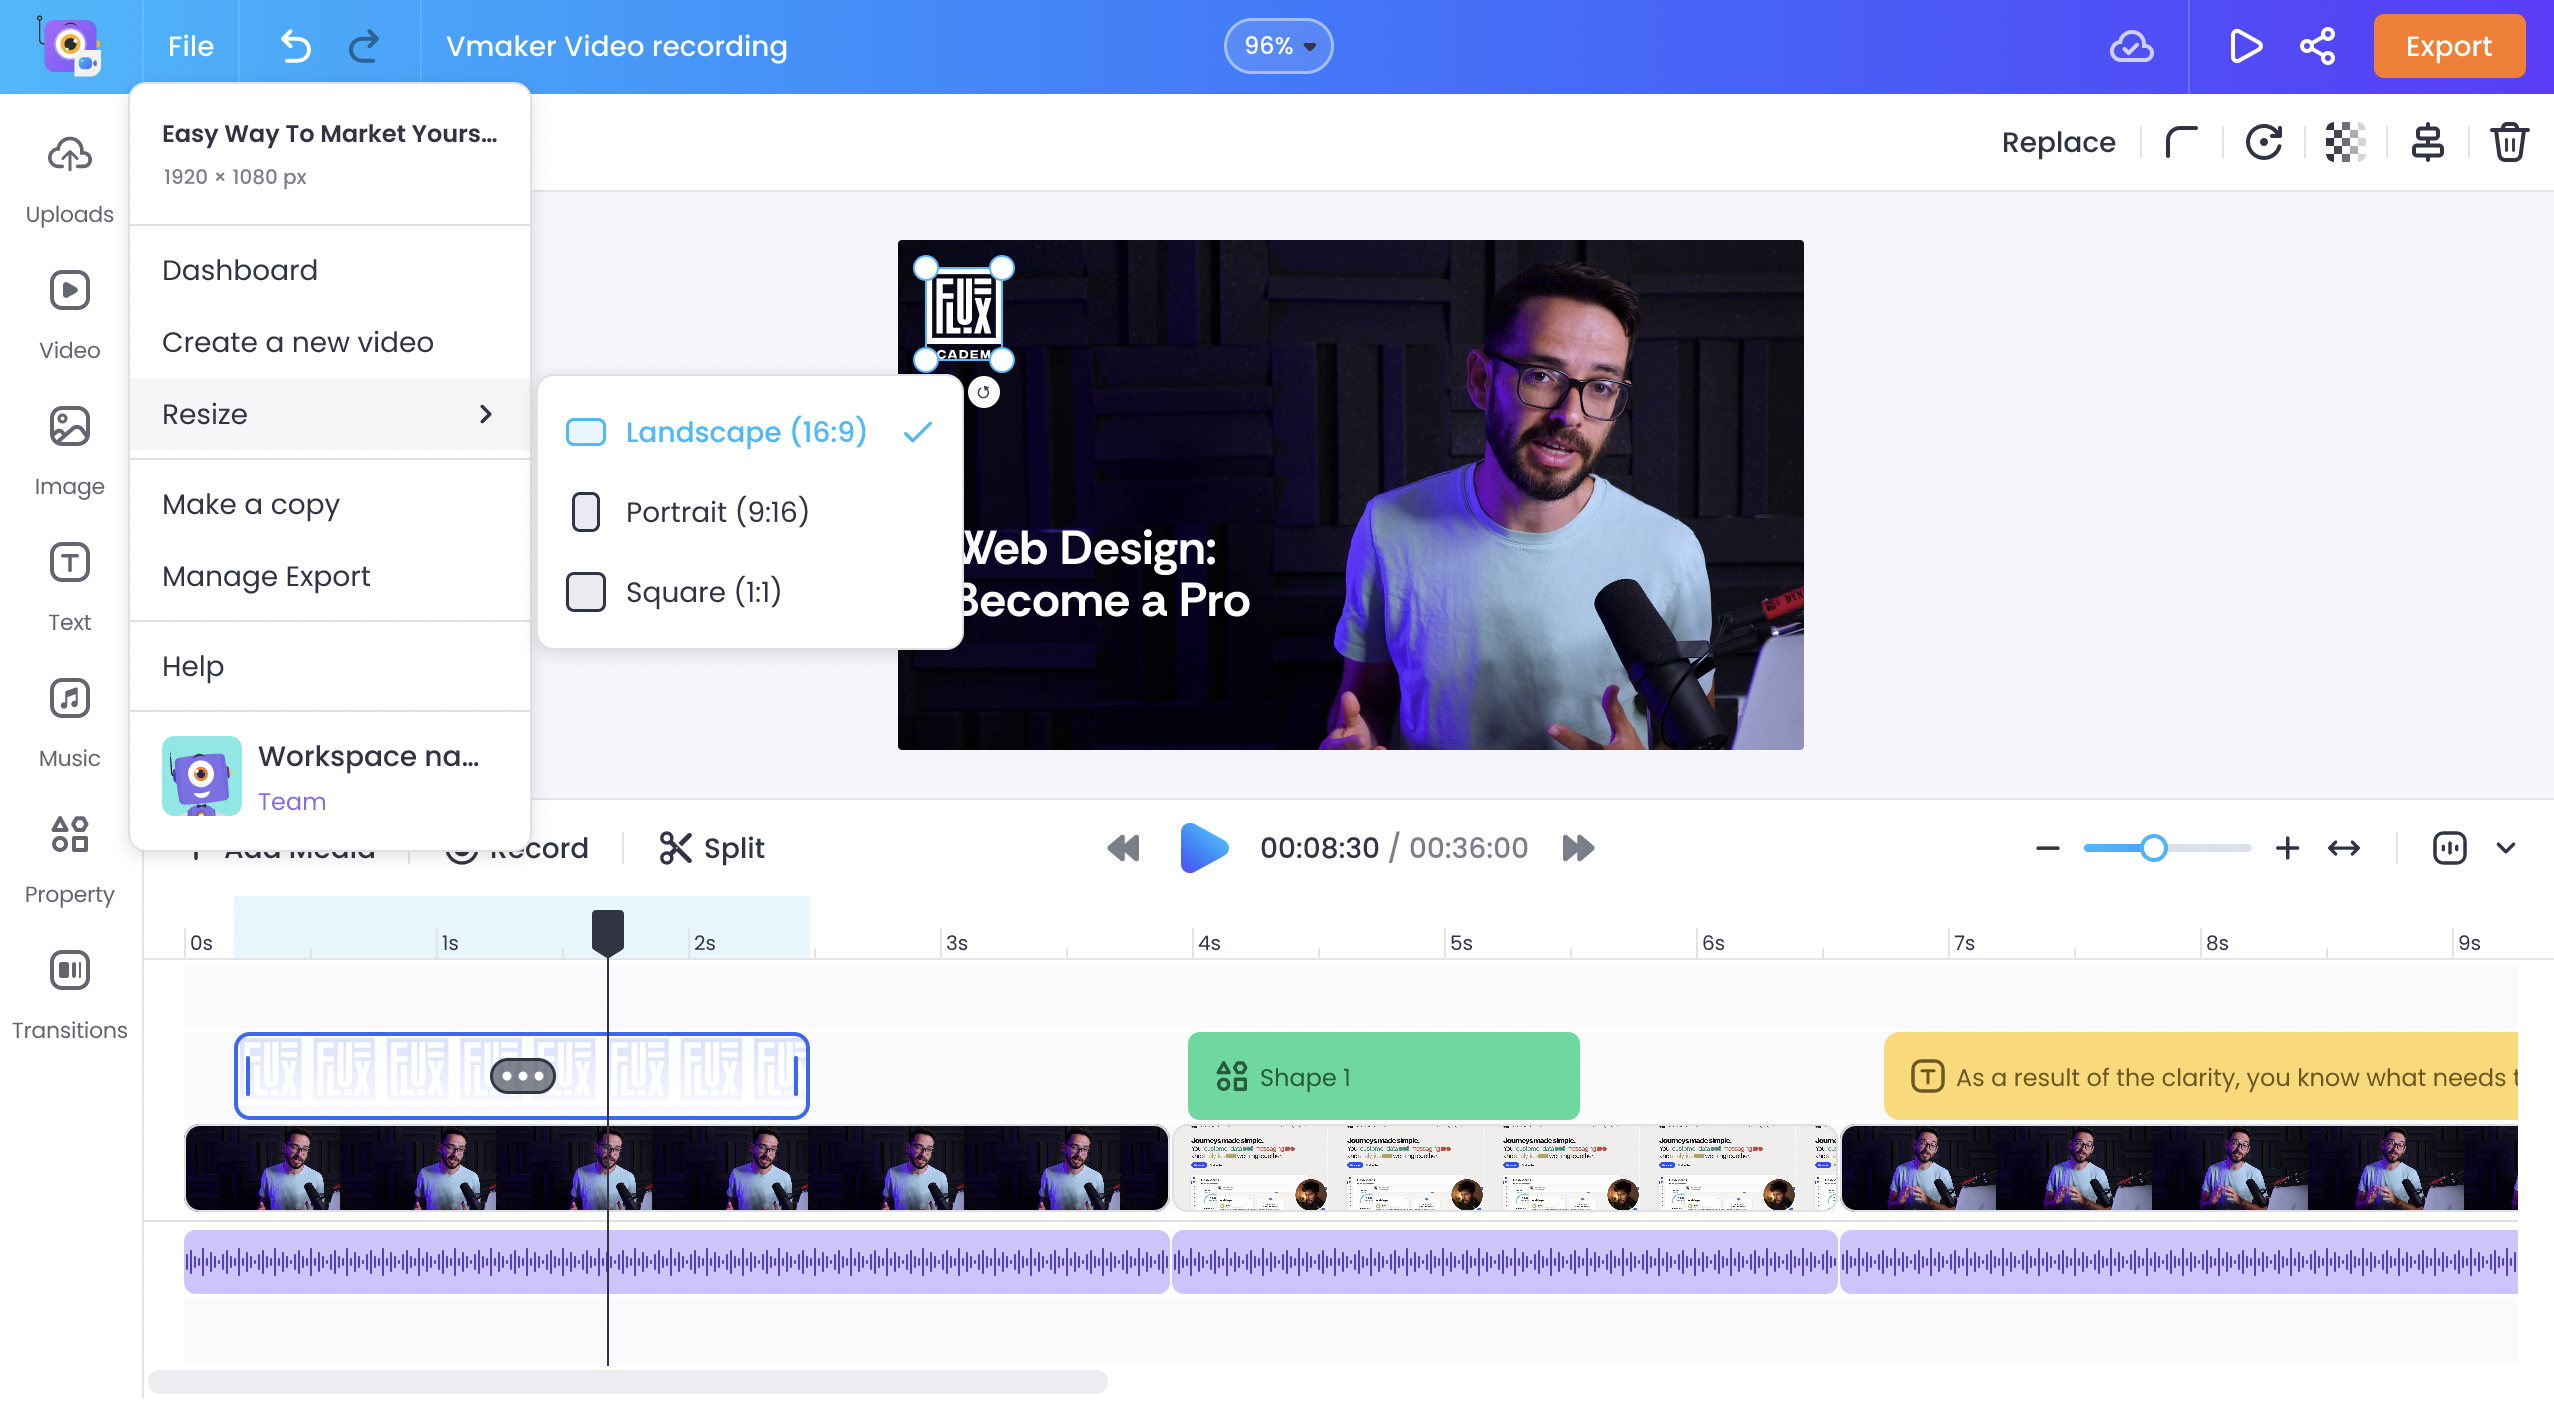
With Vmaker AI, you can turn your long webinar video into short clips and repurpose them as YouTube shorts, Instagram reels, and TikTok videos. Also, add subtitles in 35+ languages to your webinar video.
Vmaker AI includes video cutter, video merger, video resize, add text to video, add video to video, filters, color correction, noise removal, video cropper, video speed changer, and audio enhancer to edit your webinar video to perfection after AI has done its magic.
Step 5: Share your Recording Effectively
That’s it. You’re done.
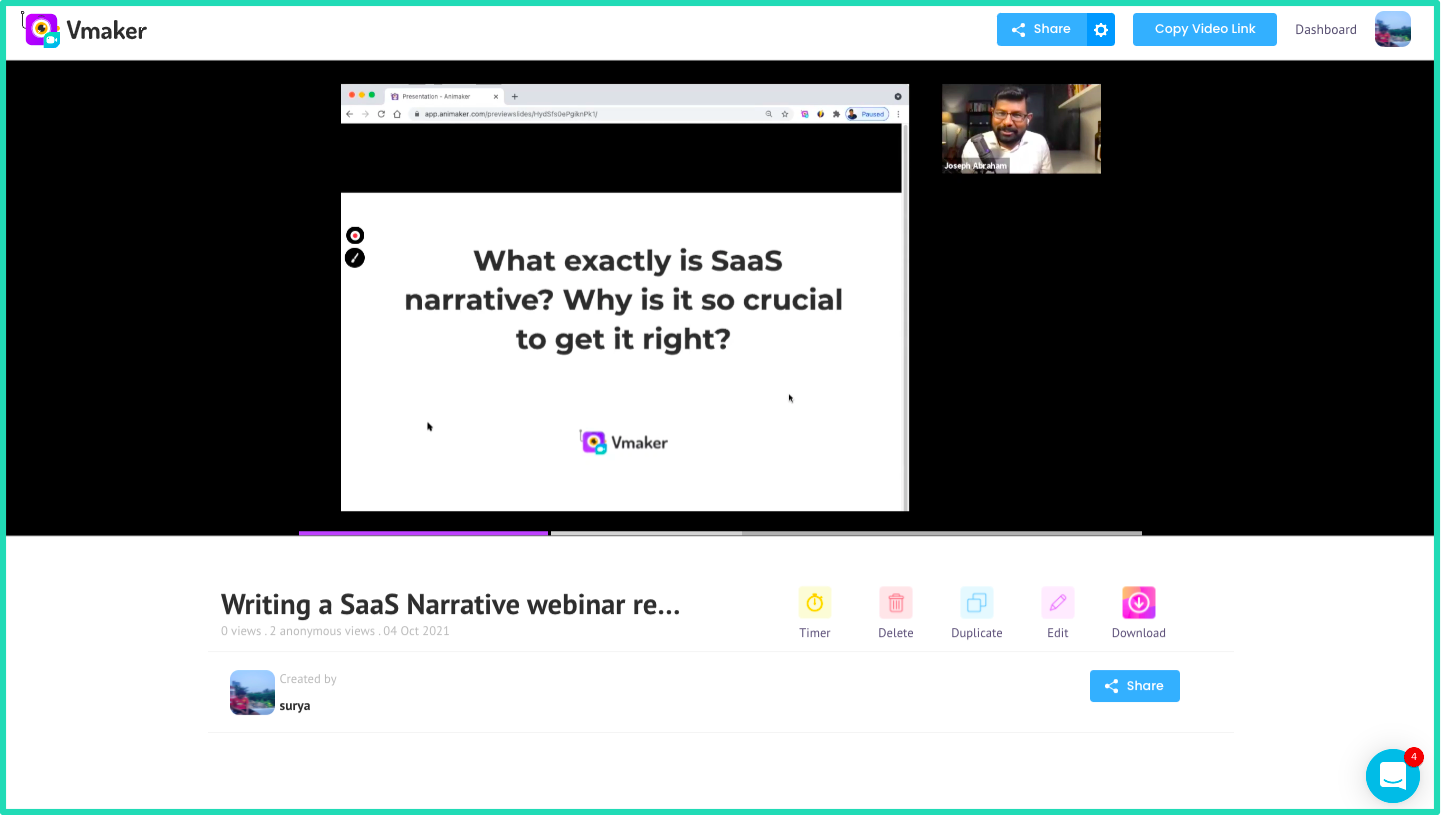
Now, you can download, embed the video, and share or copy the link to your desired locations. The recorded webinars will also be saved in your Vmaker dashboard for your future reference. You can share the link via various networking platforms by clicking on the ‘Share’ option.
Here's the webinar recording that was done using Vmaker and uploaded directly on YouTube.
If you are someone who is recording for your marketing needs, make sure you promote the webinars effectively across various networking platforms.
We recommend you share your webinars in the following places.
- Marketing Emails
- Website Landing Pages
- Blog posts
- Social media networks such as Twitter, Facebook, Instagram, and LinkedIn (Try to search where your ideal target is active and select those platforms for wider reach).
- Try collaborating with other influencers in your niche and promote both your webinar launches simultaneously. This is an effective marketing technique for both brands as both parties benefit from growing their audience. If you are planning to collaborate, you can find influencers by scraping Google with a web scraping API and choosing the appropriate ones for you.
- You can also use the webinar to attract users to your website. Try attracting visitors by providing a free webinar in exchange for their email addresses. Once they register for the webinar, you can slowly nurture them and convert them into customers. It also acts as an effective way of educating your registrants about your brand.
Bonus Tips:
- Recording webinars on your computer might affect the overall performance of your computer at times. To avoid this, make sure you close all the other applications on your computer.
- To create and record compelling webinars, we recommend you run a few test runs. These practice sessions will prepare you before your real live webinar session.
- Remember to gain practice in editing as well. You can use our very own AI Video editor.
What more are you waiting for?
Now that you know how to record webinars successfully, and have mastered other aspects such as editing and marketing as well, go ahead and start recording your webinars using Vmaker's free webinar recorder.