Contents
Part 1: Adjusting your video settings
Part 2: Recording the gameplay
Part 3: Personalising the gameplay and uploading to YouTube (no capture card needed)
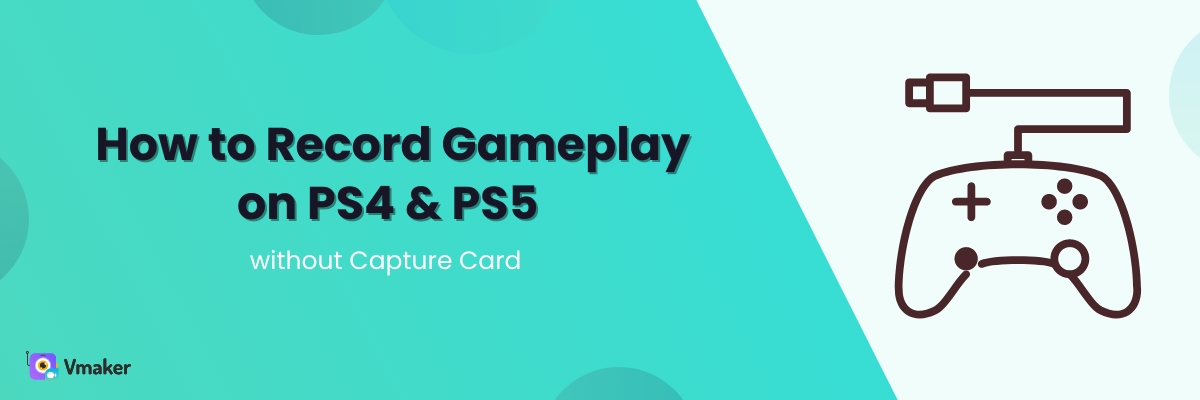
How to Record Gameplay on PS4 & PS5 without Capture Card
For an avid gamer, gameplay videos serve more than one purpose.
You can record your own gameplay to share your moves and learnings. You can watch other creators to pick up tactics. Or both.
Either way, gameplay videos are growing fast. If you are a gamer who has been thinking about creating content, this is a strong time to start.
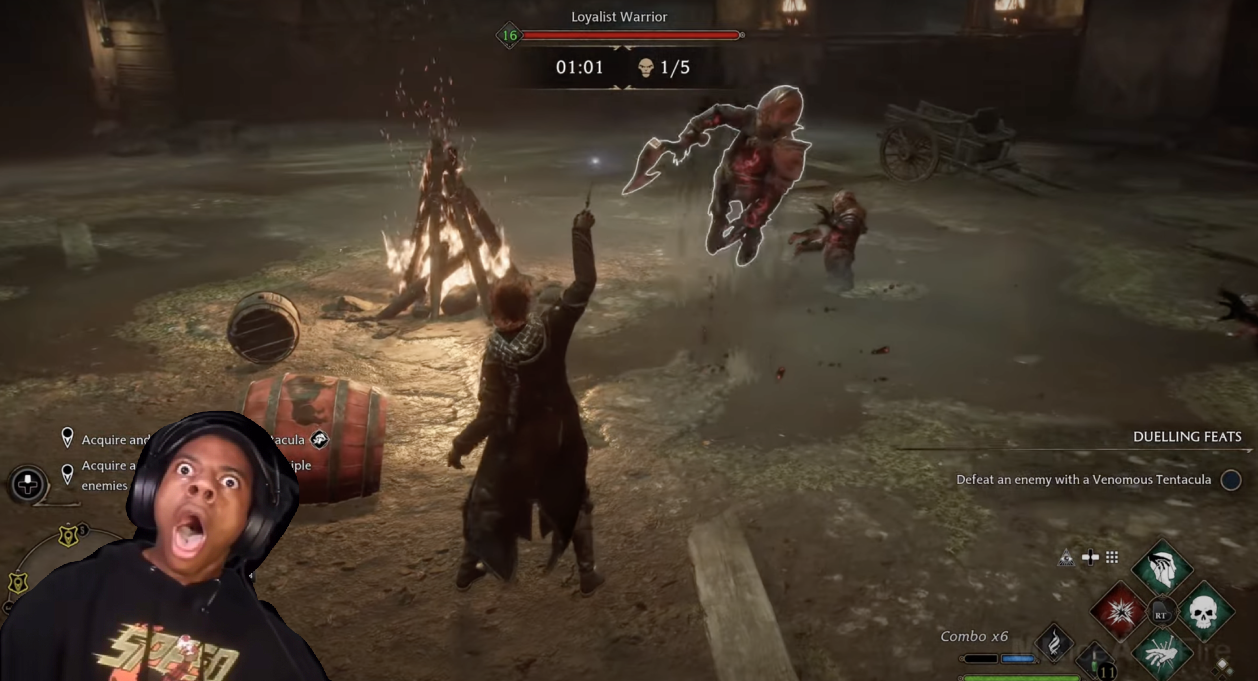
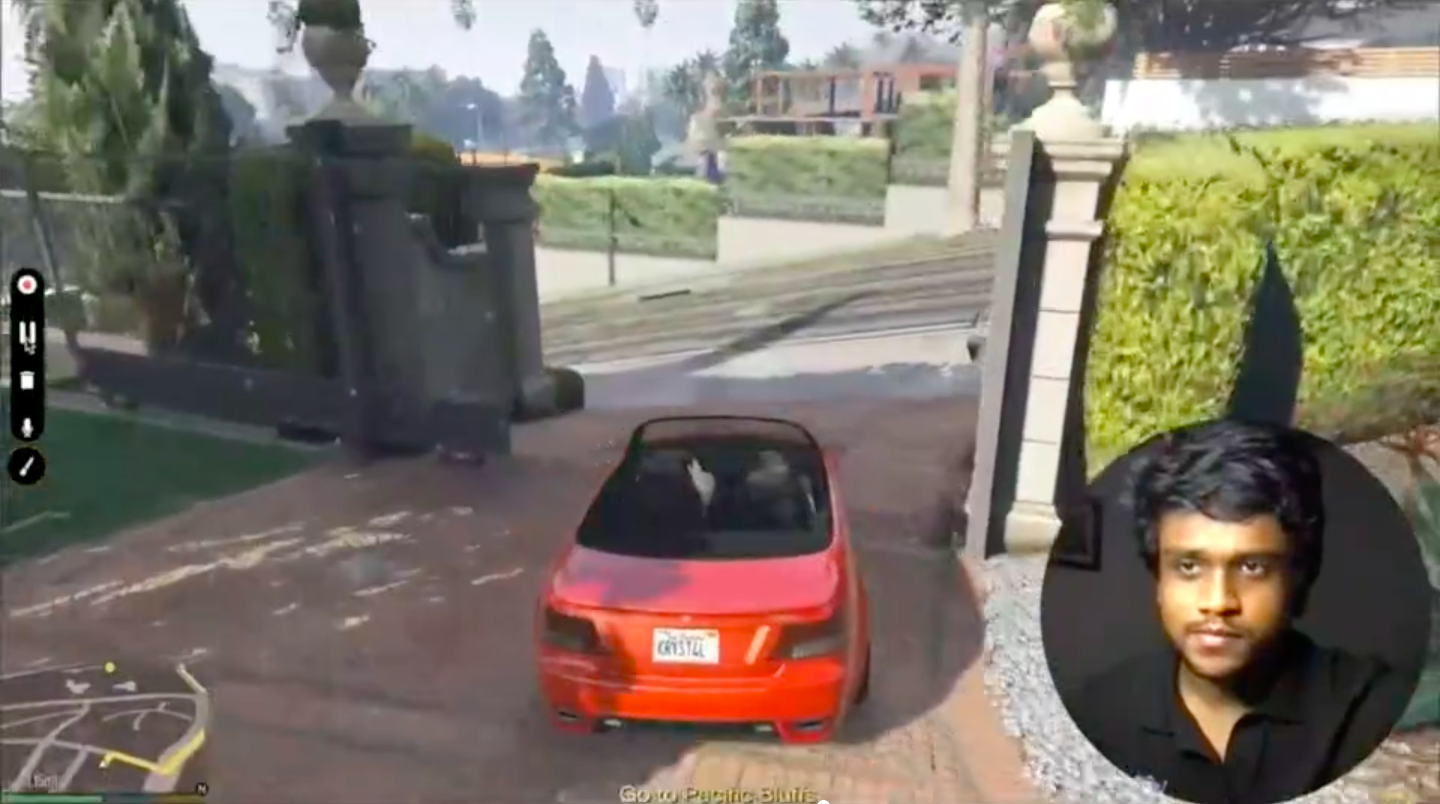
This guide covers how to record and share gameplay videos on YouTube without a capture card, and how to make those recordings personal. The kind of content Vikkstar and IShowSpeed make: gameplay screen, webcam, gameplay audio, and your voice-over, all stitched together.
Gaming on YouTube has crossed 100 billion watch hours, with 40 million+ active gaming channels and tens of thousands of creators crossing the 100,000 subscriber mark every year. The audience is enormous, and there is room for more creators, especially ones with personal flair on top of their gameplay.
How to record gameplay videos and personalise them with webcam and audio: here is the breakdown.
Three parts:
- Adjusting your video settings
- Recording the gameplay
- Personalising the gameplay and uploading to YouTube
Part 1: Adjusting your video settings
Step 1: Turn on your PlayStation console. Make sure your controller is paired.
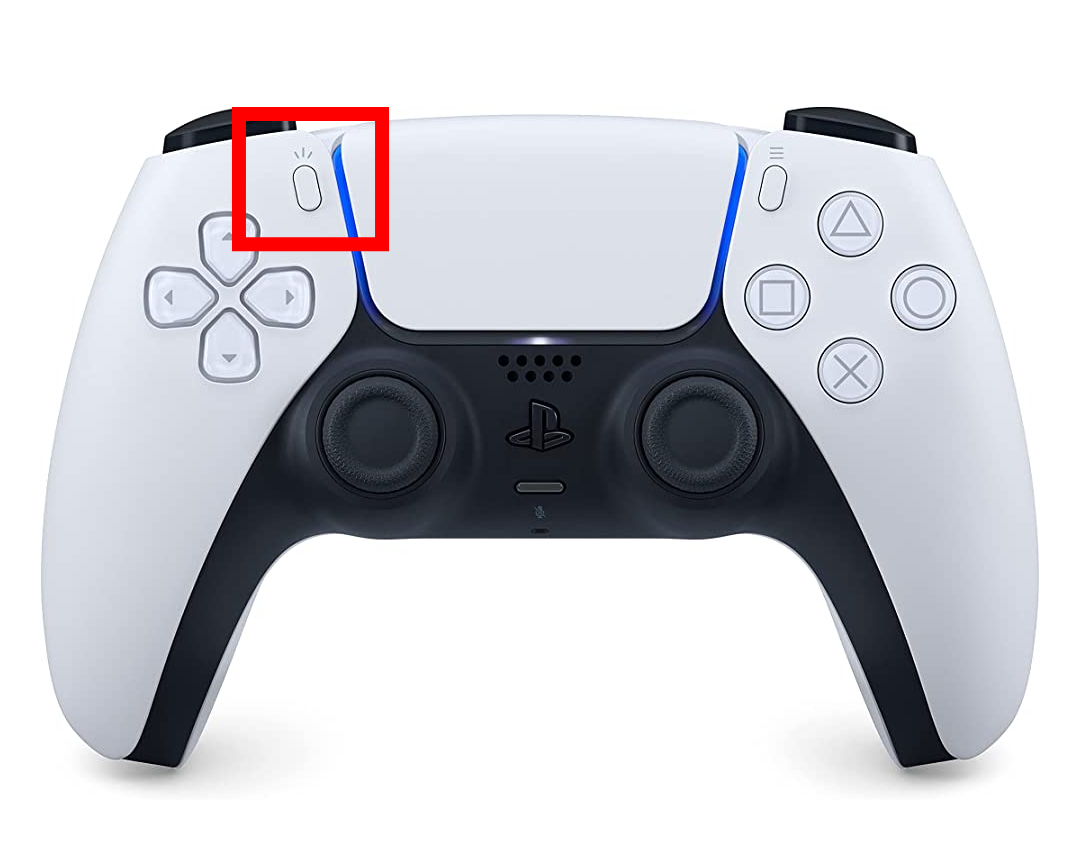
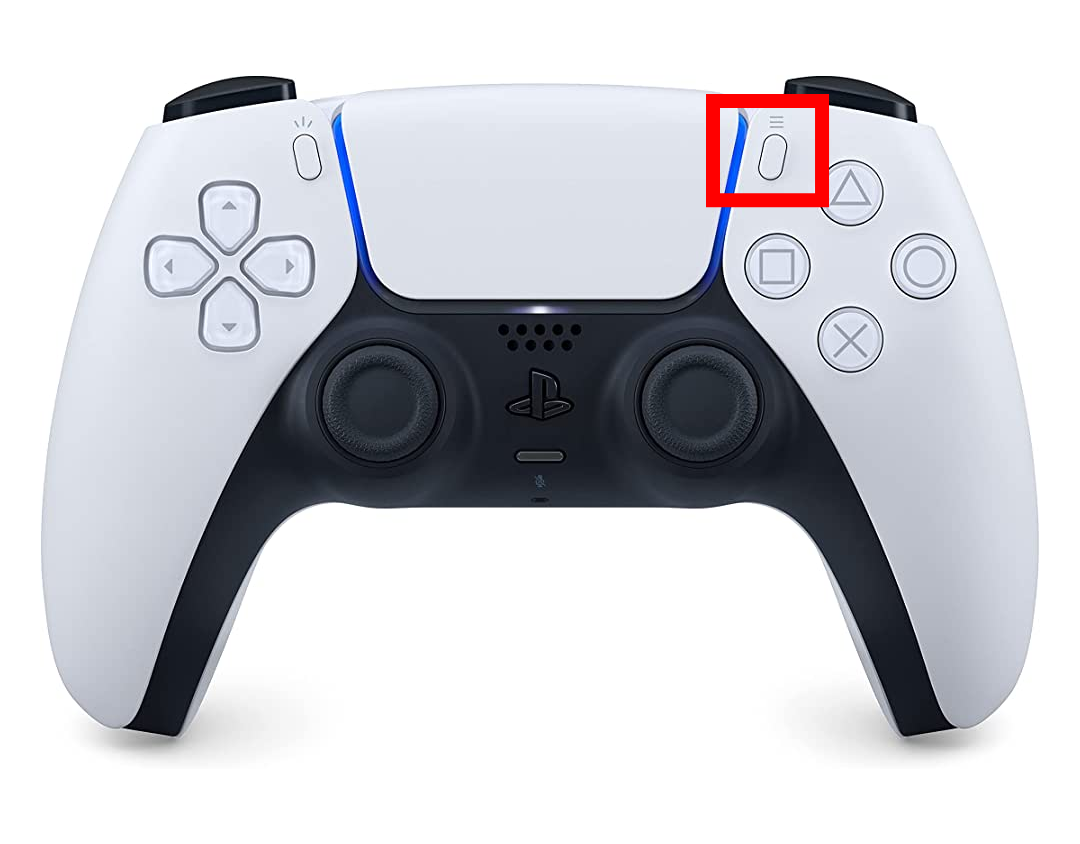
Step 2: Press the Share button on your controller to open video settings.
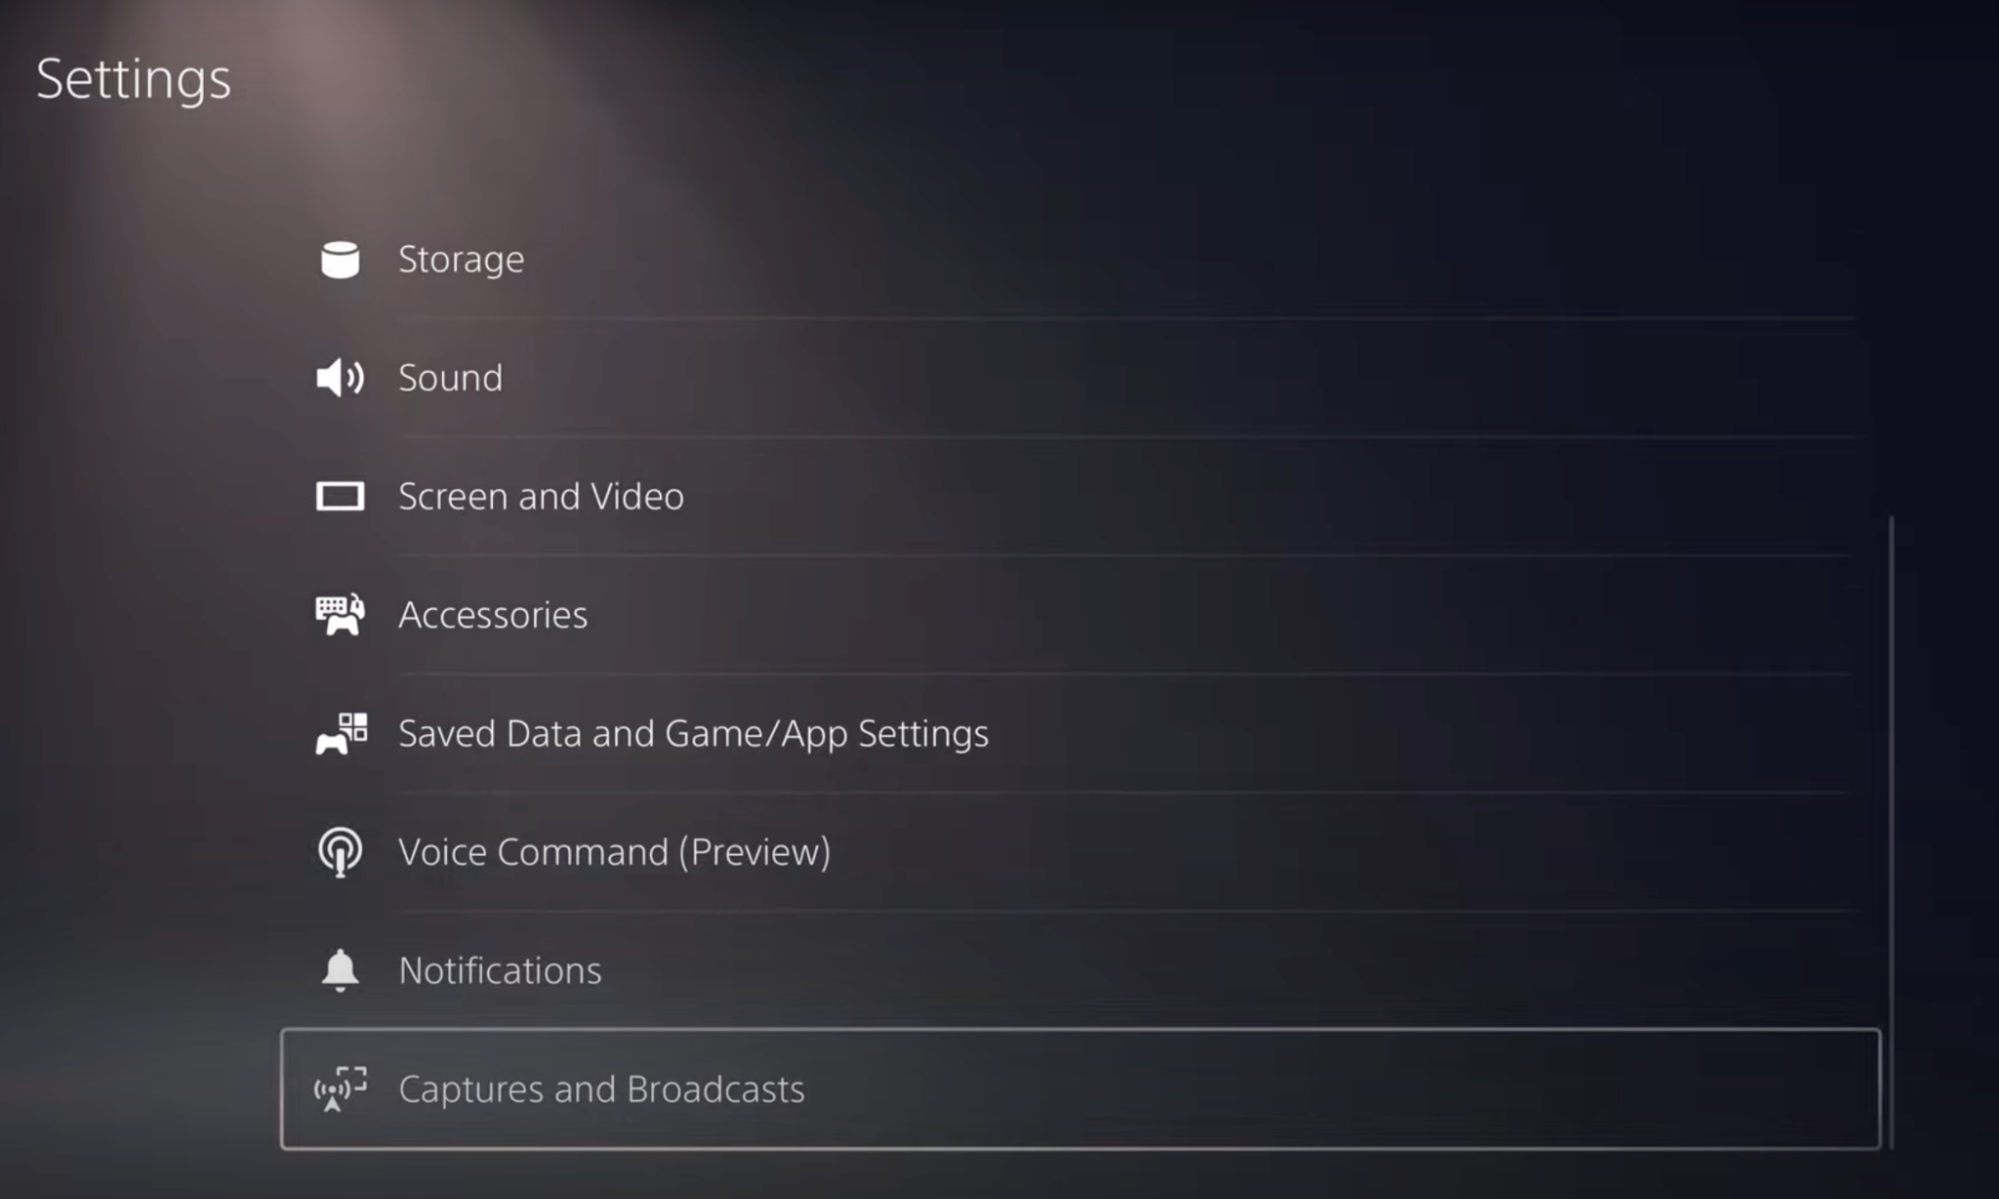
Step 3: Scroll down to Captures and Broadcasts.
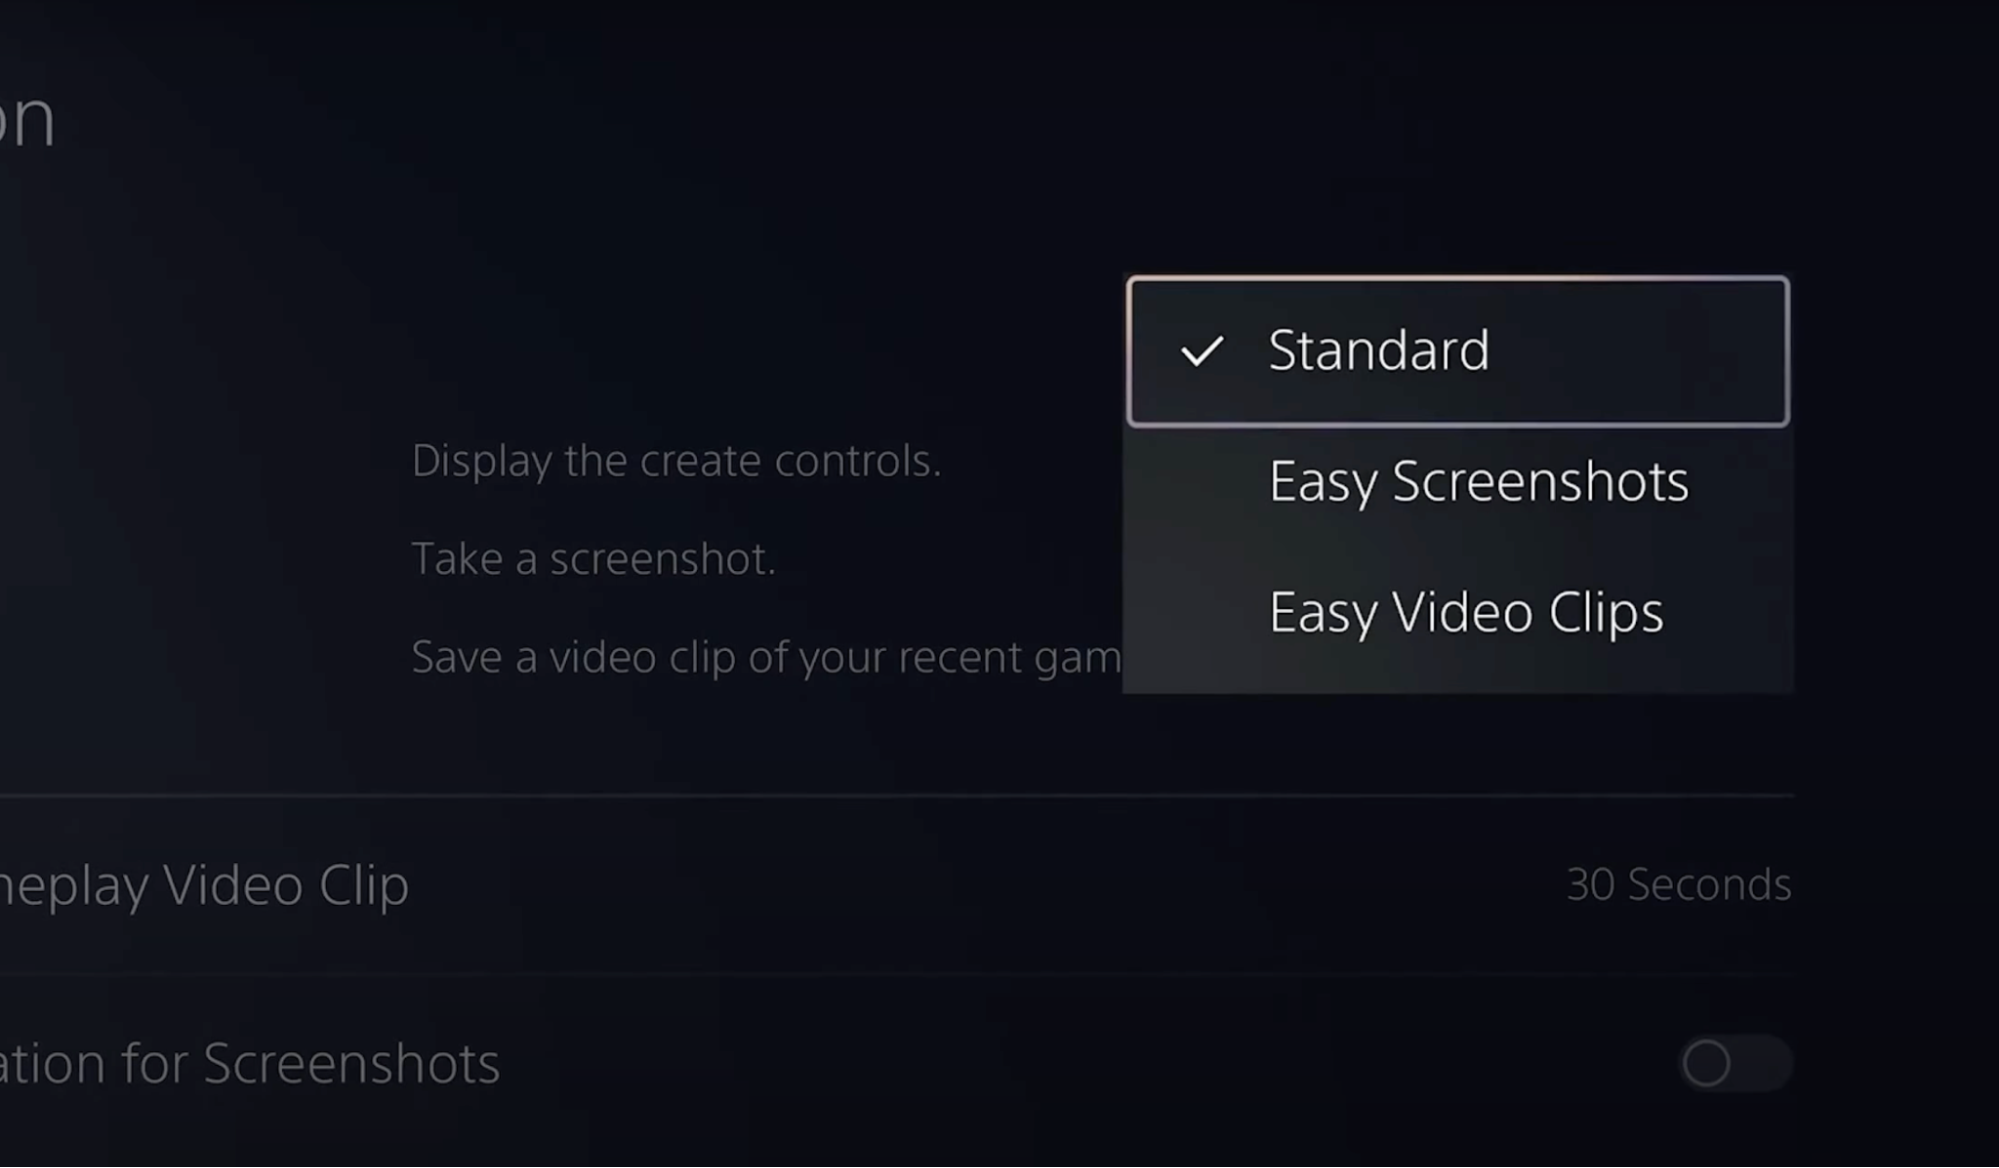
Step 4: Open the Button Controls menu and switch from Standard to Easy Video Clips. This lets you start and stop recording manually during gameplay.
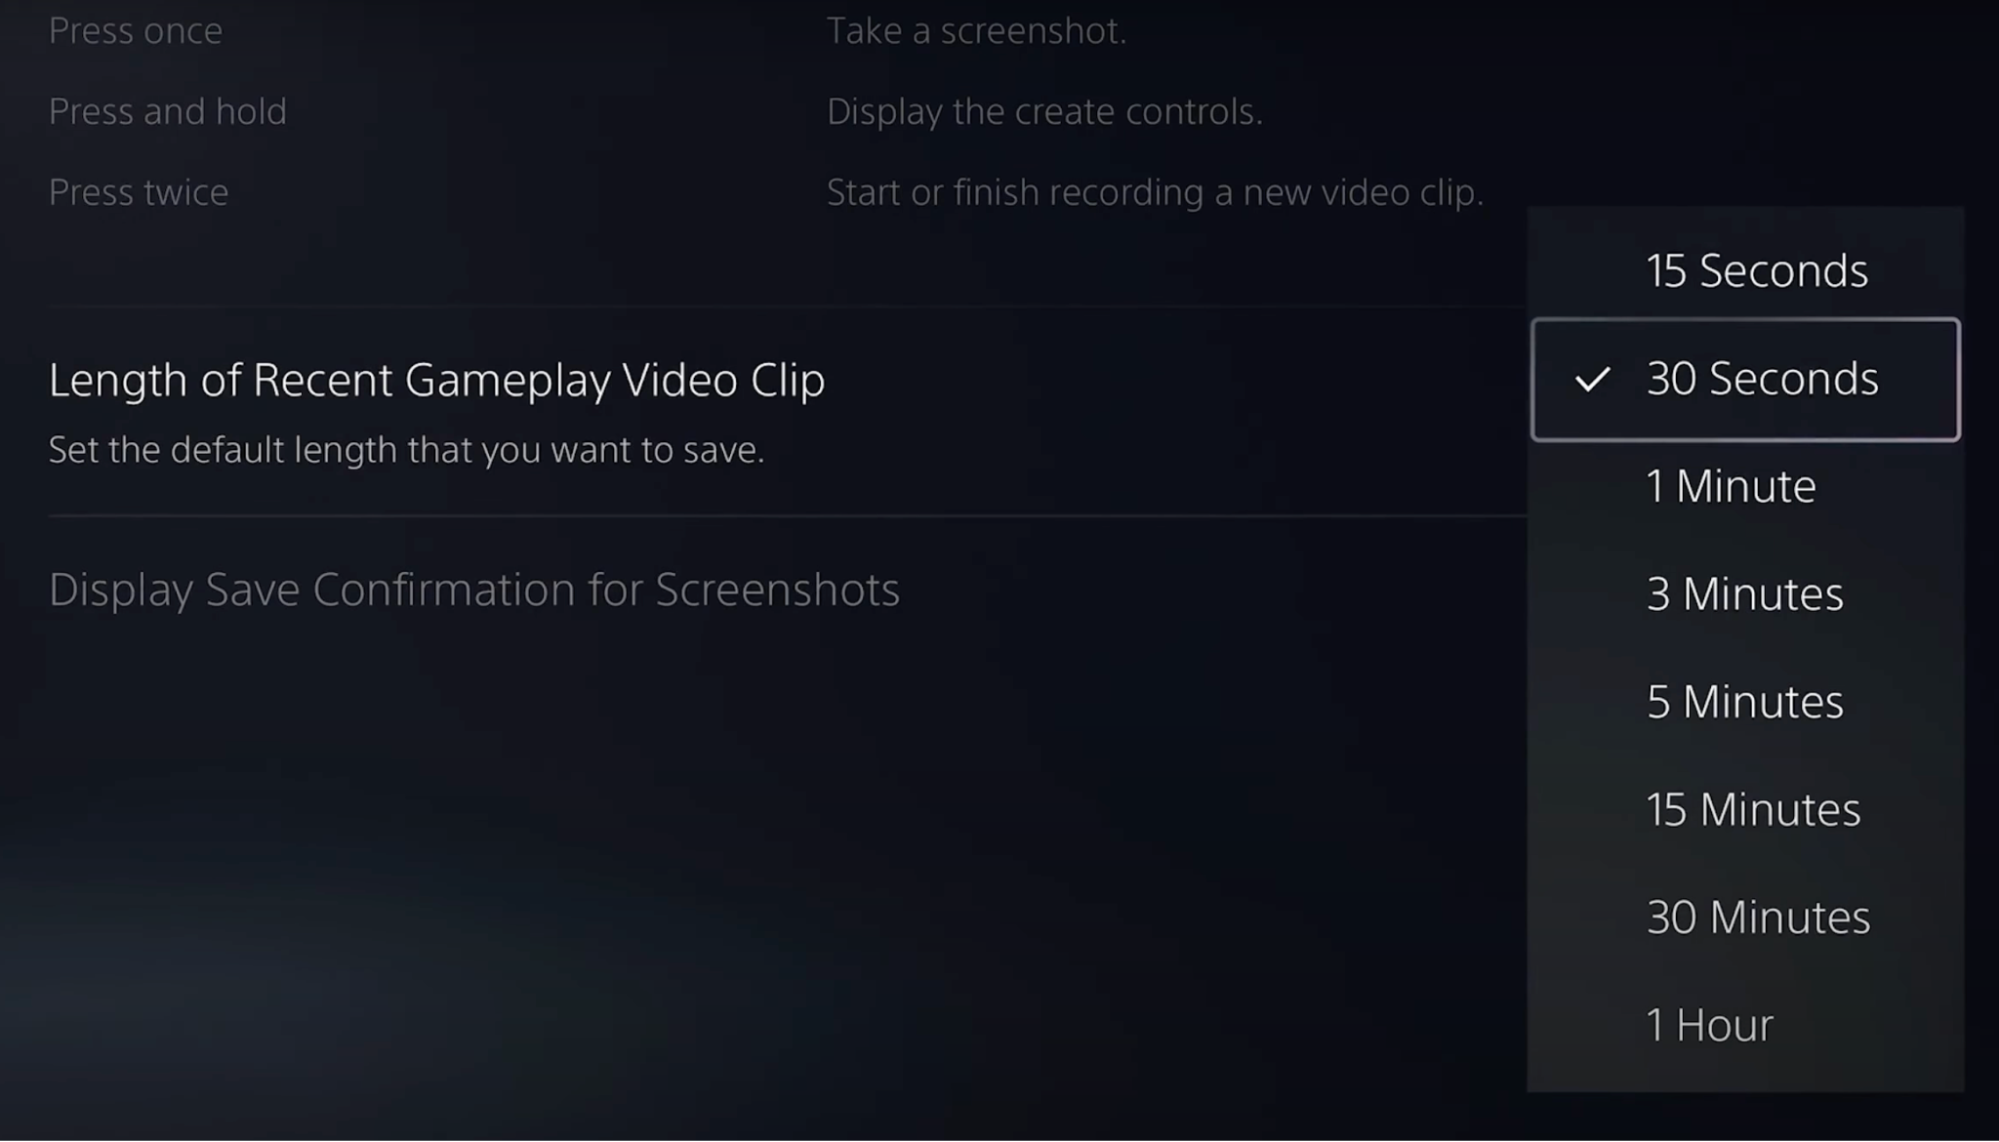
Step 5: In the Captures menu, select Length of Recent Gameplay Video Clip. Set the duration. 30 minutes is a solid default. Maximum is 60 minutes.
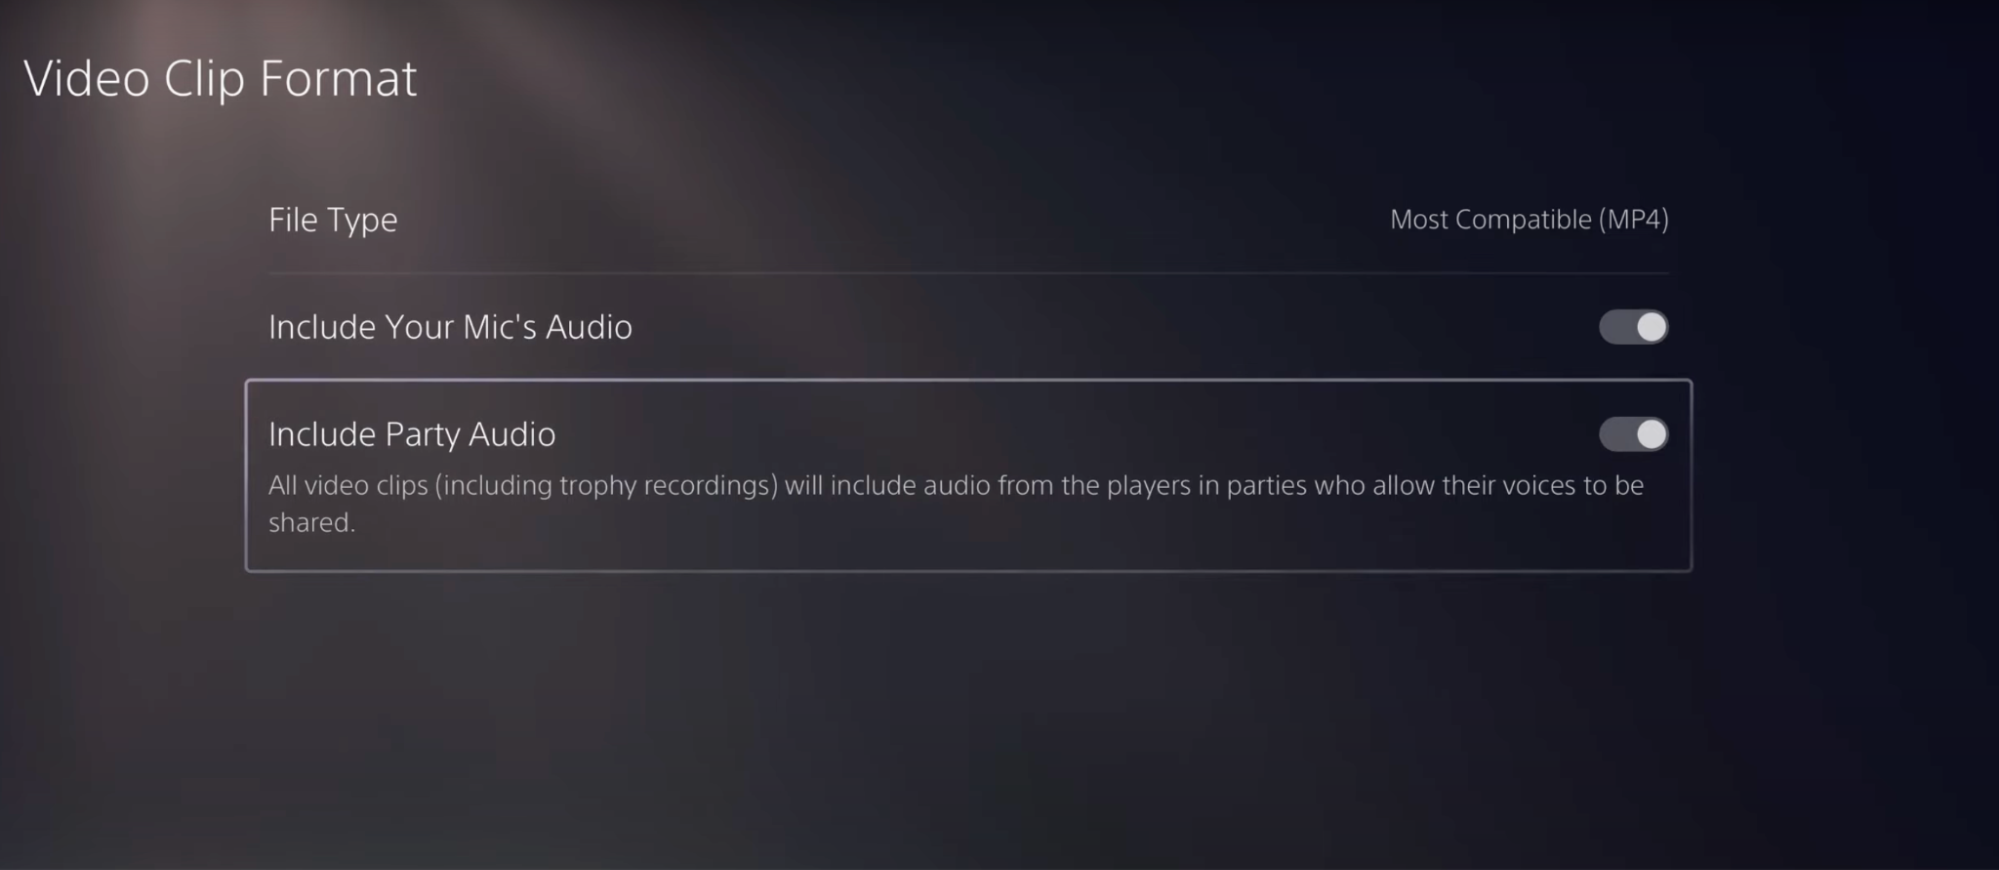
Step 6: Back in Captures and Broadcasts, open Video Clip Format. Set it to Most Compatible, since you will use the file later for editing. Turn on Mic Audio and Party Audio. If you do not have a mic connected, no problem. You can add a voice-over later.
Settings are done. Back to the main menu. Game time.
Part 2: Recording the gameplay
Step 1: Launch your game. Double-tap the Record button on your controller to start recording.
Double-tap again to stop. If you set a timer, the recording stops automatically when the timer ends.
Step 2: To find the recording, head back to the home screen and open Media Gallery.
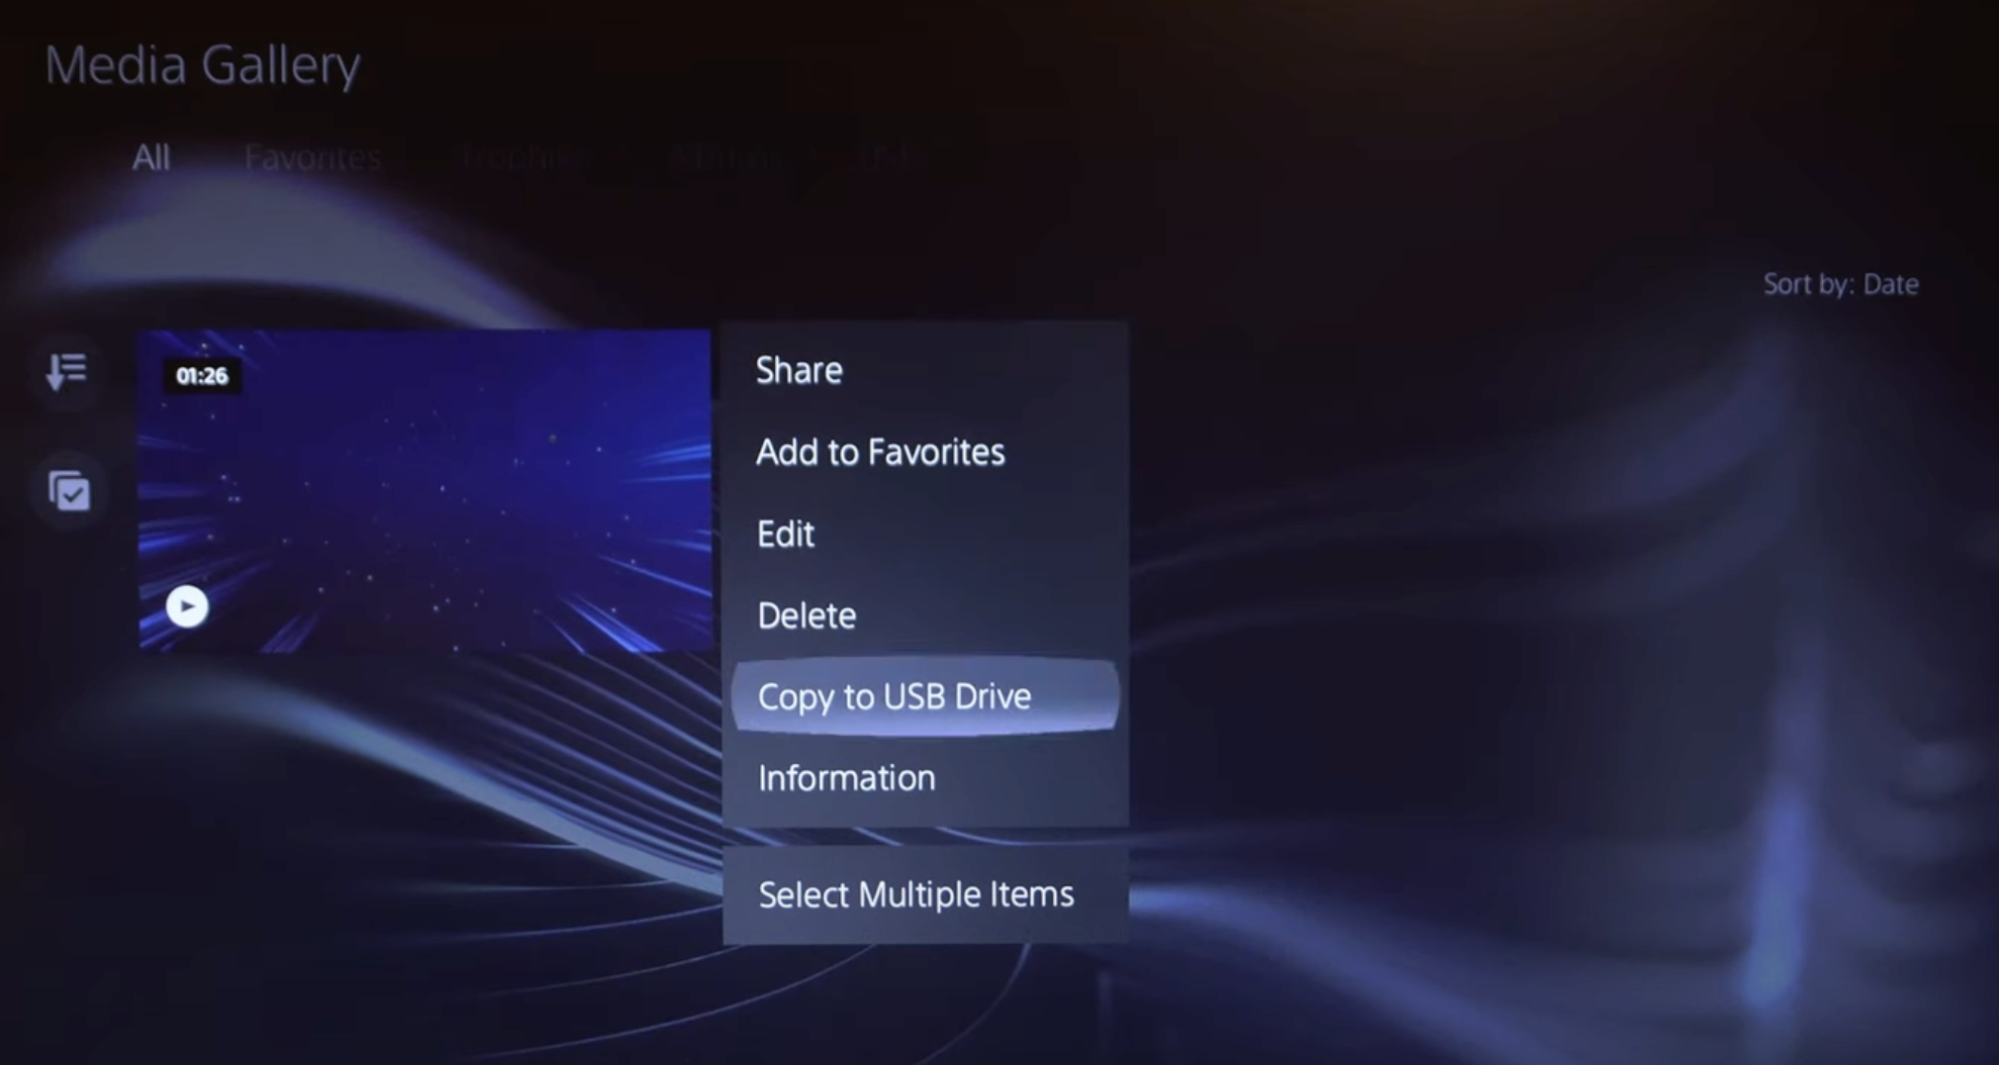
Step 3: In Media Gallery, find your recording and press the Share button on your controller.
Step 4: Plug a USB drive into your PlayStation. The Share menu will show a Copy to USB Drive option. Pick it.
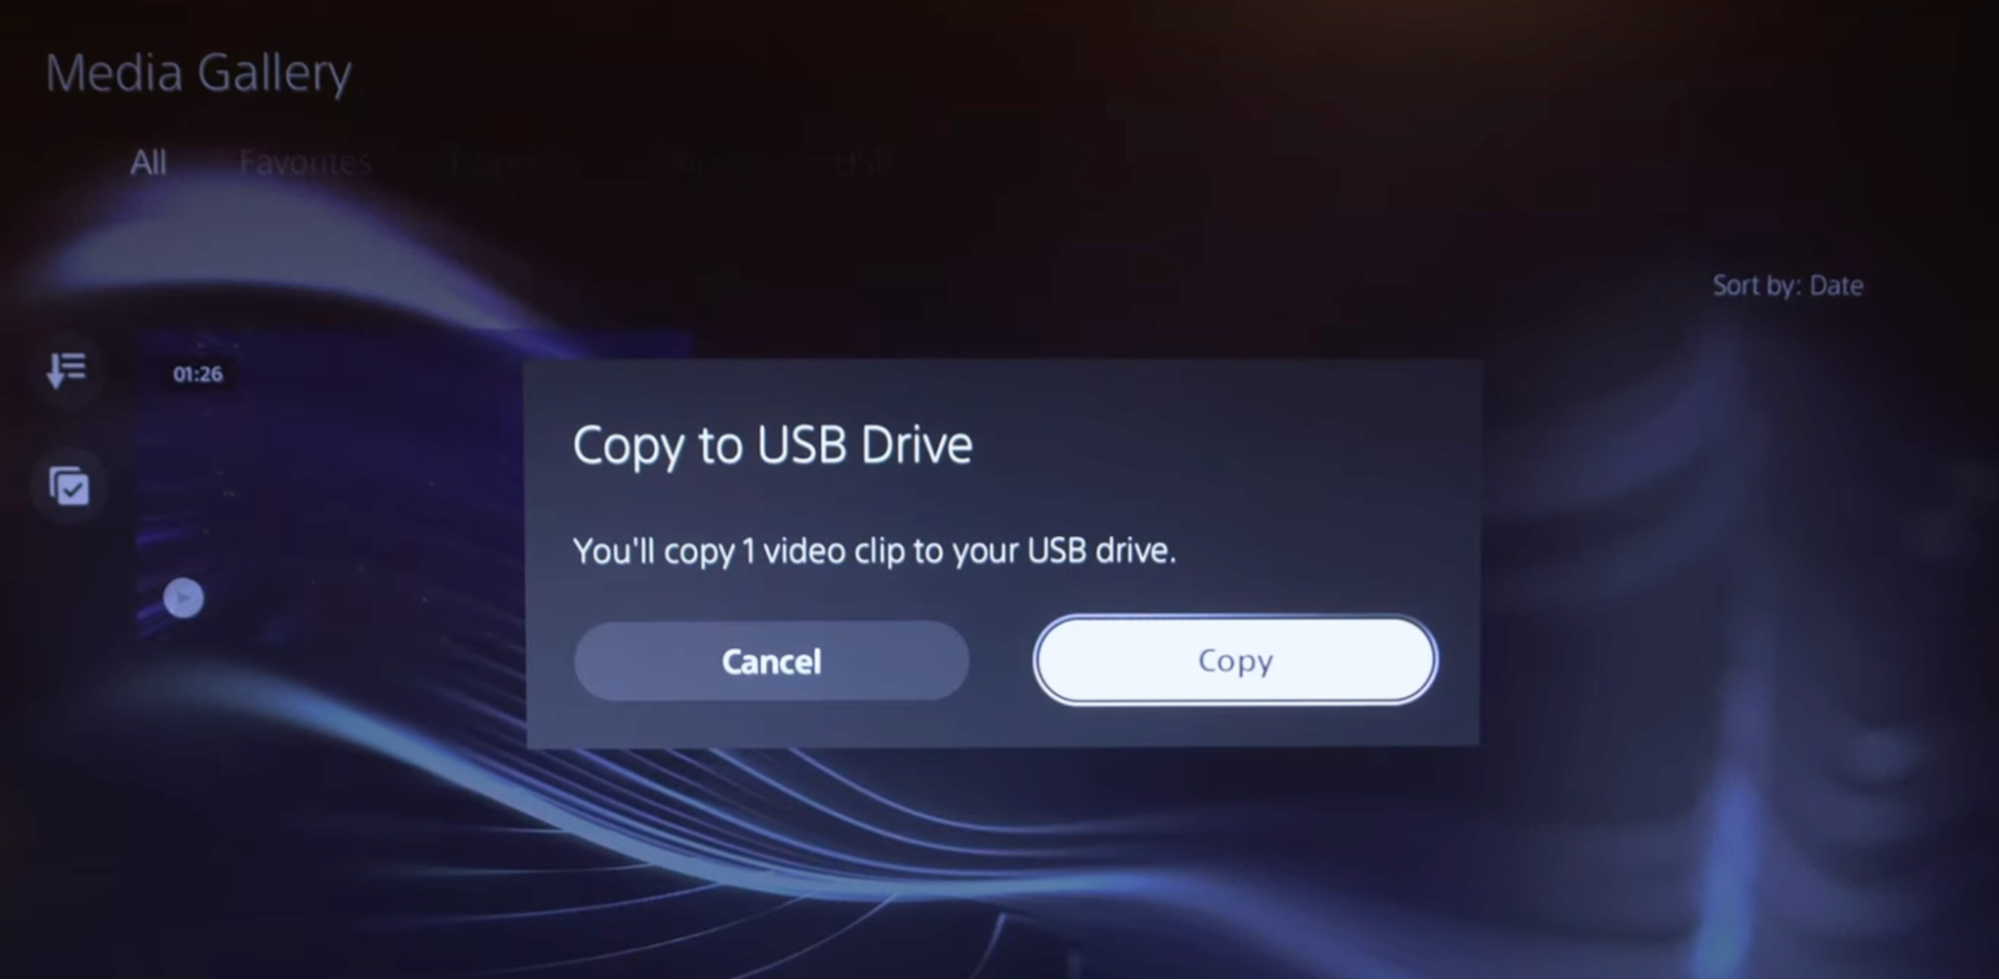
Step 5: Confirm the copy. The recording transfers to your USB.
You now have a clean gameplay clip. Time to make it YouTube-ready.
Part 3: Personalising the gameplay and uploading to YouTube (no capture card needed)
The difference between a gamer and a gaming YouTuber is how entertaining the content is on top of the gameplay. Add your face, your voice, and your reactions.

- Use your laptop webcam or plug in an external one. The same goes for your microphone.
- Open Vmaker. Make sure webcam and microphone access is on.
- Pick screen and webcam recording, then click Start Recording.
- Once recording starts, play the gameplay clip you transferred from your PlayStation on your PC or laptop.
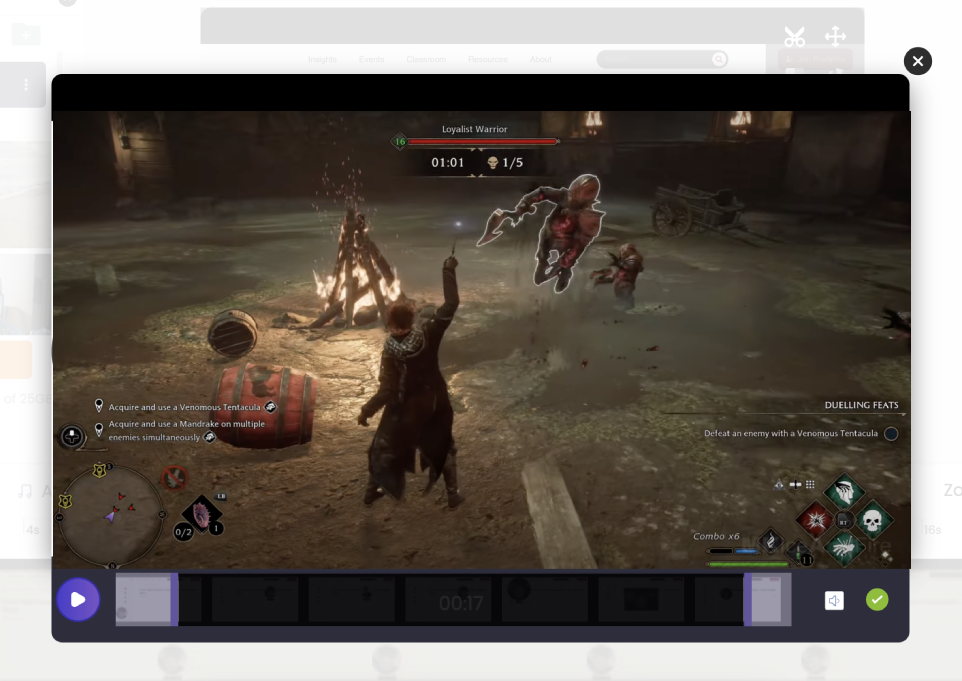
- As the clip plays, record your voice-over, pause to narrate big plays, or use annotation to call out specific moments.
- For a sharper look, add a virtual background to your webcam, or remove the background entirely for a clean overlay (the IShowSpeed look).
- When you finish, click the floating red button to stop recording.
- Your recording uploads to your dashboard. Access it from any device.
- From there, open the AI video editor to trim, crop, and resize. You can also auto-generate subtitles in 35+ languages, which helps a lot if you are aiming at an international gaming audience.
- You can also upload other recordings and merge them in. Useful for your intro and outro.
- Want shorts for TikTok or YouTube Shorts from the same gameplay? Use Vmaker's long-to-short AI to chop your gameplay video into highlight clips automatically.
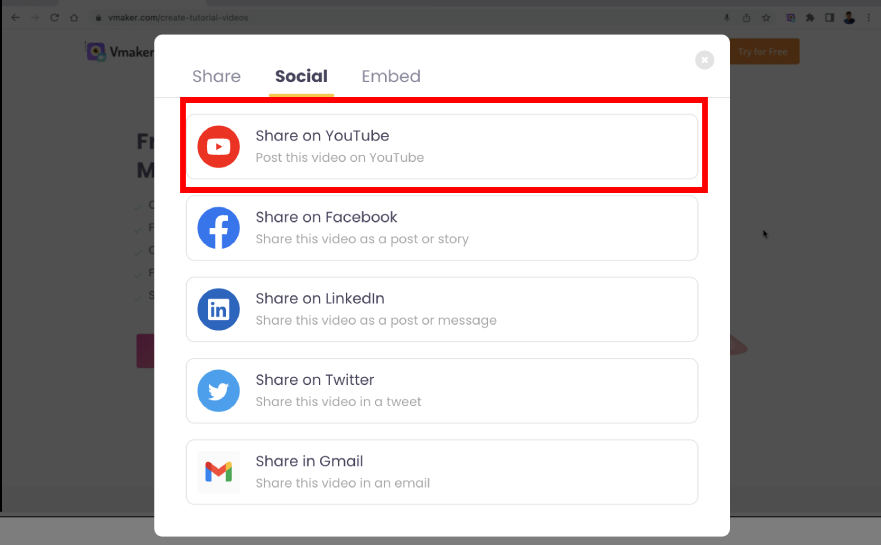
- When the edit is done, click Export. The video renders, then opens in the player page. Click Share, pick Social, then YouTube. Connect your channel and upload directly.
Your video is live. Vmaker handles the full pipeline, from recording to publishing, so you do not need to bounce between tools.
What makes Vmaker stand out for gameplay recording
Vmaker does not look flashy at first glance. The standout shows up in use: real freedom for content creators, features tuned to the work, and pricing that beats the rest of the market.
Best Vmaker features for gameplay creators
Unlimited recording
Record as many videos as you want, with unlimited cloud storage. Upgrade to a paid plan for longer single-recording durations.
Crystal-clear recording
HD recording on the free plan, 4K on paid plans. Quality holds when you export and when viewers stream from YouTube. Vmaker also has built-in noise suppression to clean up your audio.
Easy collaboration
Save recordings, sort them into folders, and share with other gaming creators. Useful for collabs, where you both record and stitch the cuts together.
Customisations
From your background to the colour of your mouse cursor, Vmaker is customisable. Add a name tag to your webcam bubble, set custom recording areas, and add timers to your videos.
Takeaways
For a gamer, watching and making gameplay videos is half entertainment, half education.
If you create gaming content for YouTube, this is a strong time to start. The audience keeps growing. To stand out, do not just upload raw gameplay. Add narration and webcam recording.
Your face and voice make the content feel personal. Viewers are more likely to react, comment, and subscribe to a creator they can hear and see.
To layer your voice and webcam onto gameplay, use a screen recorder like Vmaker. Strong feature set, fair pricing, and built for the kind of creators who want to ship more.
If you enjoyed this guide, here are a few more reads:
10 Best Free and Paid Screen Recorders to Check Out
Best Free Screen Recorders Without Watermarks
10 Best Screen Recorder Chrome Extensions in the Chrome Web Store
How to Record YouTube Videos on a Laptop