How to record GoToMeeting
GoToMeeting has its own meeting recorder, but it comes with certain
limitations. With GoToMeeting’s meeting recorder, you can record
meetings only if you have a pro account and the admin’s permission,
making it a less convenient way to record meeting sessions. With
Vmaker, you don't have to worry about those issues. You can record,
edit, and share your meetings with ease.
Watch the below video to learn how to record a GoToMeeting in just a few clicks.
Record GoToMeeting without permission for free with Vmaker’s meeting recorder
Free for lifetime. No credit card required.
How to record a GoToMeeting session as a participant - step by step guide
Follow the steps below once you download and install Vmaker’s free screen recorder on your system
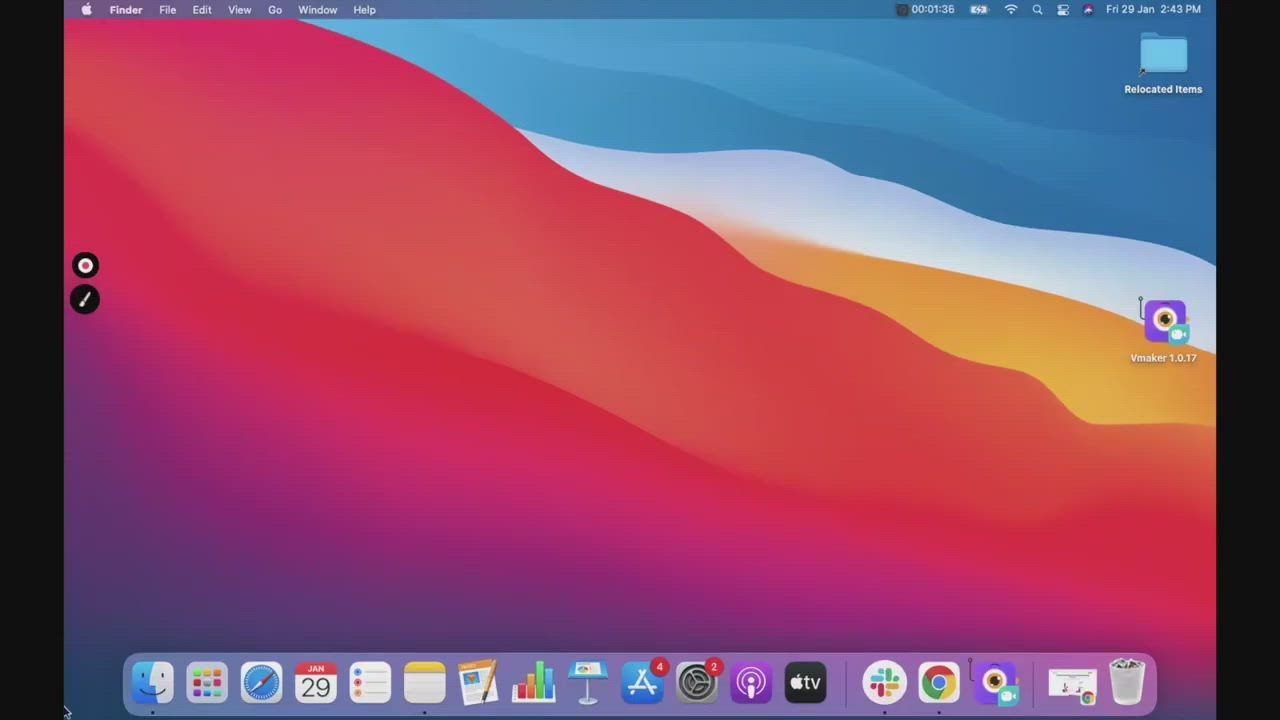
Step 1
Join the GoToMeeting session and start Vmaker on your system
Choose the “Record Screen” mode to record your meeting.
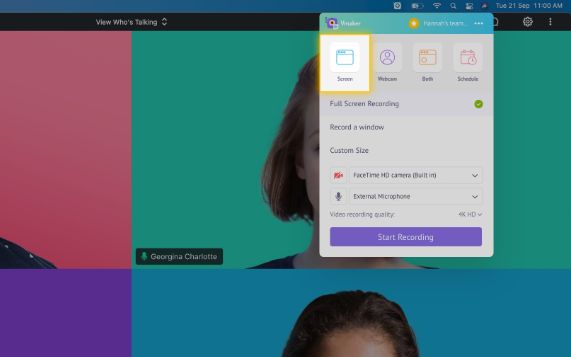
Step 2
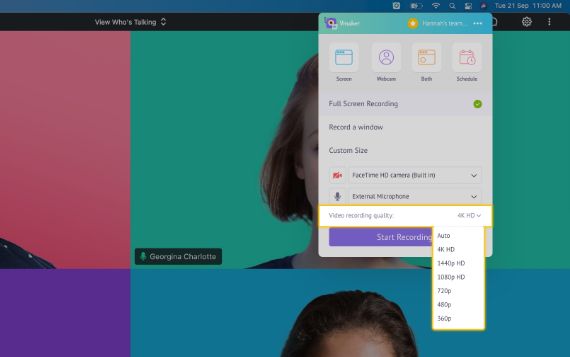
Select the screen mode
Select the “Full-Screen Recording” if you want to record the whole screen, or “Record a Window” mode to record the particular window, or “Custom Size” to record a custom part of your screen.
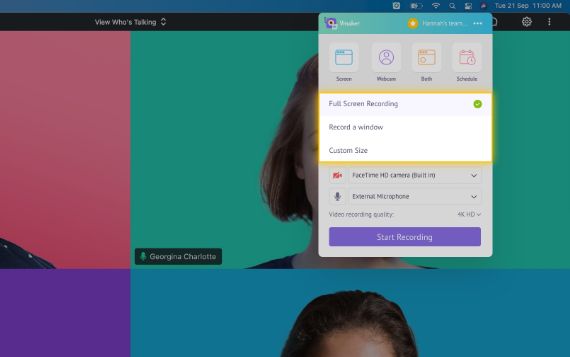
Step 3
Select the audio input source of your choice
You can use your system microphone or an external microphone to record audio. Your system audio will be automatically recorded.
- Tip - Use headphones for better audio quality
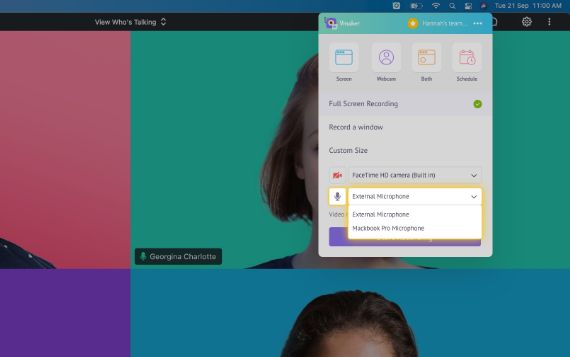
Step 4
Set the resolution of your recording for better clarity
You can set the resolution of your video from 360p to 4K HD resolution based on your needs.
Step 5
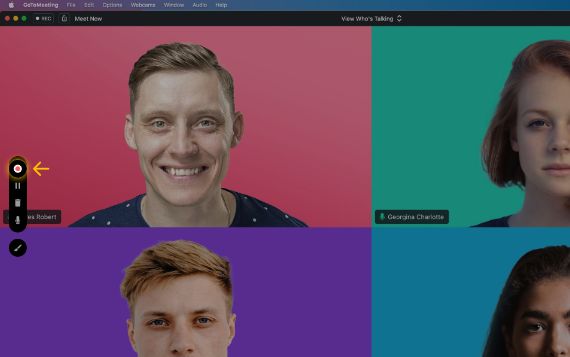
Click the “Start Recording” button or press the hotkey ⌘^1 to start your recording
Now you can sit back and let Vmaker record the meeting or webinar or a presentation or anything that’s on GoToMeeting.

Step 6
To stop recording, click on the red icon or the dock button
Once you finish recording, your video will be automatically uploaded to your private cloud account form where you can edit and share your recordings.
GoToMeeting recording made easy with Vmaker
Free for lifetime. No credit card required.
Why should you choose Vmaker to record your meetings?
-
Unlimited GoToMeeting video recording
![Unlimited GoToMeeting video recording]()
Record unlimited number of meeting sessions for free for lifetime without any watermarks. If you are an attendee then you can record all your meetings without the host’s permission itself.
-
![Unlimited GoToMeeting video recording]()

-
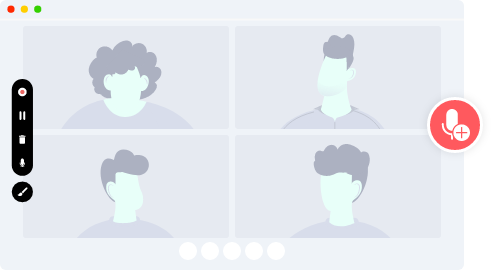
Record GoToMeeting audio
![Record GoToMeeting audio]()
You can record both system and microphone audio or just your system audio while screen recording GoToMeeting sessions.
-
![Record GoToMeeting audio]()
-
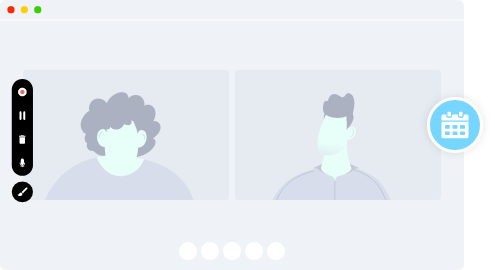
Schedule your recording
![Schedule your recording]()
Now you can schedule your recording in advance on Vmaker and be sure that you don’t miss out on recording a meeting. You just need to set a time and Vmaker will automatically do the recording as you join the meeting.
-
![Schedule your recording]()
-
Edit and share your GoToMeeting recordings
![Edit and share your GoToMeeting recordings]()
Once you are done with your recording, your video will be automatically stored in your private cloud account, and from there, you can easily edit and share your recordings.
-
![Edit and share your GoToMeeting recordings]()

Start recording your GoToMeeting sessions with Vmaker’s free screen recorder
Free for lifetime. No credit card required.
Frequently Asked Questions
Yes. Vmaker mac recorder supports macOS 10.14(Mojave), macOS 10.15(Catalina), and macOS 11.1(Big Sur)
Vmaker supports both Mac and Windows devices. For Mac, you can use the system app and for Windows, you can use the Chrome plugin.
The steps mentioned above are exactly the same for Mac too.
To download GoToMeeting recordings go to the Vmaker Dashboard>Click on the recording>Click on the Download button, and your video will be downloaded.
Your GoToMeeting recordings will be automatically saved and stored in your private cloud account. From there you can share and access your recordings.
To share your recorded meeting go to the Dashboard>Click on the recording>Click on the Share button, and from here you will get a sharable link to share your recording. You can also share your recording directly to your social channels from Vamker.
The process is the same as the one mentioned above.
We will be soon launching our iOS app which you can use to record Zoom meetings on iPhone and iPad.
We will be soon launching our Android app which you can use to record Zoom meetings on Android devices.
To record GoToMeeting with Vmaker, you don’t need to get permission. You can simply start Vmaker and record your meeting.