Free Screen Recorder for Mac
Record Screen & Webcam

Record Internal & Mic Audio

Edit and Share Instantly
- HD Video Quality
- Drawing Tool
- No Watermark


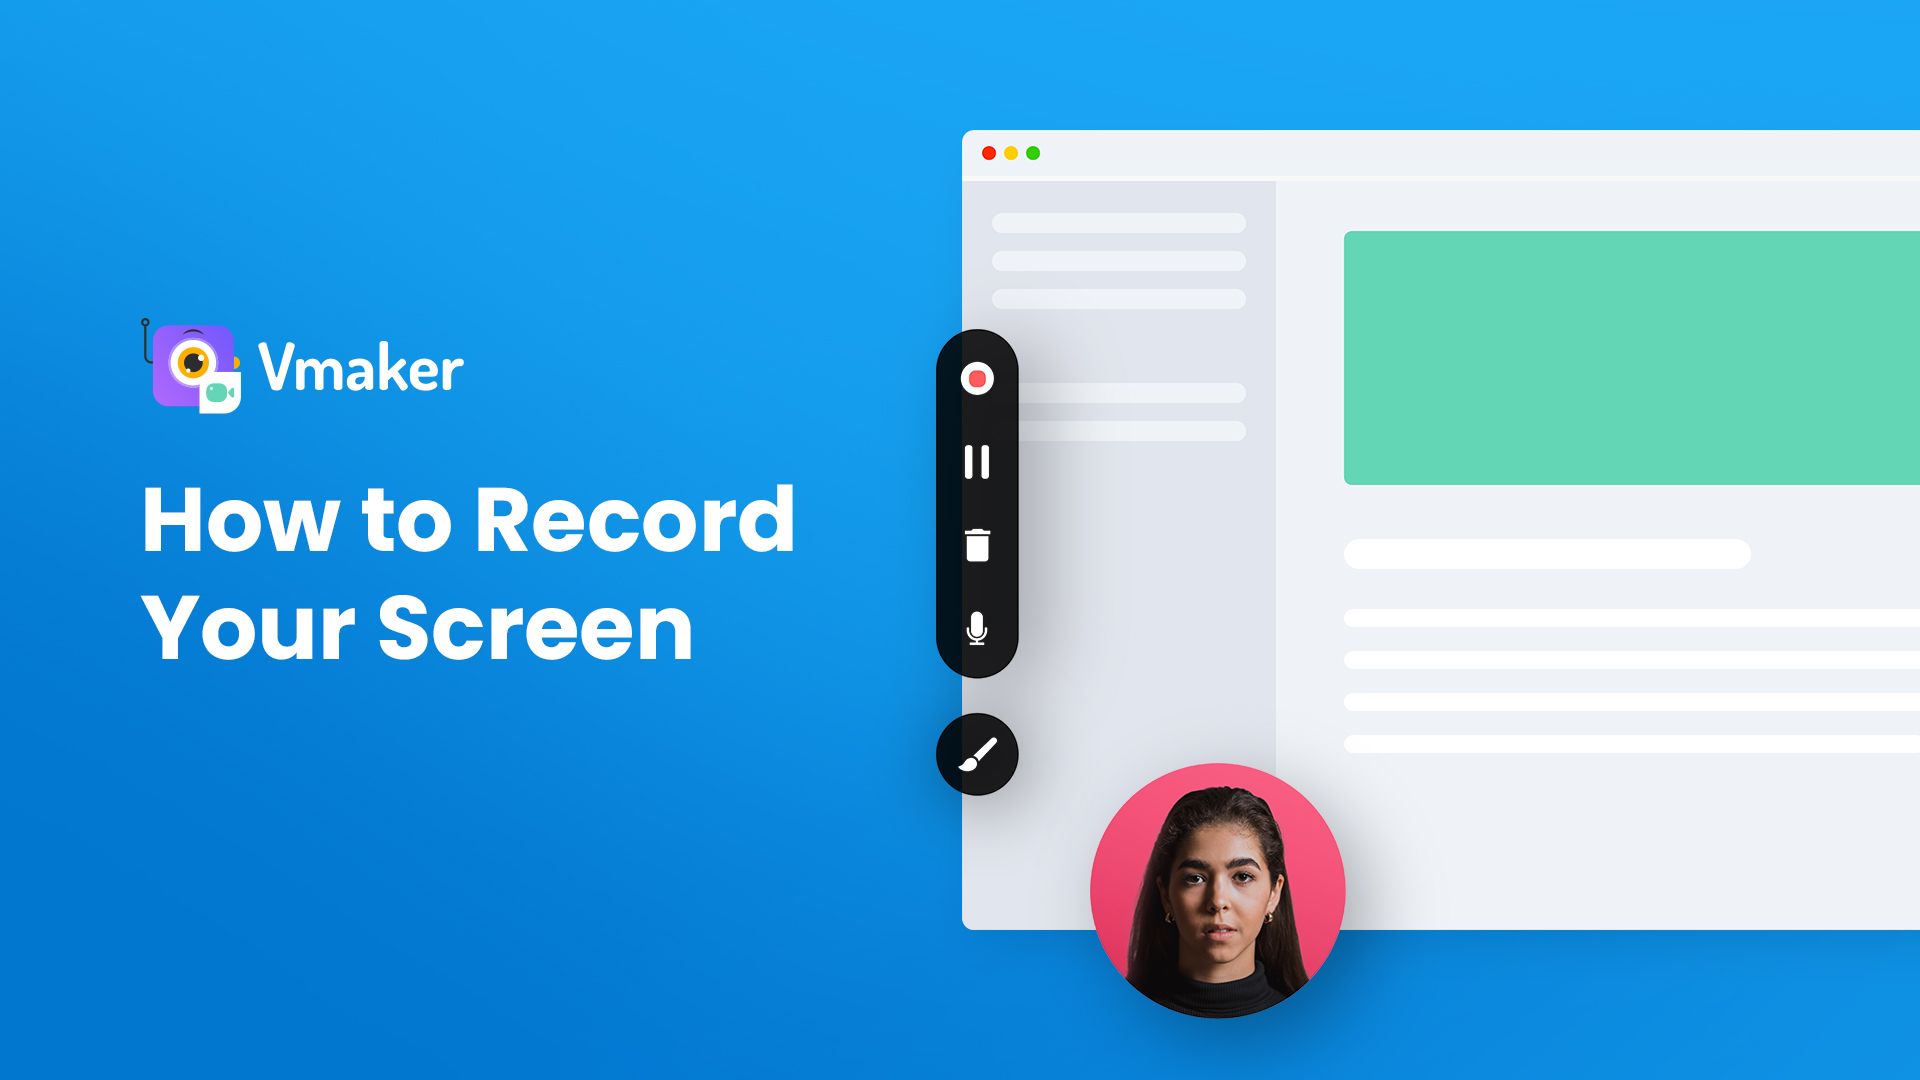
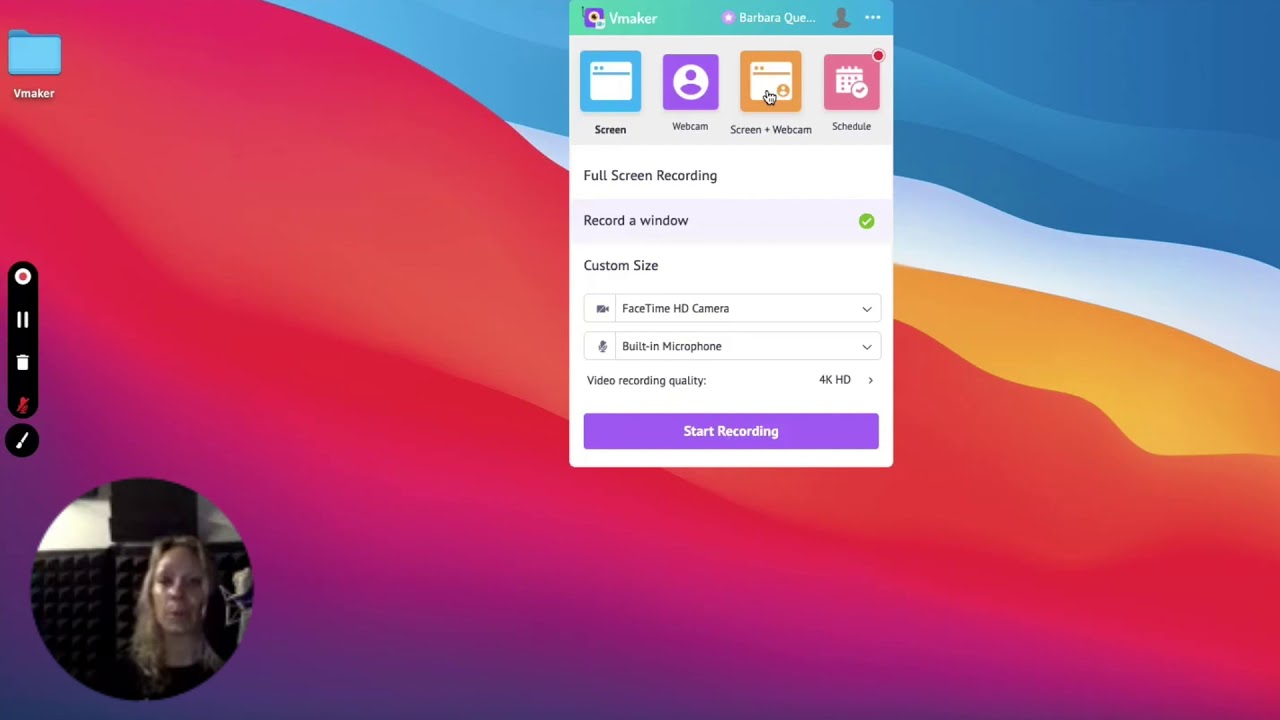
Record Your Screen on Mac With Audio

1. Download Vmaker Mac App
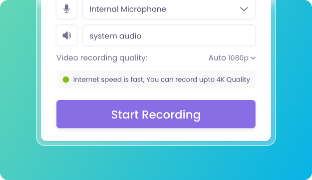
2. Tap on the ‘Start Recording’ button
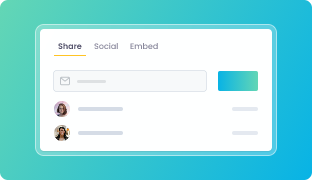
3. Edit & Share in just a click

Supercharge Your Recording Experience With Vmaker’s Mac Screen Recorder

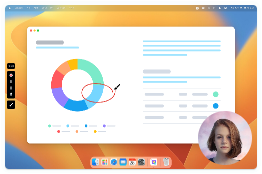
Draw on Screen
Draw or highlight important sections of your screen & keep your audience engaged throughout the recording.

AI Virtual Background
Replace your messy webcam background with a virtual background and look professional in your videos.

Customize Recording Modes
Record and switch between multiple screens, tabs, and windows by customizing the right recording preferences.

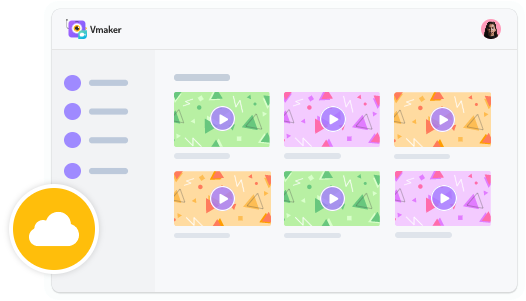
Organize videos with folders
Quit scrolling through endless screen recordings. With Vmaker, you can easily organize your videos with folders

Add Branding Elements
Boost your brand’s visibility by customising your recording with brand colours, logos and CTAs.

Filter Background Noises
Remove all the unnecessary background noises while you record by enabling the background noise control feature.

Edit & Share Instantly
Trim, Crop, Flip, Merge, and Rotate your videos effortlessly with Vmaker’s built-in video editor.

Record at standard HD
Zoom in, edit, and export your video recordings at HD resolution and look sharper even on large displays.

Why Choose Vmaker’s Mac Screen Recorder Over QuickTime Player?
| Features | Vmaker | QuickTime Player |
|---|---|---|
| Webcam Recorder |  |  |
| Cloud Storage | | |
| Record Internal (System) Audio | | |
| Drawing Tools | | |
| Recording Scheduler | | |
| HD Video Quality | | |
| Background Noise Cancellation | | |
| Customer Support & Training | | |
| MP4 Export | | |
Key Highlights
Unlimited Cloud Storage
Record, share, and access unlimited recordings across multiple devices without compromising on your local storage space.
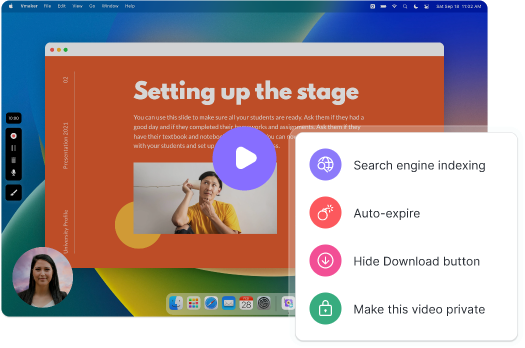
Advanced Security & Privacy
Enable two-factor authentication, disable download, and make your videos private to ensure advanced security for your recordings.
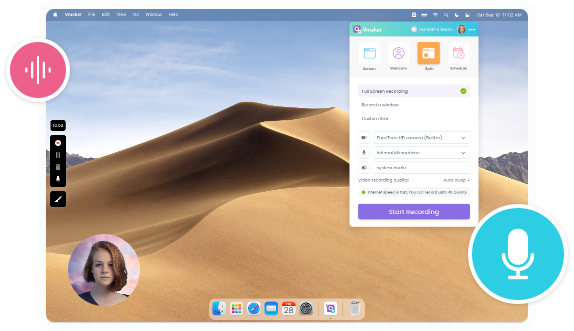
System & Mic Audio Recording
Record both internal (system) audio and external (microphone) audio effortlessly with Vmaker
What Our Users Say!

"User Friendly and Does a Phenomenal Job capturing everything you need"
The quality of the output once you finish recording is top-notch. Very intuitive and made it a breeze for me to do quick videos for clients and was easy to share to them across multiple mediums.
Edna H.
Managing Partner
"Need to record? Vmaker is the tool!"
I like the possibility of saving the screen and also having video of myself explaining. I love to share my browser and show what I'm doing to my clients. It's great versus other similar apps, the chrome extension works wonderfully!
Santiago R.
Docente administración de empresas
"More intuitive to use than Loom and VidYard, plus has virtual background, More reliable than vidyard"
Good UI. Virtual backgrounds are great, editor is very easy to use. Seems to be very reliable so far (some of the other online tools glitch out and fail)
Yishai R.
Founder, Brand ManagerResources
Vmaker Mac recorder supports macOS 10.14 (Mojave), macOS 10.15 (Catalina), macOS 11.1 (BigSur), macOS 12 (Monterey), and macOS 13 (Ventura).
QuickTime can only record your screen with microphone audio. It cannot capture your system audio. But, don’t worry. You can use a third-party mac screen recording application like Vmaker to capture both internal (system) audio and external (microphone) audio.
Vmaker is one of the best free screen recorders available online for Mac, Windows, and Chromebooks.
- Vmaker
- Ezvid
- Filmora Wondershare
- Bandicam
- Screencast-O-Matic
- Sign up & Install the application
- Select your recording preferences
- Start the recording
- Stop the recording
- Edit & share with others
- Vmaker
- ScreenRec
- TinyTake
- OBS Studio
- Loom
- Open the Vmaker application
- Click on the three dots on the top-right corner of your recoding pop-up and choose 'Preferences.'
- Enable the 'Noise control' feature
- Start recording your screen

How-to Guide
Discover how to use a screen recording software across multiple platforms and devices seamlessly!
Explore NowScreen Recording Guide
Learn everything about screen recordings - what it is, how it can be used across multiple industries, and more!
Explore Guide
7 Best Screen Recorders for Mac
1. Vmaker
Vmaker is a one of the best screen recorders for Mac computers. It seamlessly captures both system and mic audio and comes with an in-built video editor. The best part though is the fact that it allows even its free users to record as many videos as they want (without any restrictions).
Pros
- Highlights mouse clicks and lets you draw on your screen
- Allows you to collaborate with your team members over a joint workspace
- Allows you to add virtual backgrounds for your webcam bubble for screen + webcam mode
- Integrates easily with Jira, GitHub, GitLab, and Hubspot
- Has no watermark
Cons
- It does not have an Android application
2. QuickTime Player
QuickTime Player is a built-in Mac recorder. Since it's a native Mac application, you can start using it just like that. You don't have to download any external software. Just use the key combination 'Shift + Command + 5' to start recording your screen. Similarly, to end the recording, you can use the key combination 'Command + Control + Esc.'
Pros
- Allows you to compress your videos from 4K to 480P
- Allows you to upload your videos to YouTube directly
- Comes with built-in editing functionalities
Cons
- Does not capture system audio and mic audio simultaneously
- Does not capture multiple screens and windows
- Limits export options to .mov file format
- Does not provide cloud storage
3. Screen Capture
Screen Capture, just as the name suggests, is a screen-capturing software that allows you to capture your computer's screen and webcam with audio. As soon as you're done, you can directly upload your videos to YouTube.
Pros
- Works offline
- Highlights mouse clicks and keystrokes
- Provides multiple export options
Cons
- Free version comes with a watermark
- Has very few editing options for free users
- Cloud storage is not available for free users
4. Loom
Loom’s Mac screen recorder is perfect for recording quick video messages. It records both your screen and webcam with audio and comes with a ton of cool features.
Pros
- Has no watermark
- Allows you to collaborate with your team members over a joint workspace
- Provides the option to add comments and emojis to the videos
- Can be integrated with tools like Confluence and Jira
Cons
- Allows only 25 videos per user
- Videos are public by default
- Recordings of the whole screen are of lower quality
5. Camtasia
Camtasia is one of the most popular and expensive Mac screen recorders. It comes with a text-to-speech translation software and a built-in video editor.
Pros
- Provides a template library of royalty-free stock media
- Allows you to add quizzes, callouts, and captions to your videos
- Comes with a built-in video editor
Cons
- Very expensive
- Does not have an auto-save option
- Requires a bit of a learning curve
- Does not allow you to record your screen across multiple devices
6. ScreenPal
ScreenPal, formerly known as Screencast-O-Matic is a screen recording tool that's perfect for recording quick screencasts. It’s quite popular amongst educators and incorporates a lot of features that benefits today's educators.
Pros
- Comes with drawing tools
- Integrates with Google Classroom
- Provides a wide variety of stock photos and videos
- Provides video analytics
- Allows you to blur your background
Cons
- The editing capabilities in the free plan are also very limited
- Doesn't allow its free users to record their screen with system audio
- Doesn't allow its free users to record videos without watermark
7. ScreenRec
ScreenRec is a simple and easy-to-use Mac screen recorder that can also be used to capture screenshots. It also allows you to record your offline activity.
Pros
- Has no watermark
- Provides cloud storage option
- Allows you to track who has watched your videos
- Provides advanced security and control features
Cons
- Doesn't allow you to upload your recordings to YouTube directly
- Comes with very limited video editing functionalities
- Provides only 2GB cloud storage space