Contents
10 Tips For Screen Recording That You Need To Know in 2023
2. Choose the screen recording software and do a mock run-up
3. Decide on the resolution, size of the recording, and other recording settings
4. Enable the ‘Full Screen’ option in case you juggle multiple tabs
5. Avoid external disturbances while recording
6. Choose the right microphone and webcam for your recording
7. Include screen annotations, mouse emphasis, and webcam overlay features
8. Avoid using the control menu and switch to hotkeys to avoid extra elements on the recording
9. Add a quick intro and conclusion to your recordings to add extra clarity
10. Edit out and add creatives automatically with AI
How To Do Screen Recording Videos: Top 10 Actionable Tips You Should Know
Screen recording videos are easy to create—no matter which device you have. Do you want to create a simple walkthrough of your presentation into a not-so-boring screen recording video? A computer and reliable screen recording software are all that you need.
However, no matter how easy, sometimes, even the pros create screen recording videos that are far from the best.
So, here are 10 tips that will help you create easy screen recording videos in minutes!
10 Tips For Screen Recording That You Need To Know in 2023
- Prepare a script or create a rough outline of what you’re planning to record
- Choose the screen recording software and do a mock run-up
- Decide on the resolution and size of the recording
- Make sure you’ve enabled the Full Screen option in case you juggle multiple tabs
- Avoid external disturbances and noises while recording
- Choose the right microphone and webcam for your recording
- Include the screen annotation tools and webcam overlay
- Avoid using the control menu and switch to hotkeys to avoid extra elements on the screen while recording
- Add quick intro and conclusion to your recordings to add extra clarity
- Edit out and trim portions that are extra in the screen recording
1. Prepare a script
Screen recordings are done for a lot of different reasons. Even if you’re planning to create 5 min long screen recording videos, a script will:
- Help you stick to the video objective
- Create room for you to reflect and understand if you’re sticking to the topic
- Give you a balanced timeline for both screen and webcam
But, if you are one of the last-minute-unsung-heroes, then create a rough outline for the script—a simple bullet point list or notes—that help you to jump from one sub-topic to the other.
2. Choose the screen recording software and do a mock run-up
This is an essential step because having the right toolkit can help you save a lot of time. Remember, the easiest way to create a stunning screen recording video is to choose a tool that would take away 90% of the work off your shoulders.
Decide on the screen recording software in which you use to create the screen recording video. Ideally, the best screen recording software comes with features that will let you record the screen, camera, or both simultaneously with audio along with screen annotation, noise cancellation, and editor options.
Once you’re done deciding on the screen recording software and then installing the software, it’s important to quickly run through the settings and record a mock video to familiarise yourself with and check if everything is working well.
By recording a mock video, you'll be able to confidently talk while screen recording and also feel comfortable reading a script while looking into the camera.
Luckily you don’t have to worry about deciding on the screen recording software. Vmaker is the ideal solution for anyone looking to screen record.
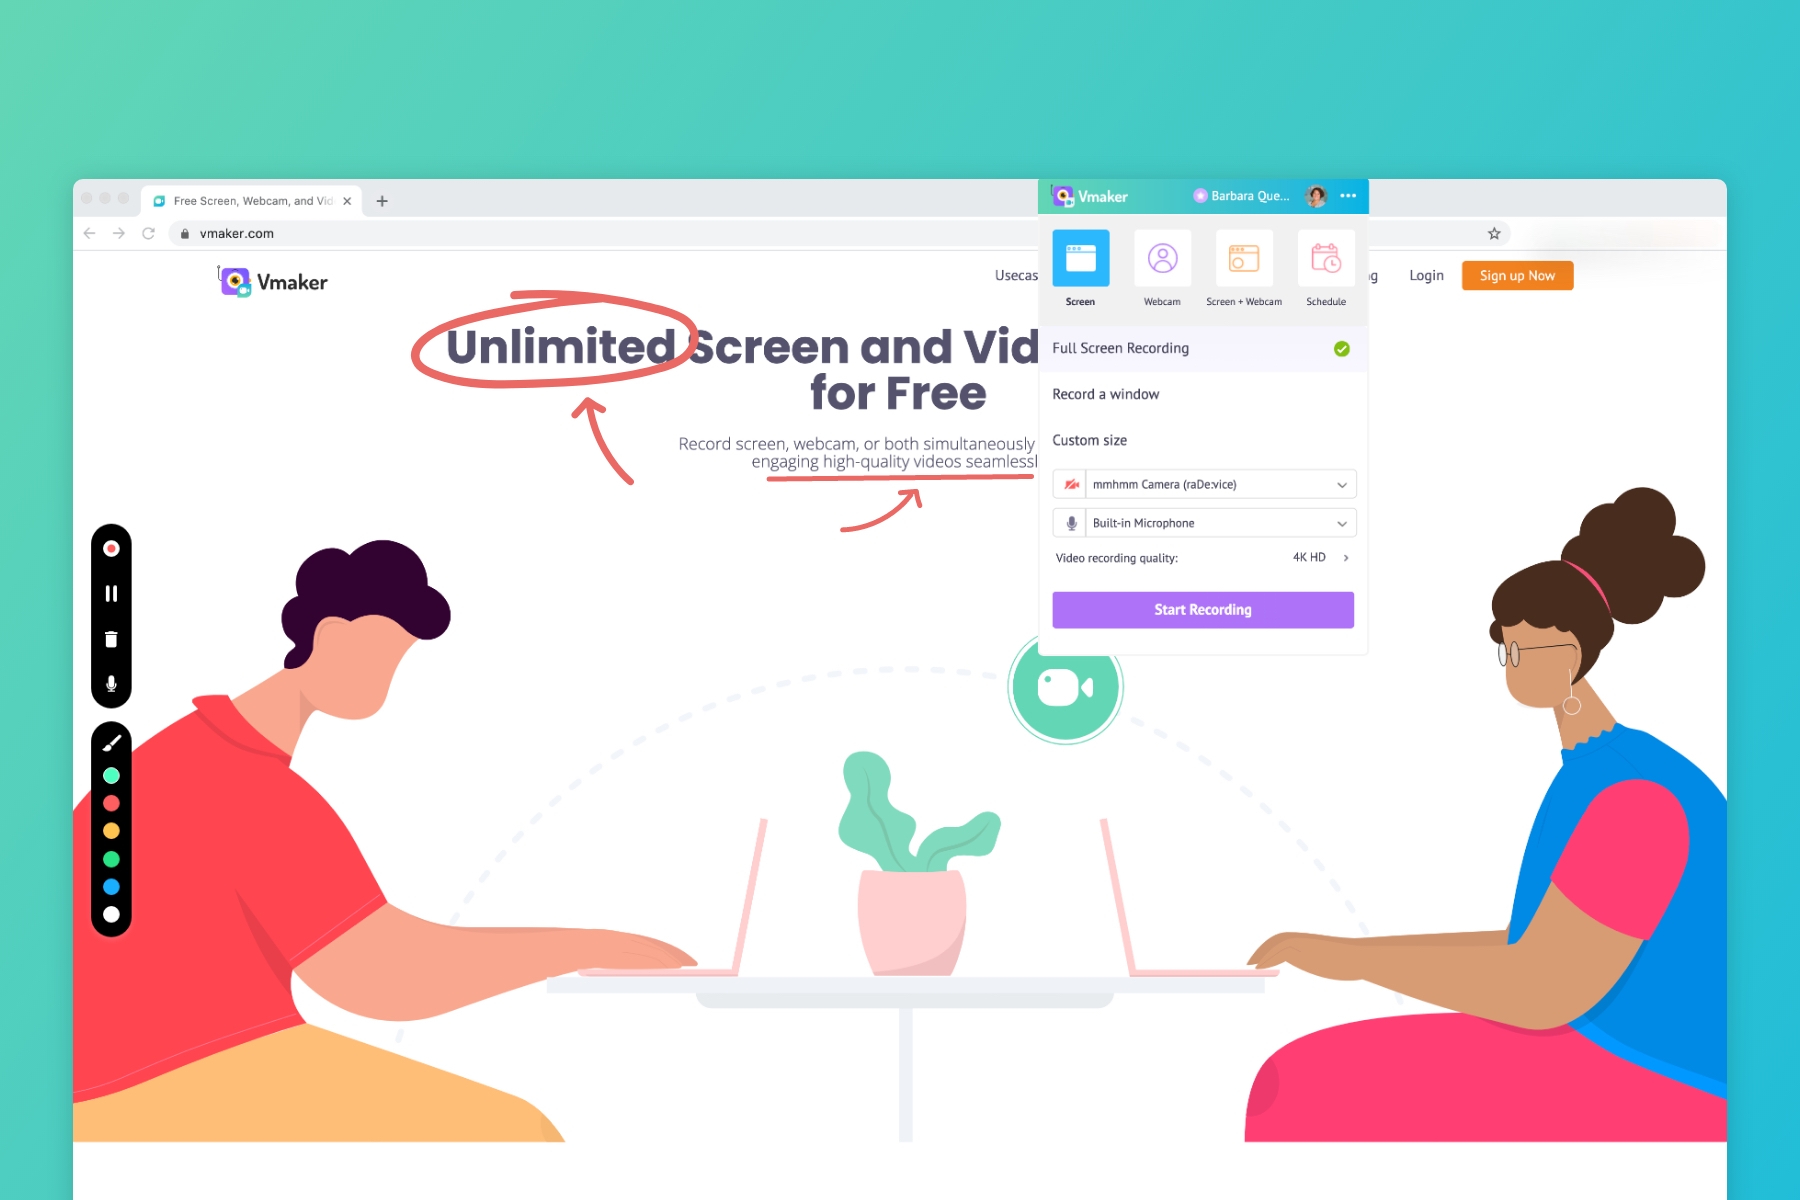
3. Decide on the resolution, size of the recording, and other recording settings
Screen recording can be done in two different ways: You can either record the screen alone or record the screen and webcam together.
First, decide on which type of screen recording you want to do. The next step would be to precisely record what you want to record.
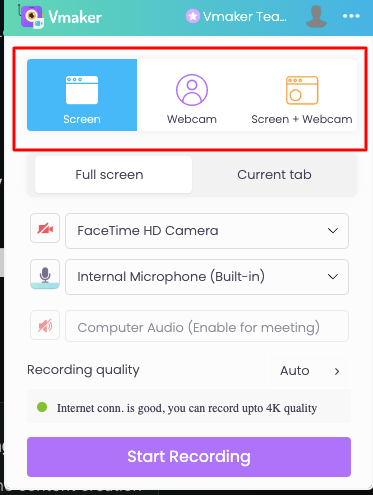
It is important to share only the relevant and necessary information. So decide on whether you want to record the entire screen or a tab or even a particular section of the screen.
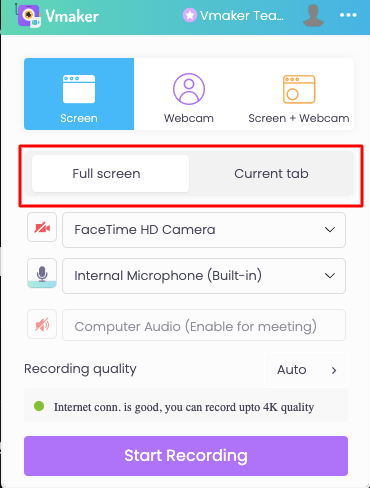
4. Enable the ‘Full Screen’ option in case you juggle multiple tabs
Again, the script will help you to figure our if you have to juggle the multiple screens while recording your screen or stay on one. So, in case you have the necessity to switch to more than one tab, or even window, then make sure to disable the Current Tab option and select the ‘Full screen’ mode like shown in the screenshot below:
5. Avoid external disturbances while recording
Identify the ideal location for recording the video. Make sure that there are no disturbances from external sources while recording. If there are disturbances it could really hinder the video flow and might require a lot of editing later.
Vmaker’s noise cancellation feature ensures that your screen recordings are void of even small background noises and disturbances.
6. Choose the right microphone and webcam for your recording
Microphones and webcam play a huge role in deciding the quality of your screen recording and it is crucial to have a high-quality microphone and webcam for recording videos.
It is advisable to not use the internal microphones in laptops. At the same time, there isn’t a need to invest heavily in a professional microphone as a very basic one that comes with an earphone itself could do the job.
Likewise, Mac users need not worry about the webcam as the built-in one offers an unparalleled webcam recording experience. If you’re a Windows user then you might have to consider upgrading your webcam to a good enough one to create a good video.
Ensure that the recording software has the option to connect external microphones and webcam. Vmaker enables users to choose from different microphones and webcams that are connected and made available.
7. Include screen annotations, mouse emphasis, and webcam overlay features
Screen annotation, mouse emphasis, and movable webcam overlay allow users to make the screen recording engaging and interactive. However, overusing the tools will create an unpleasant viewing experience.
Annotating the screen create an engaging experince to the audience but keep them whereever necessary. Constantly hovering the mouse on the screen and clicking makes it difficult for the viewer to understand what is being conveyed on screen. Overusing is no good.
Similarly, screen drawing or annotations could also be a great way of creating engaging videos but it is very important to use it wisely.
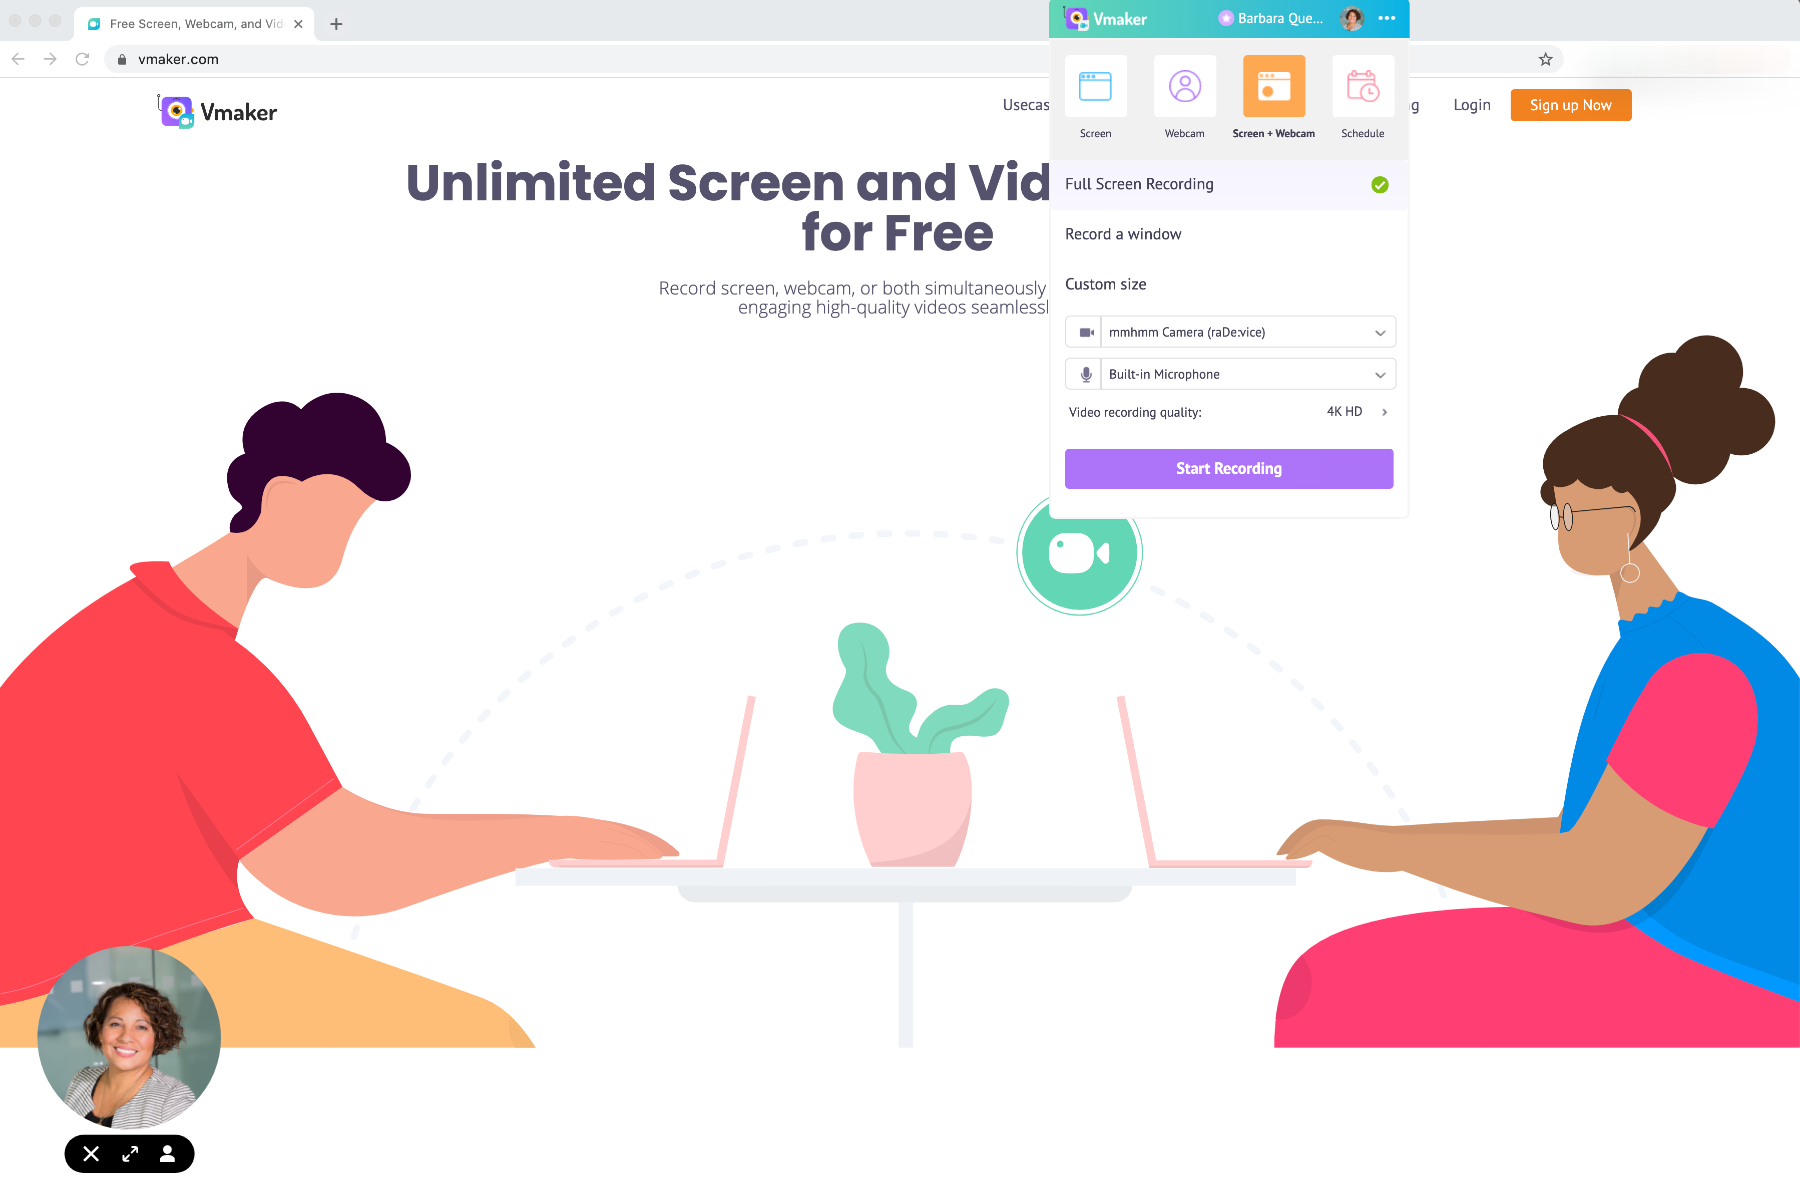
Position your webcam overlay at the right place:
If you’re recording with a webcam overlay then the position of webcam overlay plays a key role. The webcam overlay on the side of the screen mimics an in-person experience for the audience. However, it should not overshadow the screen that you’re presenting.
To tackle this practical difficulty, Vamker has introduced the option to resize or reshape the webcam overlay. But if you have a lot of white space in the background, then play along with different frames that Vmaker has for the webcam overlay.
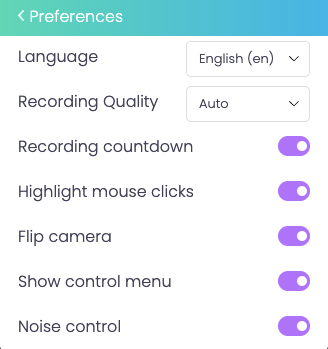
8. Avoid using the control menu and switch to hotkeys to avoid extra elements on the recording
Most of the recorders come with a control menu that has shortcuts to pause, finish, delete the recording, and much more. But each and every click on the control menu drags the focus of the users away from the mainframe.
The best way to avoid losing the user's focus is by disabling the recording menu and using hotkeys while recording. By doing so you can freely pause recordings and finish recording without distracting the user.
Vmaker comes with hotkeys and also the option to disable the recording menu ensuring users can record videos without the recording menu.
9. Add a quick intro and conclusion to your recordings to add extra clarity
An intro and outro to the video are more like a teaser and post credits! A quick intro can be a compilation of small video snippets or a dedicated inrroduction to give a sneak peak of what the audience can expect from the video.
Similarly, an outro can help you in two ways: Firstly, it can be a wrap-up or a summary of your whole video; Secondly, an outro can also be a prelude to the next video you might record. Keeping your audience in loop is the first step to stay on top their head.
10. Edit out and add creatives automatically with AI
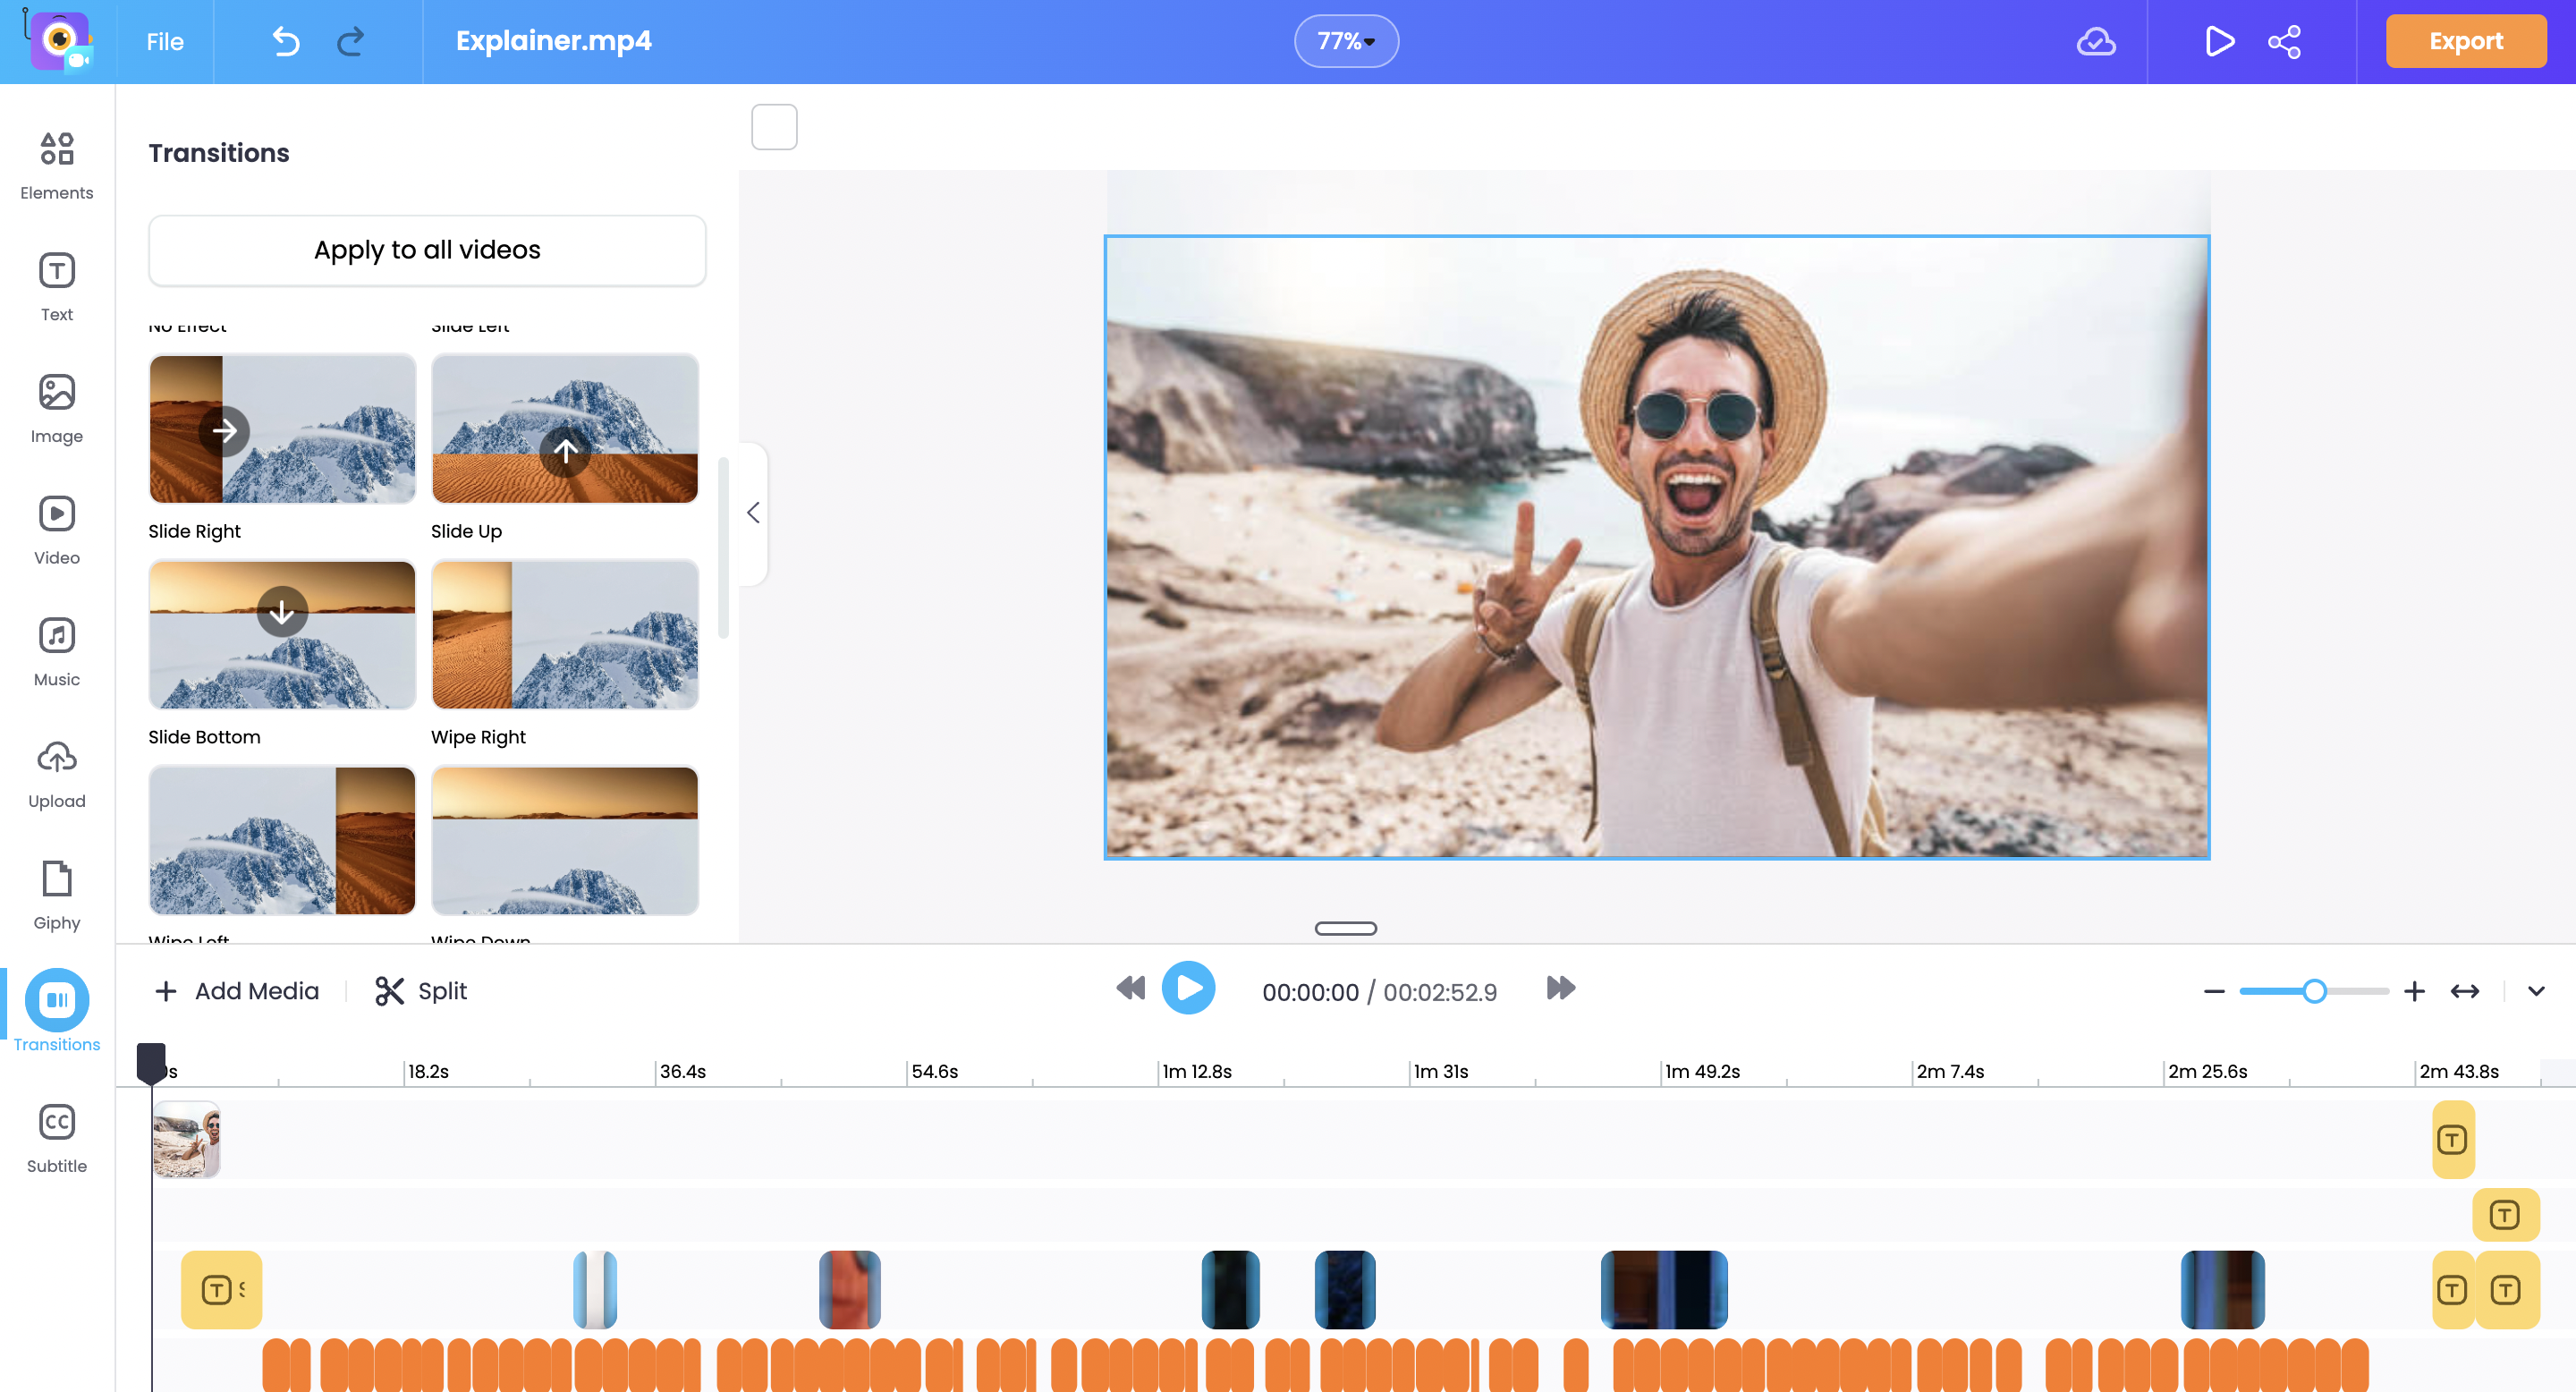
No matter how focused you are while recording videos there are bound to be instances where there are few pauses and breaks. Once you finish recording the video, edit the sections that you feel are unnecessary or extra.
ou can use our very own AI video editing tool to turn your raw video footage into publish-ready content with just one click. All you have to do is upload your raw footage and select the kind of visual enhancements or elements you want to add to your video like Subtitles, B-rolls, Background Music, Text Animations, etc— Vmaker AI will automatically add them for you.
Not just AI, it also comes with an intuitive timeline. So, you can easily edit the parts of the video as you like.
Being aware of the actionable tips like these can save you a lot of time before and after your recording session.
Now that you have got a clear idea on recording videos including tips and tricks. Sign Up right away and start creating engaging videos for free using Vmaker.
Further Screen Recording Resources:
10 Best Free & Paid Screen Recorders To Checkout In 2023
How to Film Yourself Without Freaking Out | Actionable Recording Tips
How to Make an Engaging Screencast? Four Easy Steps and Tips
How to Screen Record on Windows with Chrome Extension
How to Record Screen and Webcam on Windows 10
How to Screen Record on Windows 7 with Audio