How to screen record on Chromebook
Try Vmaker’s free screen recorder for Chromebook that allows you to record videos and edit them in a single place.
- Screen record videos with a webcam overlay
- Record videos with internal and external audio
- Automatically store your videos in the Cloud
- Share videos instantly with links
Step-by-Step guide to Vmaker’s Screen Recorder for Chromebook
Follow the steps below once you download and install Vmaker’s Chrome plugin on your browser
Step 1
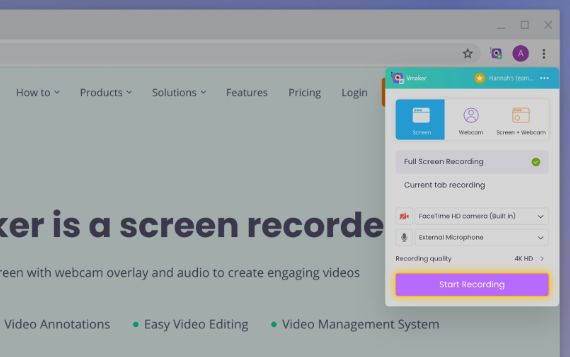
Start Vmaker plugin on your Chrome browser
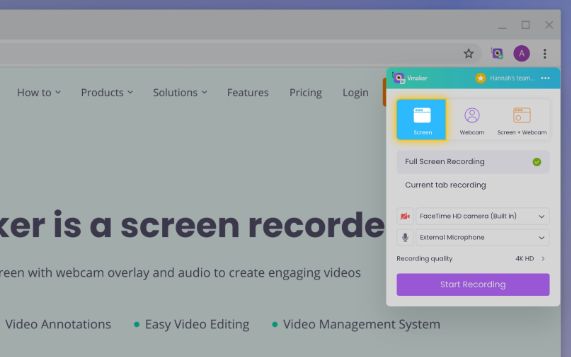
Start Vmaker and choose the “Screen” recording mode.
Step 2
Select the size of the screen you want to record
There are three options available to choose from:
- Full-screen recording: Here you can record your fullscreen
- Current tab: Here you can choose a particular window and record it

Step 3
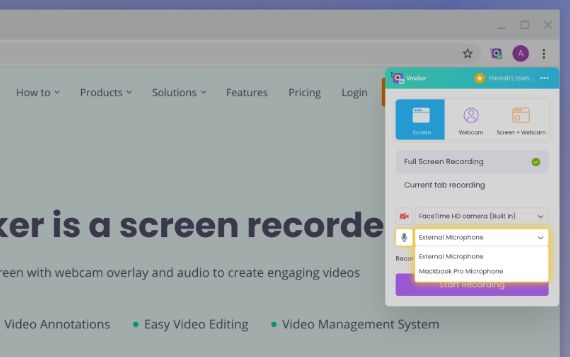
Select the microphone of your choice
You can use your system microphone or an external microphone to record your audio. Your system audio will be automatically recorded.
- Tip - Use headphones for better audio quality
Step 4
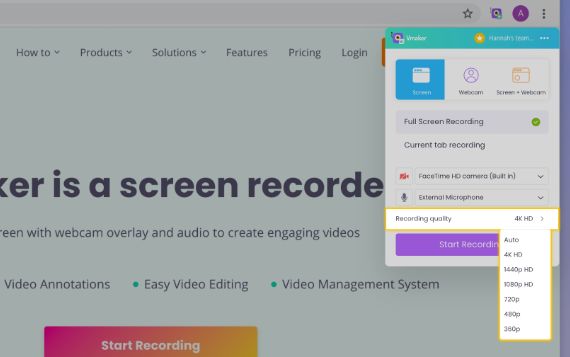
Set the resolution of your video for better clarity
You can set the resolution of your video from 360p to 4K HD resolution according to your needs. Select the highest resolution to record your video with better clarity.
Step 5
Click on the “Start Recording” button
Step 6
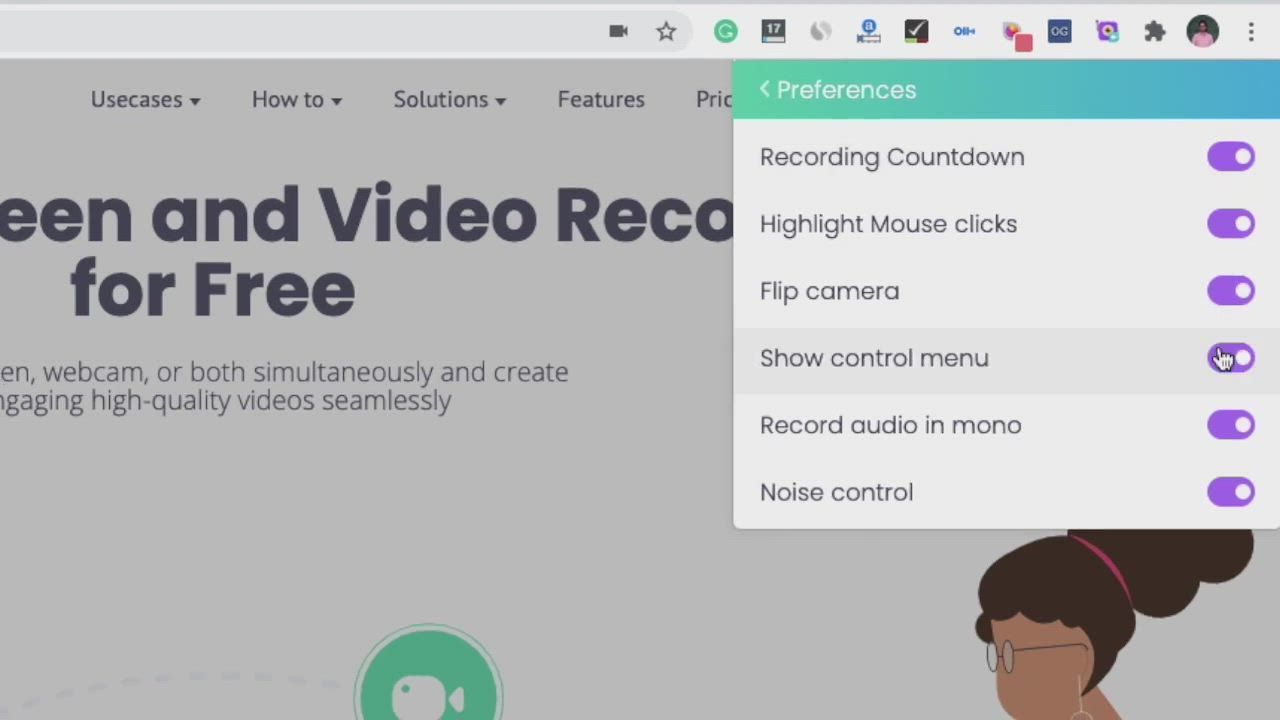
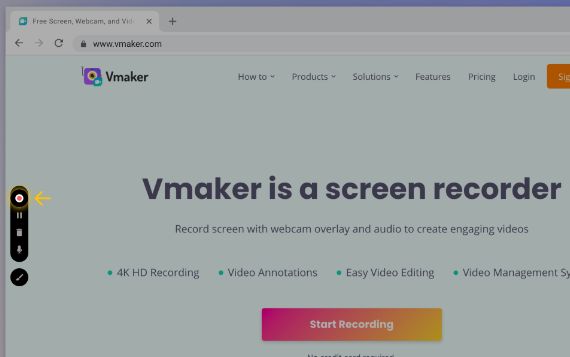
Use screen annotations to make videos engaging
Use mouse click highlights and drawing tools to point out the important details on your screen

Step 7
To stop recording click on the red icon or the dock button
Once you finish recording your video will be automatically uploaded to your private cloud account form where you can view, edit, download, and share your videos.
Screen record on Chromebook with audio for free
Free for lifetime. No credit card required.
Why should you choose Vmaker to capture screen videos on Chromebook?
-
Unlimited recording
![Unlimited recording]()
With Vmaker, you can record an unlimited number of videos on your Chromebook device without any watermark for free.
-
![Unlimited recording]()

-
Record and edit videos
![Record and edit videos]()
Along with recording your videos, you can also edit your videos with Vmaker. You can cut, trim, rotate, add music, and do much more.
-
![Record and edit videos]()

-
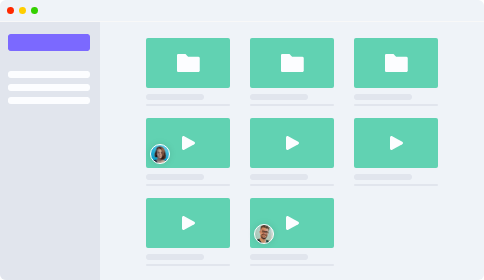
Share and access it with ease
![Share and access it with ease]()
Every video you record is stored on the cloud, making it easier to share and access the recording from anywhere and on any device.
-
![Share and access it with ease]()

-
Collaborate with teammates
![Collaborate with teammates]()
Share the recordings with your teammates over a shared workspace and collaborate effectively. Now take the next actions and share updates of the same over videos!
-
![Collaborate with teammates]()
Start recording your videos with Vmaker’s free screen recorder for Chromebook
Free for lifetime. No credit card required.
Frequently Asked Questions
To record a video playing on YouTube:
- Go to the page from which you want to record the video
- Start Vmaker plugin on your browser
- Select “Current Tab” mode
- Now click on the “Start Recording” button
- Now play your video in the full-screen mode
- Once you are done recording use the free video editor to chisel out the unnecessary part
- Now your video is ready to be watched and shared
Learn more about how to screen record on Chromebook
To create a video for YouTube:
- Go to the presentation or the document you want to share
- Start Vmaker plugin on your browser
- Click on “Screen + Webcam”
- Select “Current Tab” or “Full Screen” mode
- Now click on the “Start Recording” button
- Once you are done recording use the free video editor to chisel out the unnecessary part
- Now your video is ready to be uploaded on YouTube
Learn more about how to record youtube videos here.
Using Vmaker you record not just Zoom meetings but other meetings as well. Here’s how you can record a meeting:
- Go to the meeting that you want to record
- Start Vmaker plugin on your browser
- Select “Current Tab” or “Full Screen” mode
- Now click on the “Start Recording” button
- Once you are done recording use the free video editor to chisel out the unnecessary part
- Now your meeting recording is ready to be use for later reference or shared with your colleagues
No. All your screen recordings will be made available on the cloud so you don’t have to worry about downloading the huge recording file and saving it locally. But we also have the option to download your recording in case you need to save it locally.
You can record your screen on a Chromebook in simple steps. Download and install Vmaker’s Chrome plugin on your browser. Once installed, click on the Start Recording button to record your screen.
There are several screen recorders that work on Chromebooks. There are some important factors you should consider in screen recording software for Chromebooks. Factors one should look for before choosing the best screen recorders for Chromebook:
- User-friendliness
- Reviews
- Features
- Compatibility
- Pricing policies
Check out the best screen recorder for Chromebook here.