Contents
1. How to record internal audio on Mac using Vmaker
2. Record internal audio on Mac using Aiseesoft
3. Capture internal audio on Mac using Awesome Screenshot
4. Record internal audio on Mac using Easy Audio Recorder Lite + Soundflower
5. Record internal audio on Mac using Audacity
6. Record computer audio on Mac using Recordit
7. Record computer audio on Mac using QuickTime Player + Blackhole
How To Record Internal Audio on Mac: 8 Simple Ways
Recording internal audio on Mac is tricky.
Every Mac ships with two built-in recorders, but neither captures internal audio and microphone audio at the same time.
The fix is a third-party screen recorder.
This guide covers 7 user-friendly Mac recorders that handle internal audio.
List of best internal audio recording tools for Mac
- Vmaker
- Aiseesoft Screen Recorder
- Awesome Screenshot Screen Recorder
- Easy Audio Recorder Lite + Soundflower
- Audacity
- Recordit
- QuickTime Player + Blackhole
1. How to record internal audio on Mac using Vmaker
Vmaker is an advanced screen recorder for Mac built for unlimited recording, editing, hosting, and sharing. Unlimited cloud storage, no watermark. Available as a Chrome extension, Windows app, Mac app, and iOS app (beta).
Pros
- Records screen with internal and external audio
- No watermark
- Multiple recording modes (screen, webcam, screen + webcam)
- Background noise control
- Virtual backgrounds for the webcam overlay
- HD on the free plan, 4K on paid plans
- Available in multiple languages
Cons
- Some advanced features require a paid plan

Steps to record internal audio on Mac with Vmaker
Step 1: Sign up for Vmaker and download the Mac app.
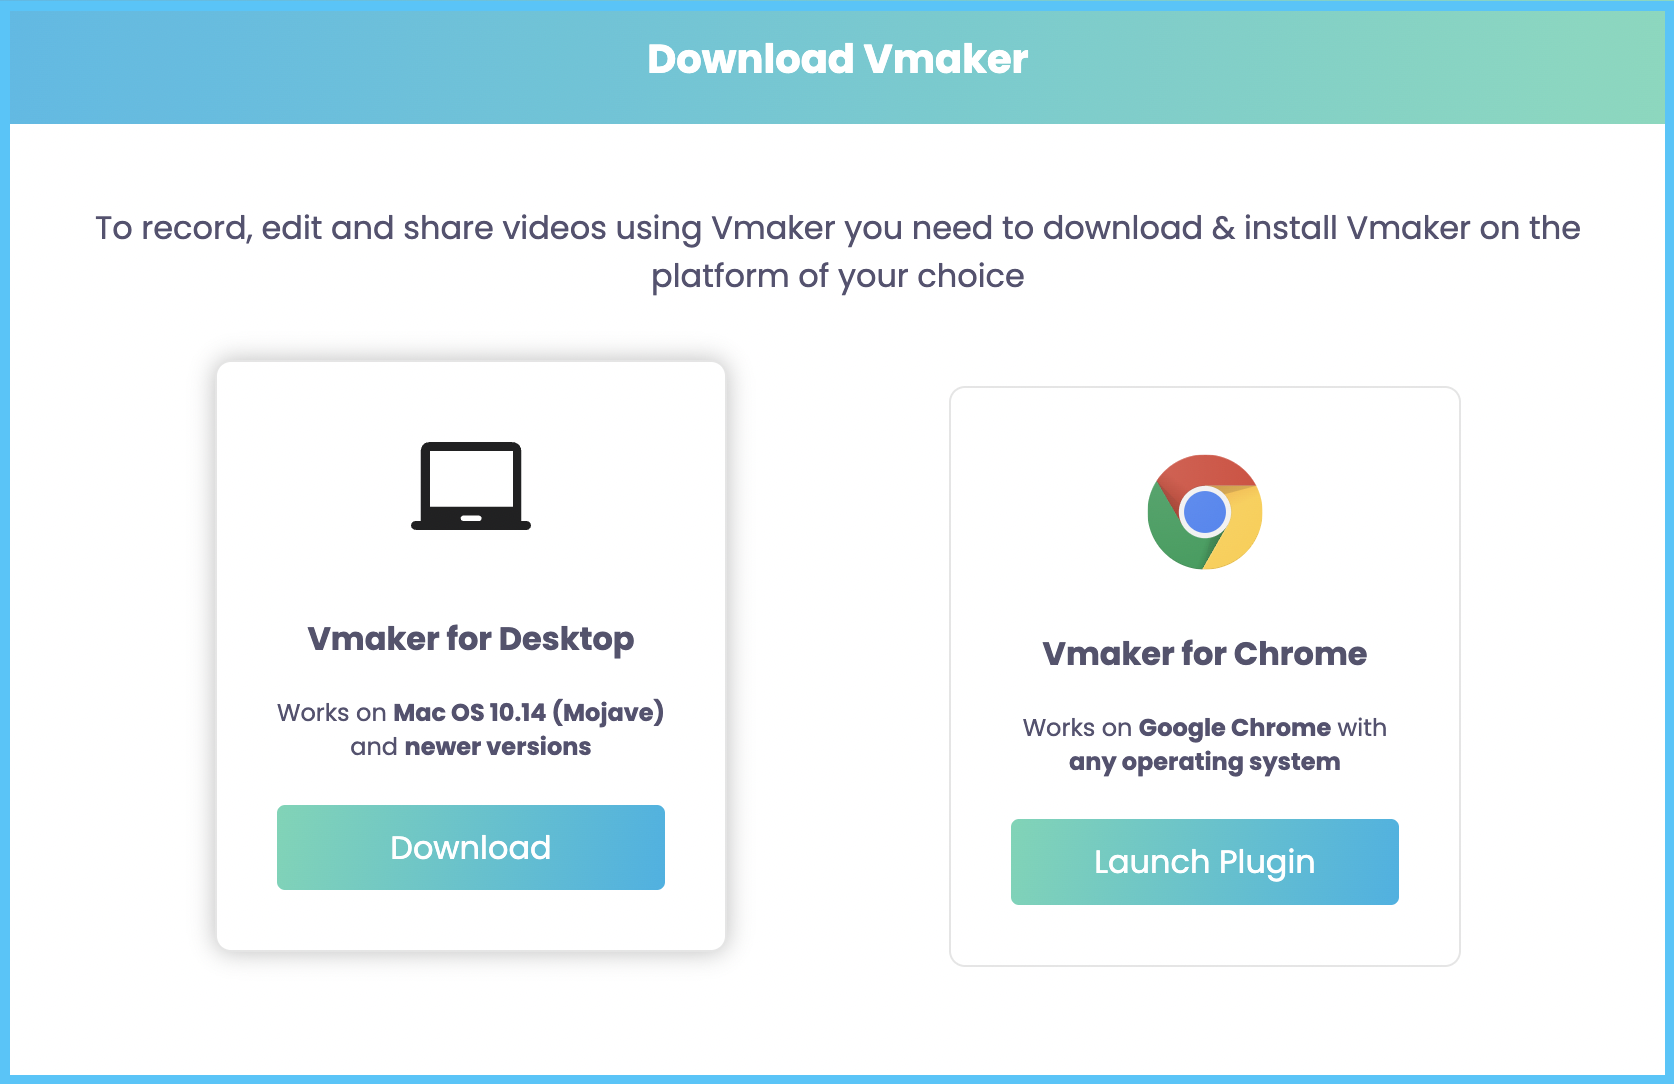
Step 2: Open the downloaded file. You will be asked to drag Vmaker into the Applications folder. Drop it in to finish the install.

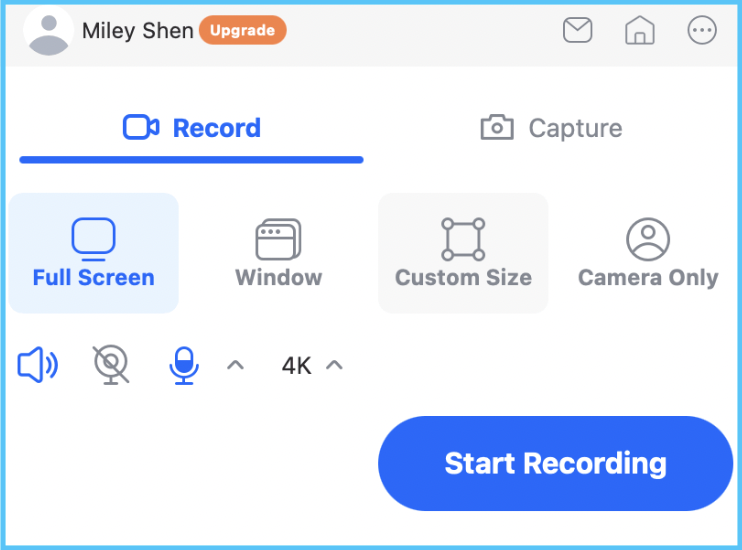
Step 3: Launch Vmaker. You will see a recording menu like the one below.
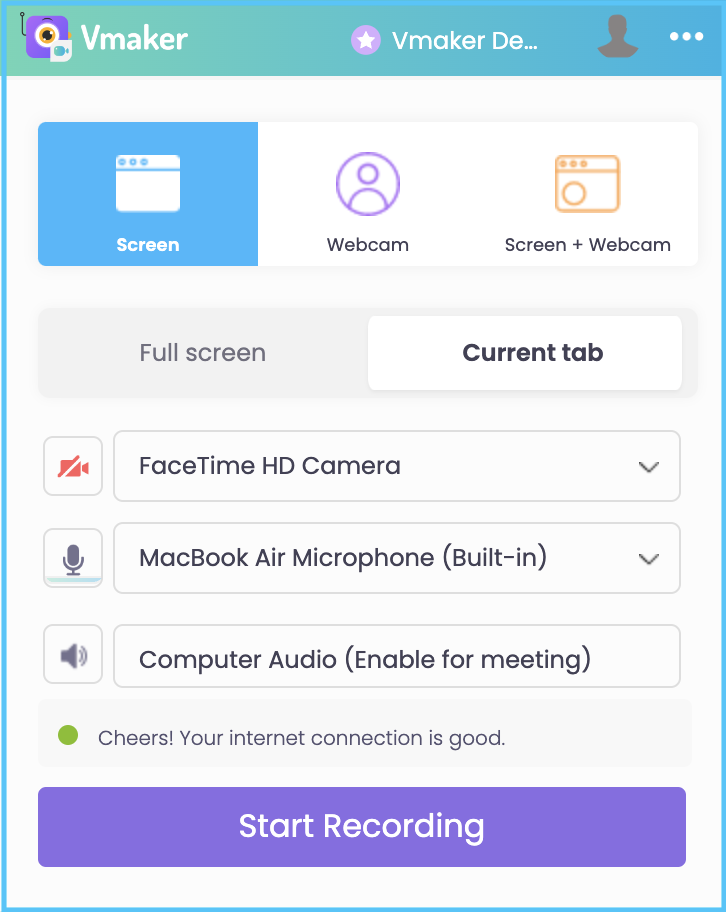
Step 4: Set your recording preferences: recording mode, recording area, audio inputs, and video quality.
For more advanced options like mouse-click highlighting and background noise control, click the three-dot menu in the top-right and pick Preferences.
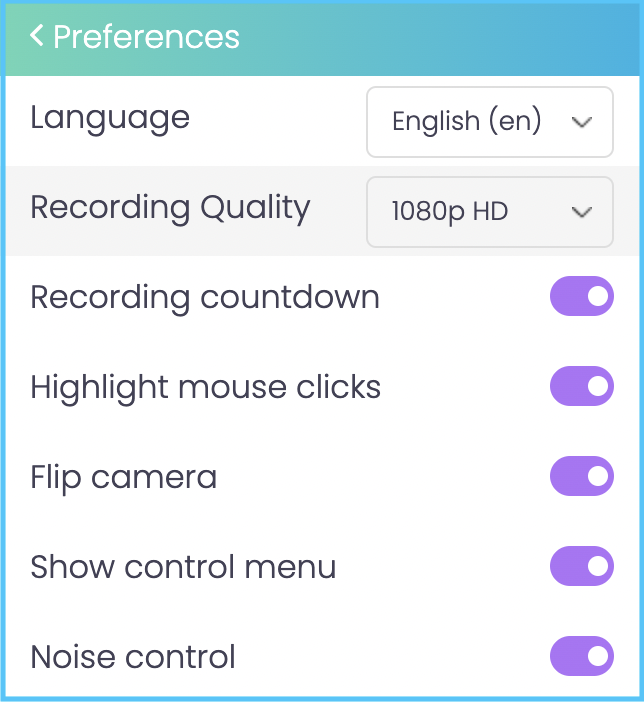
Turn on the features you want, then proceed.
Step 5: When you finish recording, click the red dock icon in the bottom-left corner to stop.
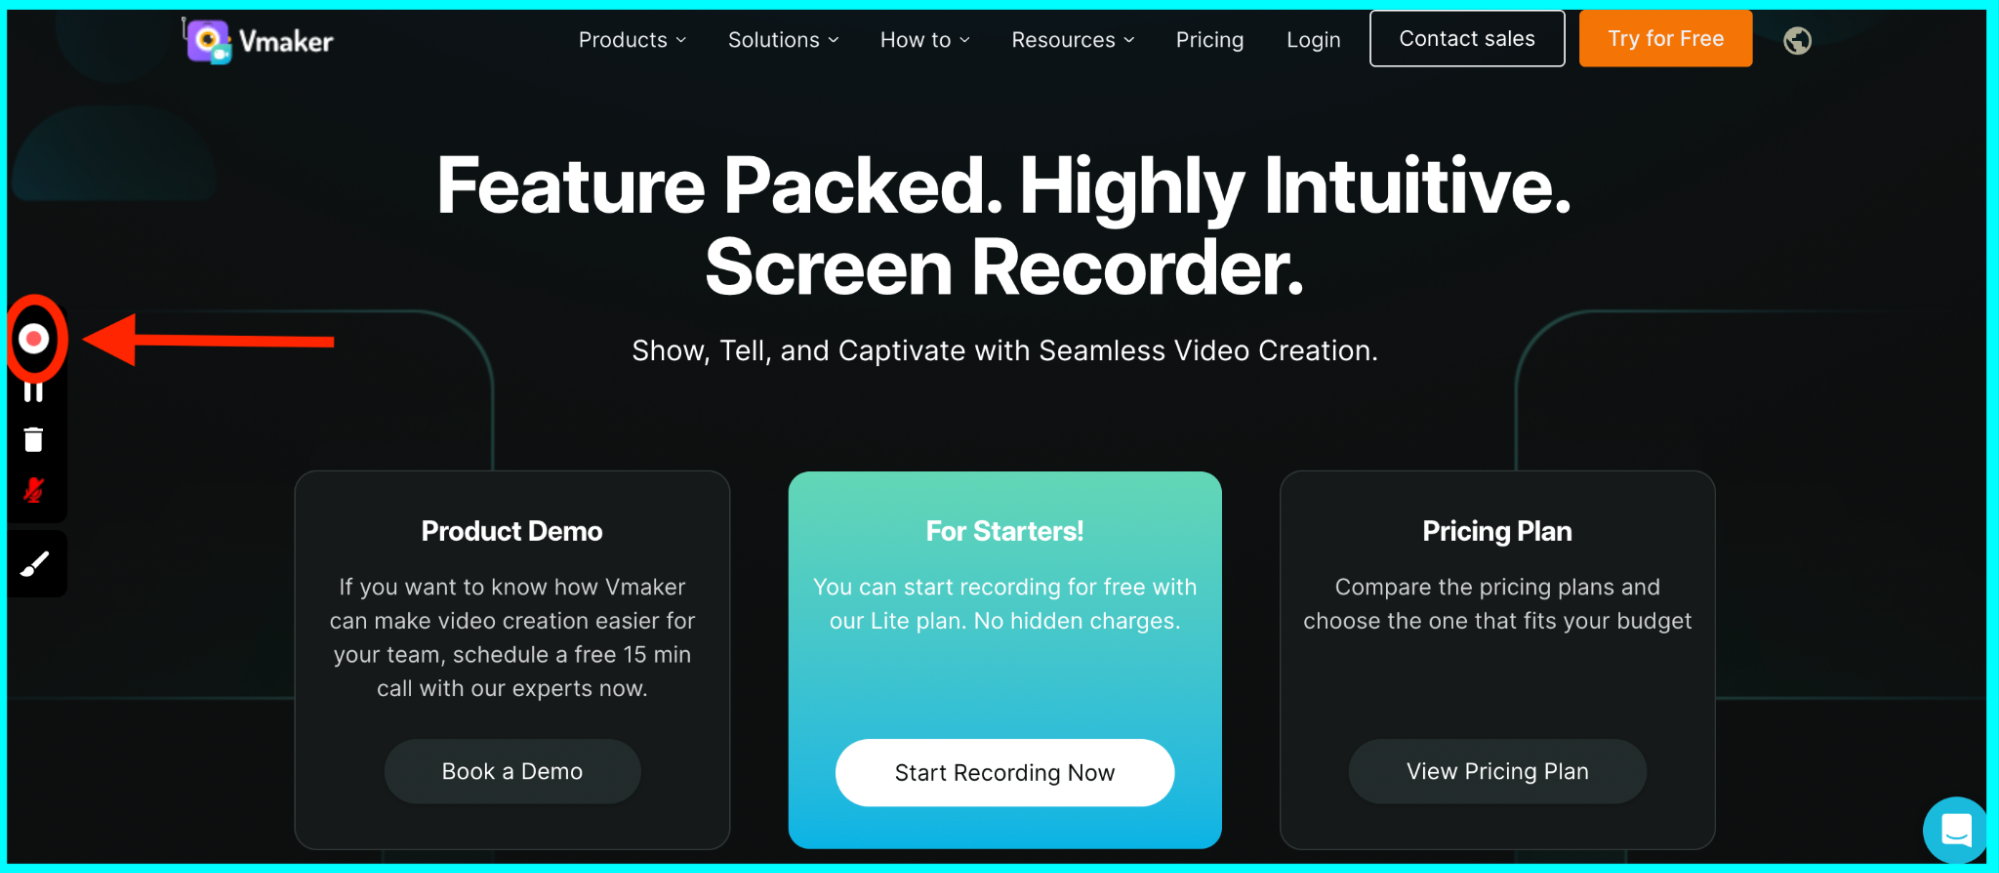
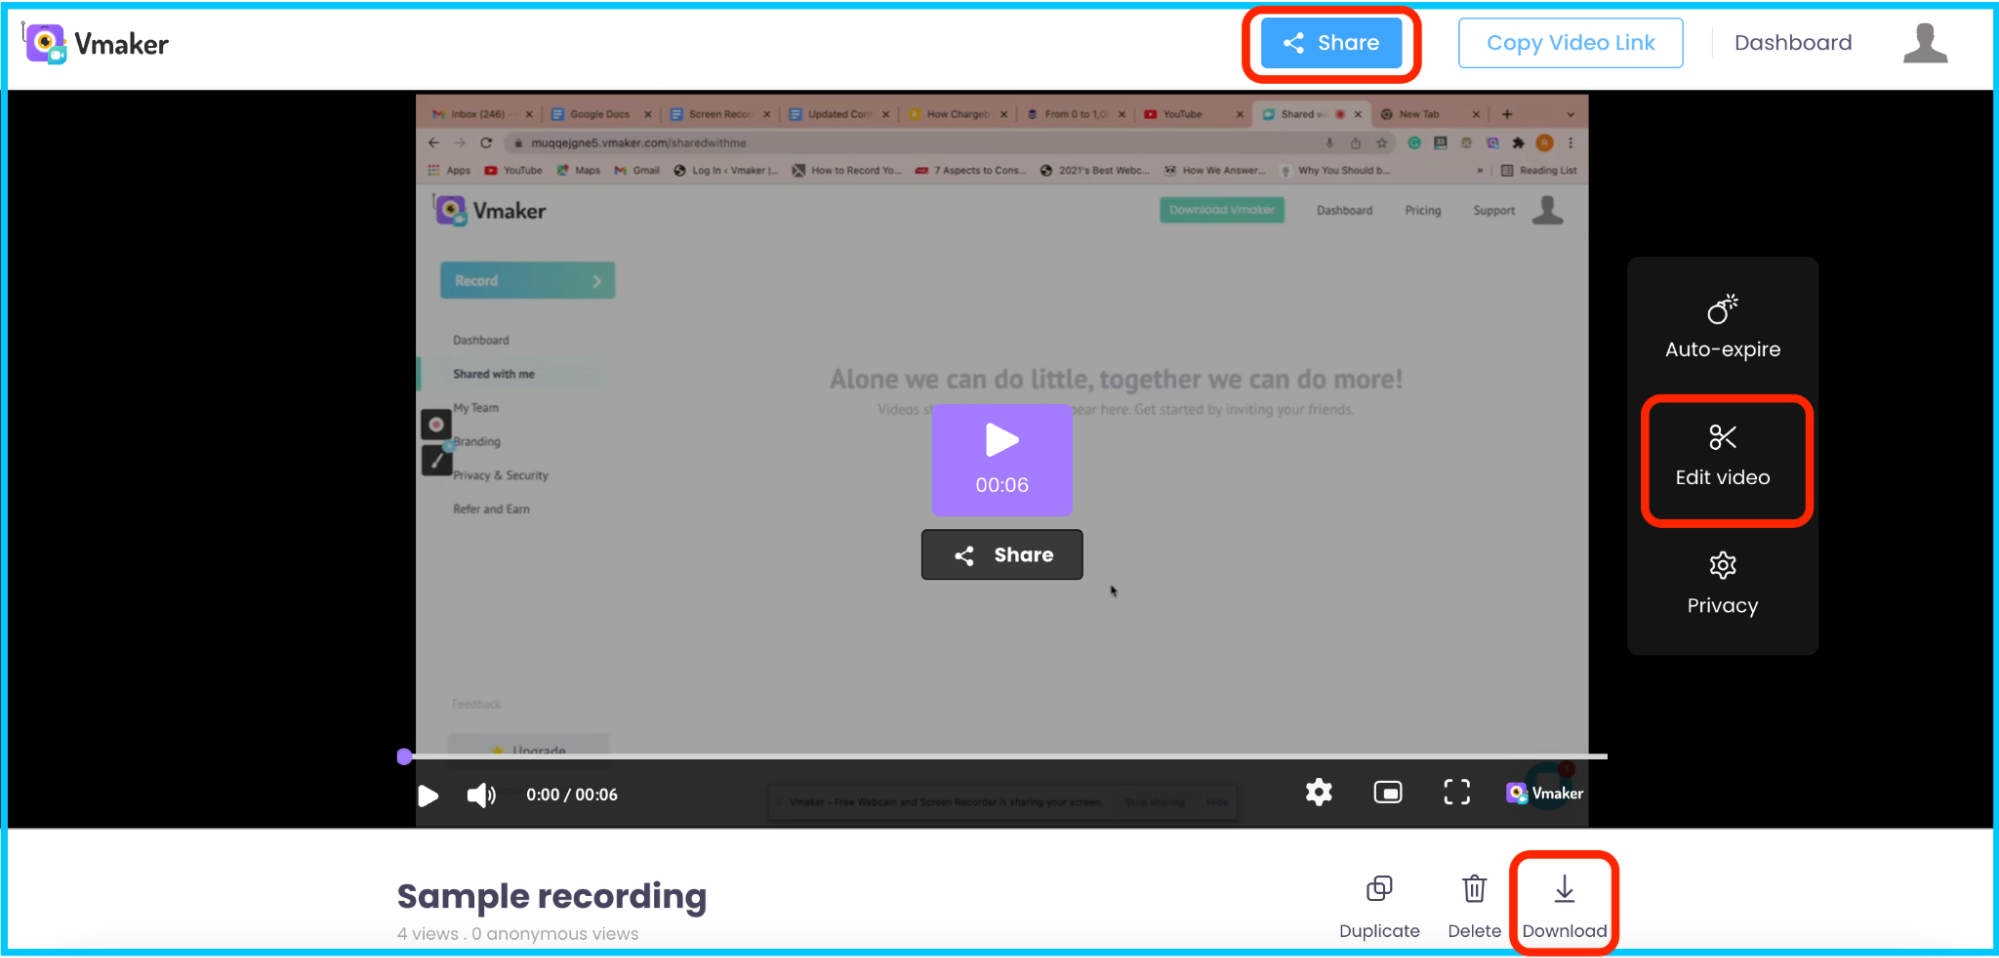
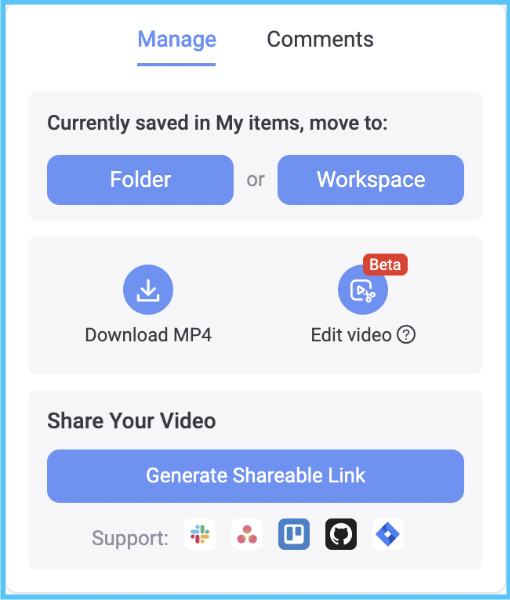
The recording opens on the Vmaker player page, where you can edit, share, or download the file.
2. Record internal audio on Mac using Aiseesoft
Aiseesoft Screen Recorder is a Mac screen recorder that captures screen and webcam with computer audio. It includes a built-in editor and supports multiple export formats.
Pros
- User-friendly interface
- Available in multiple languages
- Built-in screenshot tool
- Multiple editing options
- Multiple output formats
- Add text and lines while recording
Cons
- Customer service could be better
- Free plan caps recordings at 2 minutes
Steps to record computer audio on Mac with Aiseesoft
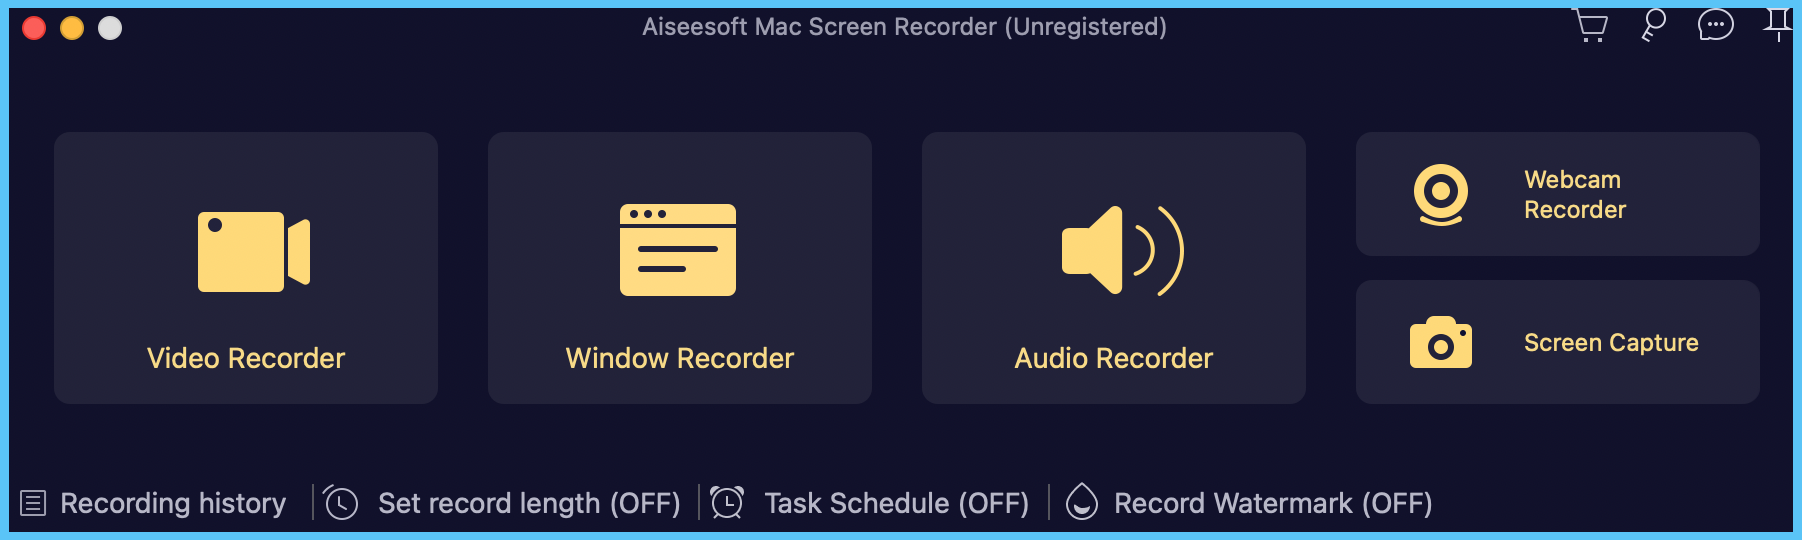
Step 1: Install Aiseesoft on your Mac.
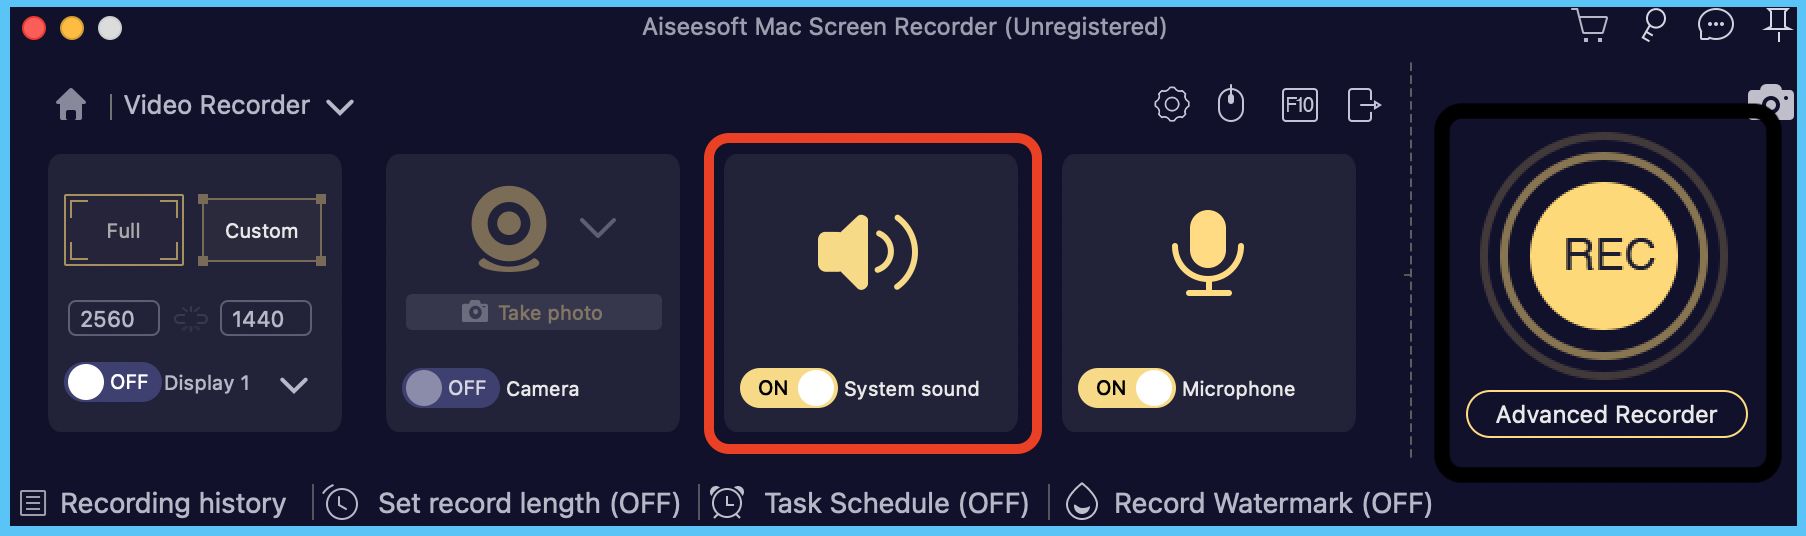
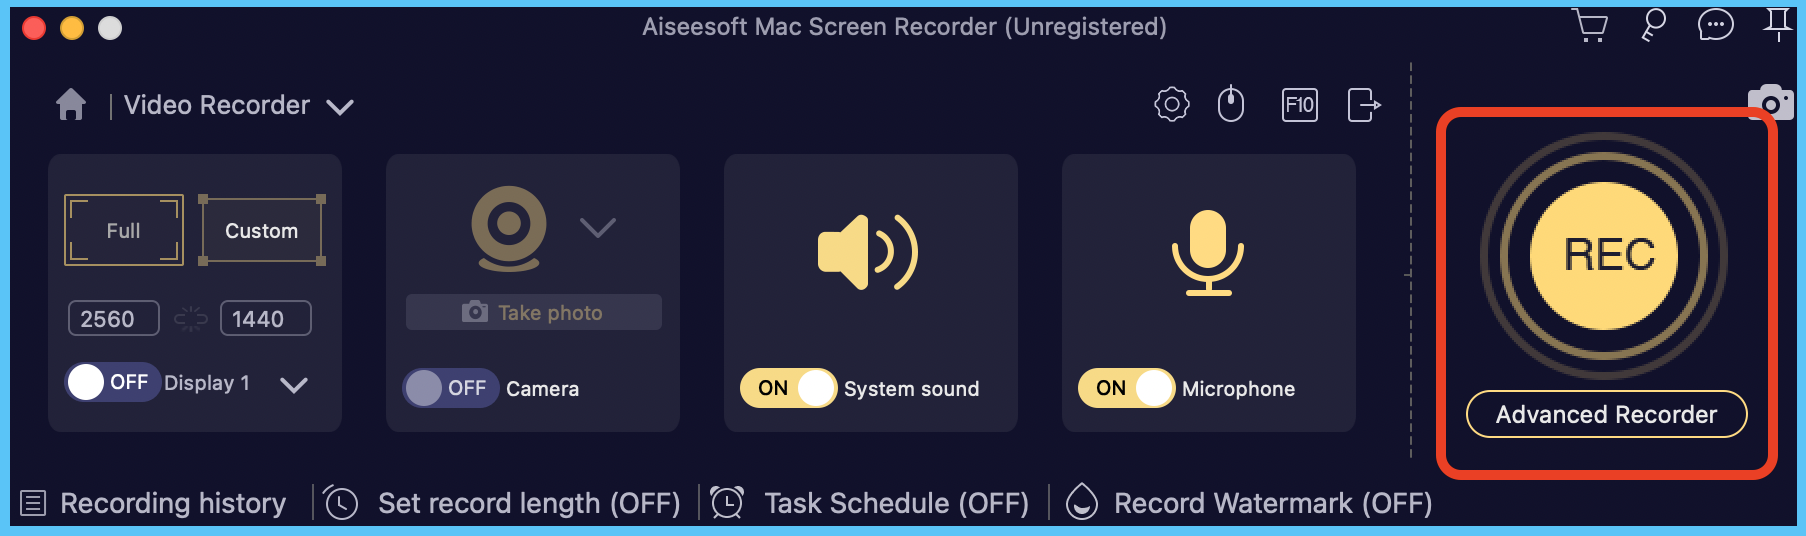
Step 2: Turn on System Sound. To also record your microphone, turn on the microphone option.
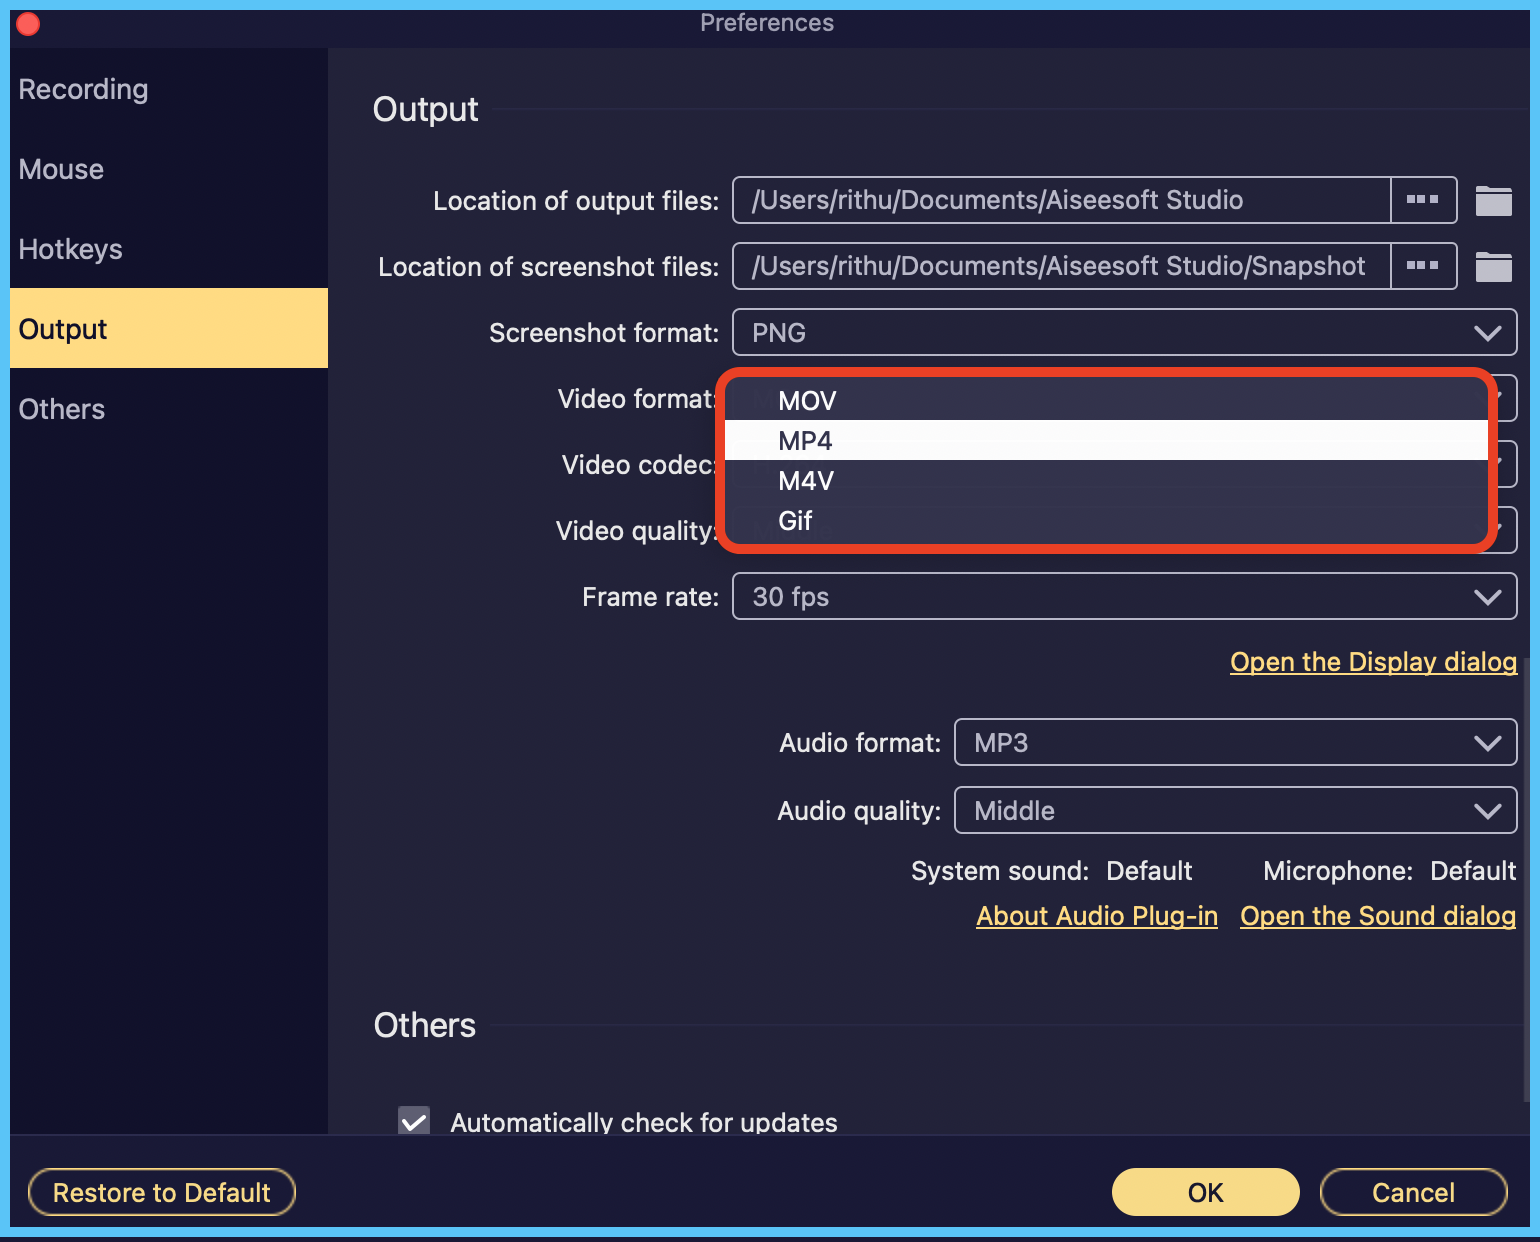
Step 3: Click Preferences and pick the output file format you want for the recording.
Step 4: Click Rec when you are ready to record.
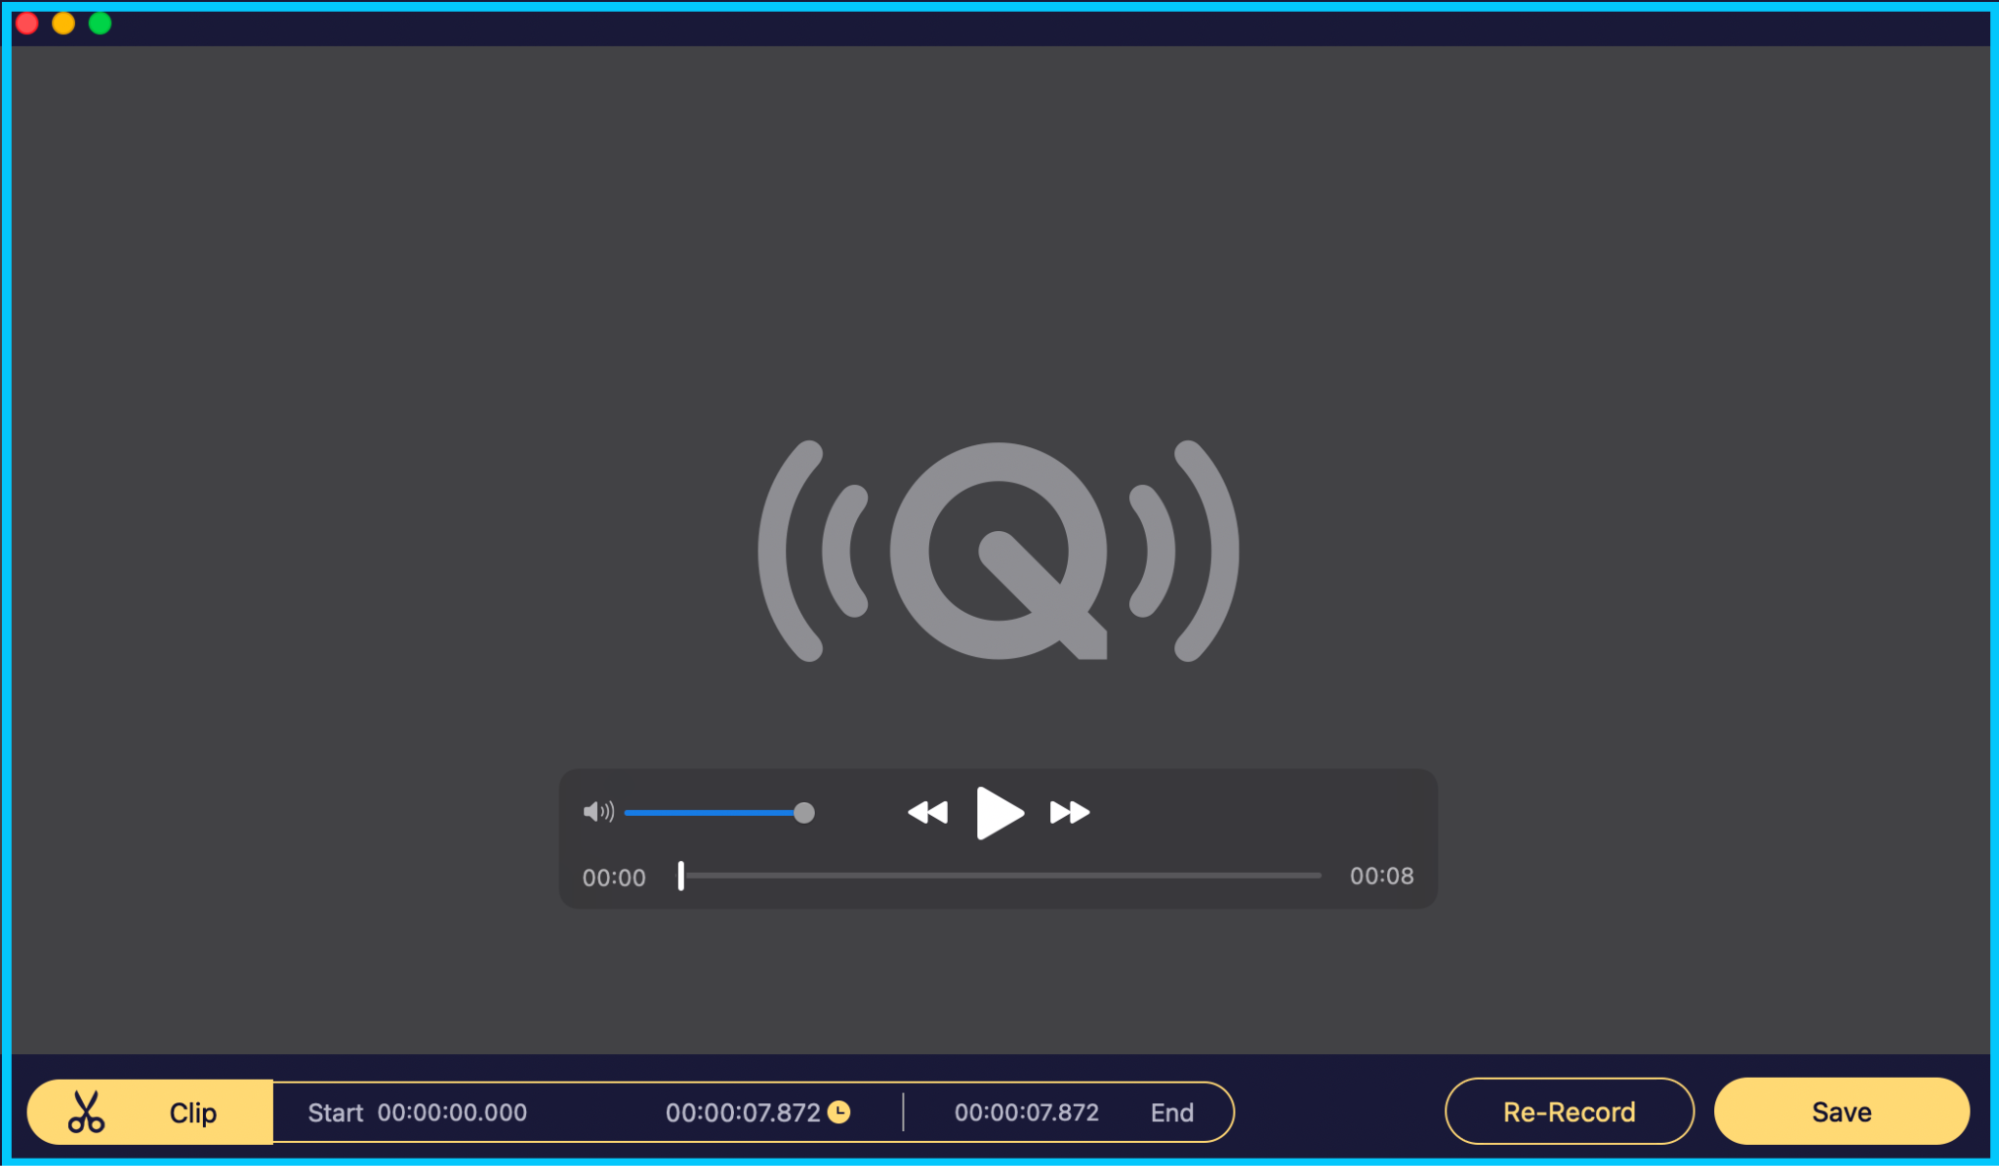
Step 5: When the recording stops, you can preview and export the video.
3. Capture internal audio on Mac using Awesome Screenshot
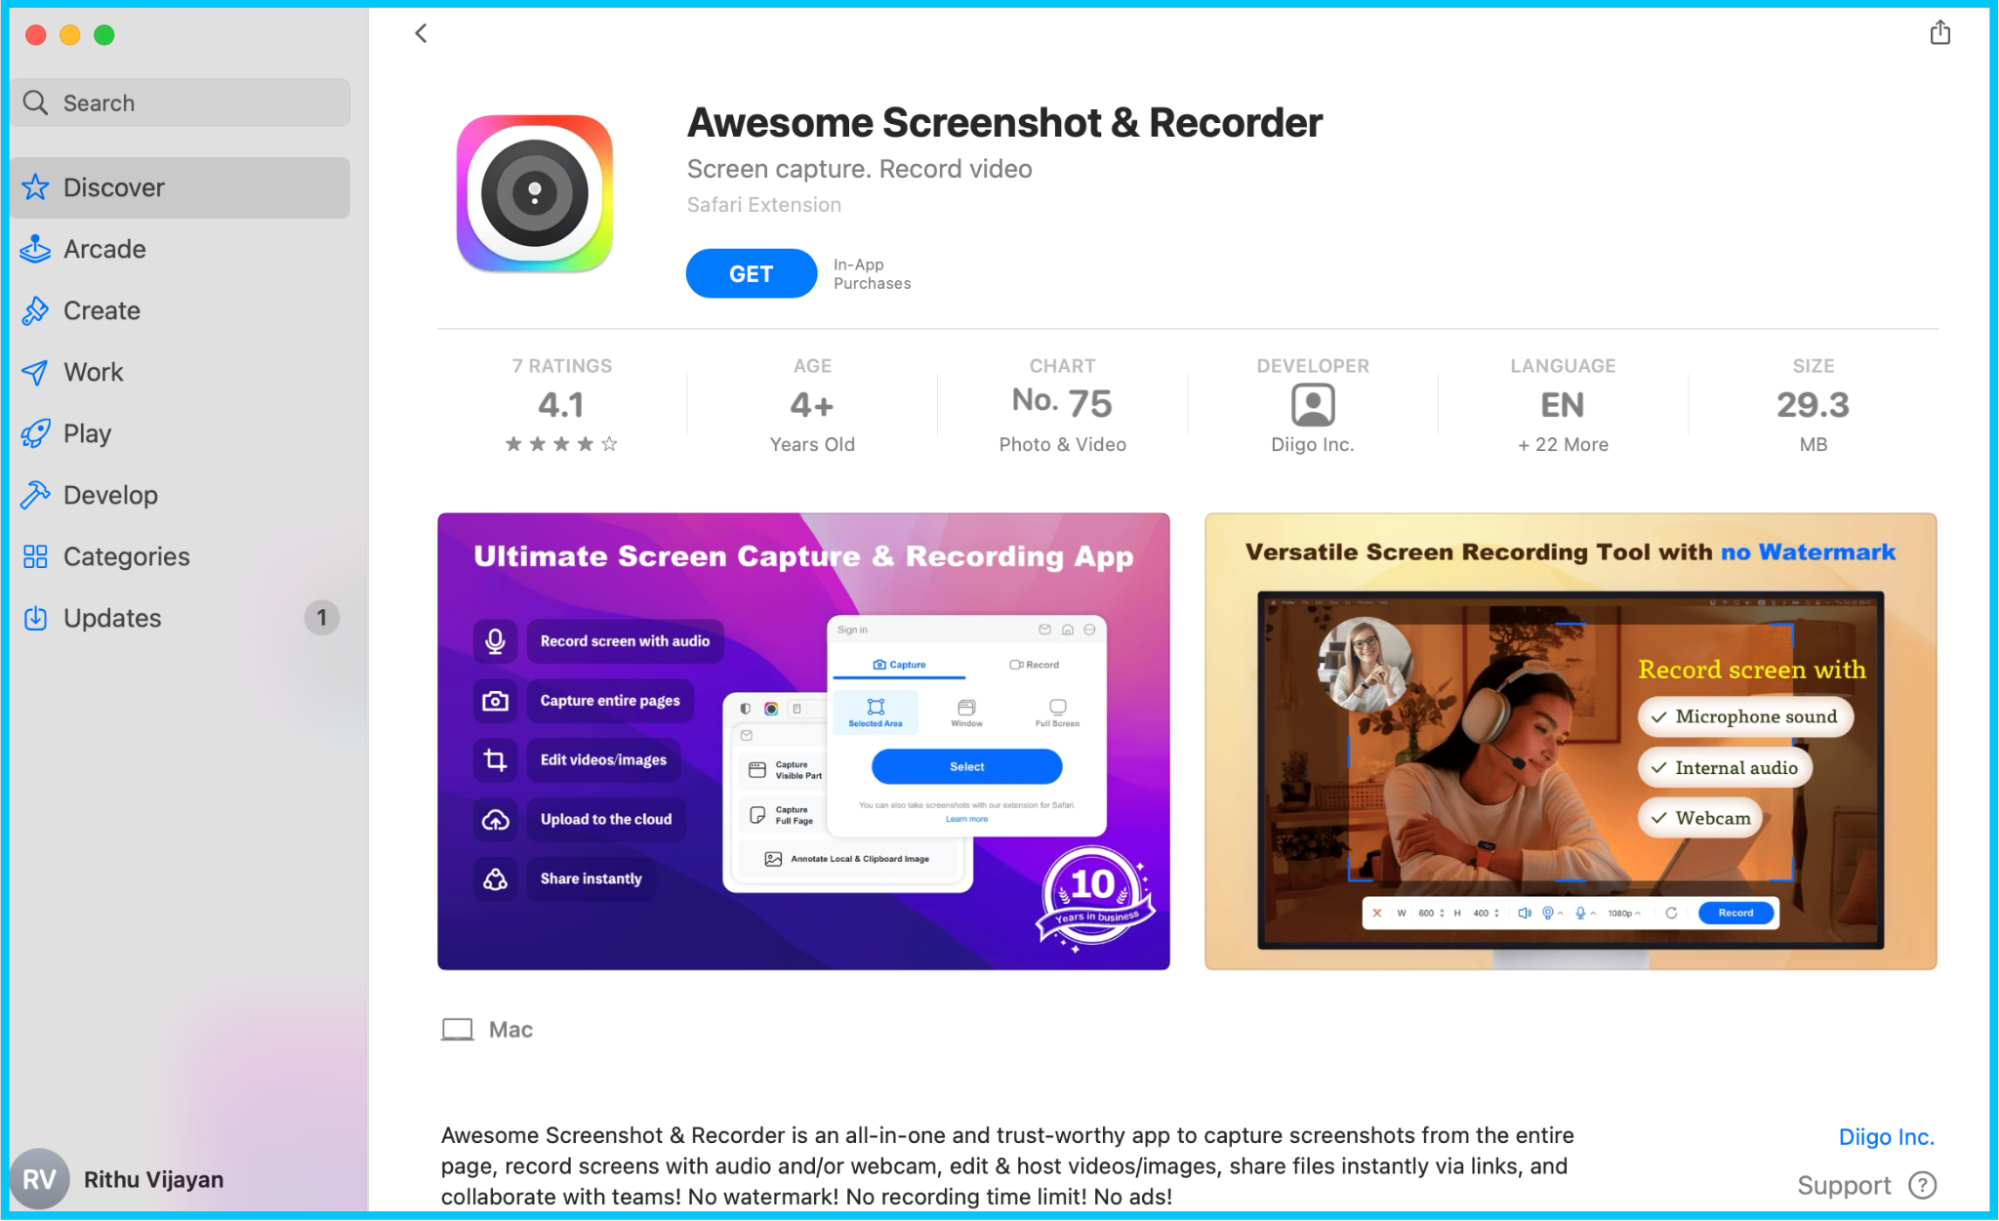
Awesome Screenshot is a popular screen recorder that has been around for over a decade. It captures quick screenshots, integrates with tools like Trello, Asana, Slack, and Jira, and handles screen recording too.
Pros
- Cloud storage
- No recording time limit
- No watermark
Cons
- Does not capture audio separately
- No collaboration tools
Steps to record computer audio on Mac with Awesome Screenshot
Step 1: Install Awesome Screenshot from the Mac App Store and launch it.
Step 2: Create a free account and log in.
Step 3: Set your recording preferences and start recording.
Step 4: Click the red icon at the top of the screen to stop the recording.
Step 5: Download, edit, or move the recording to a different folder.
4. Record internal audio on Mac using Easy Audio Recorder Lite + Soundflower
Easy Audio Recorder Lite is a lightweight audio tool for Mac and Windows. To capture internal system sound, you need a virtual audio driver like Soundflower or Blackhole.
Pros
- Lightweight, low storage footprint
- Easy email sharing
Cons
- Requires external software (Soundflower or Blackhole)
Steps to record internal audio on Mac with Easy Audio Recorder Lite and Soundflower
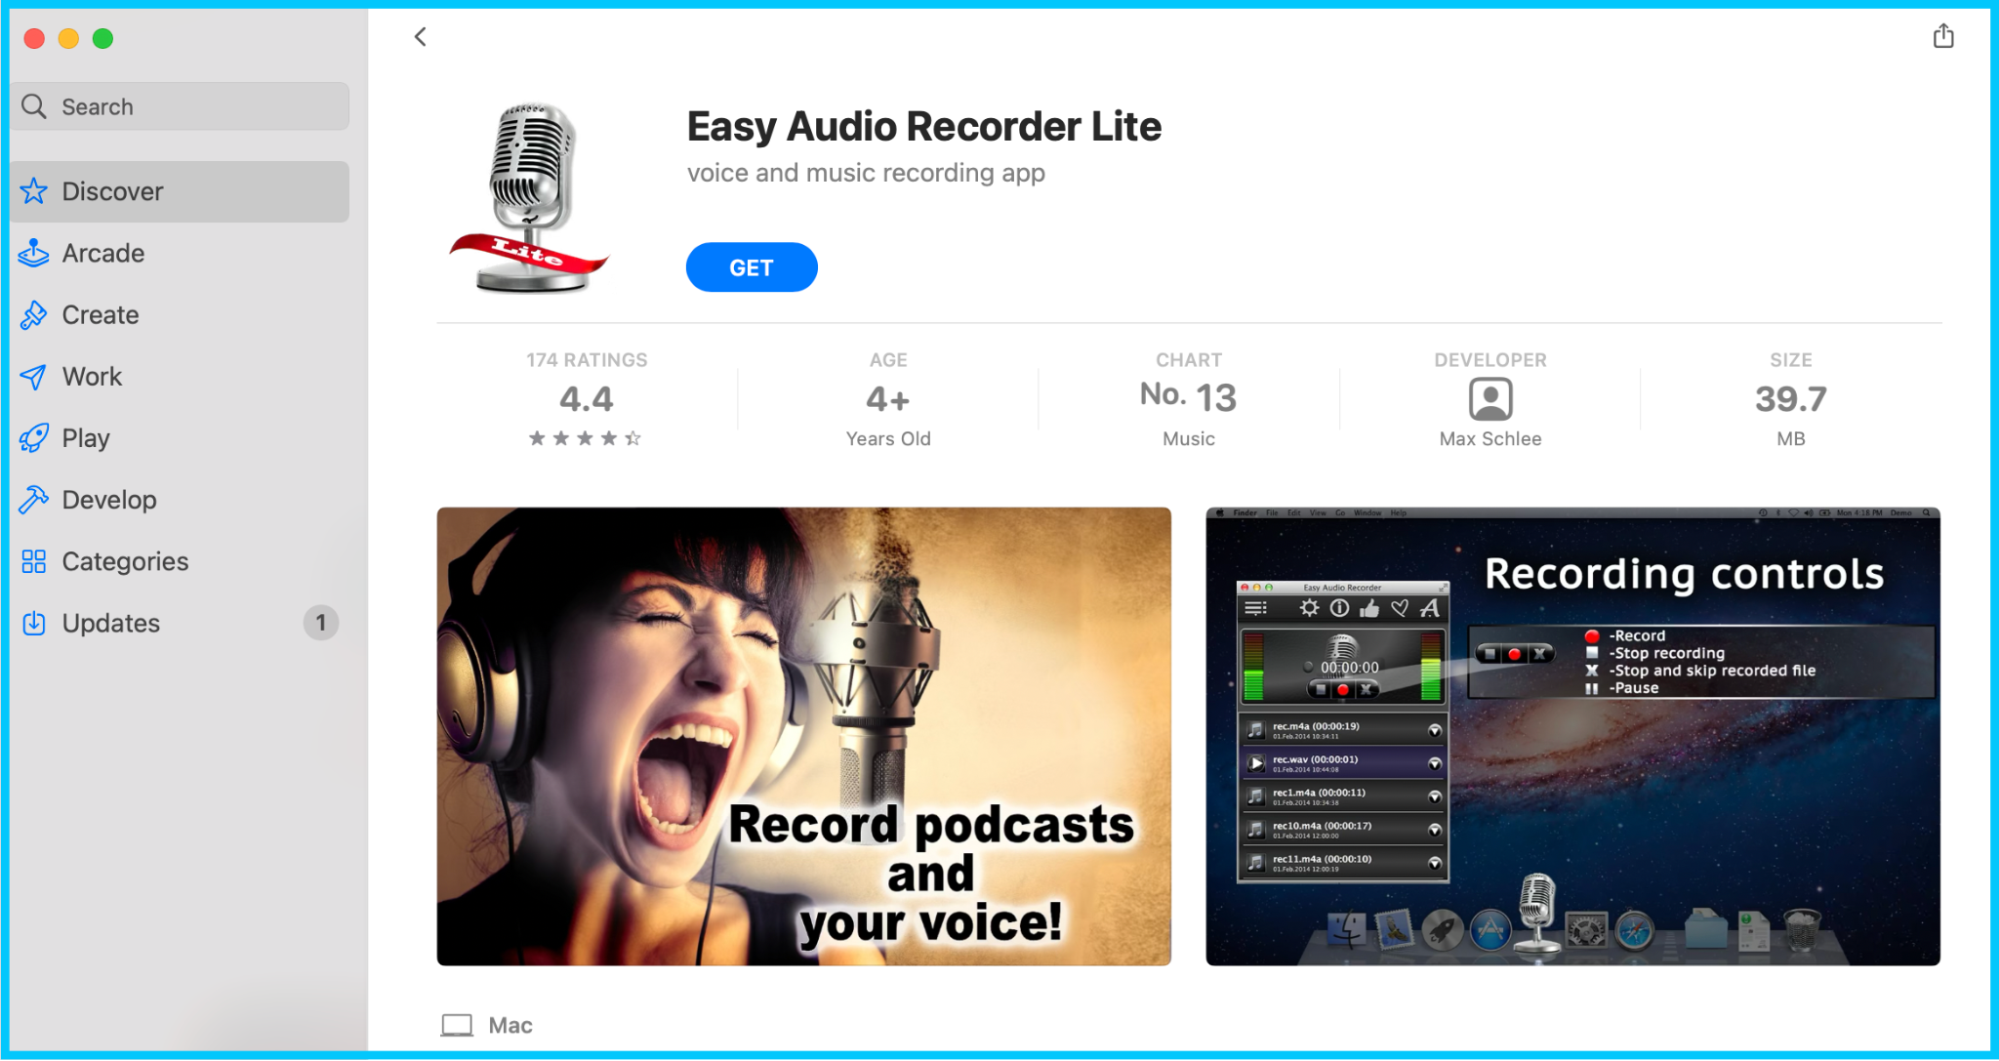
Step 1: Download Easy Audio Recorder Lite from the Mac App Store and launch it.
Next, install Soundflower. Soundflower reroutes your system's internal audio so it can be captured.
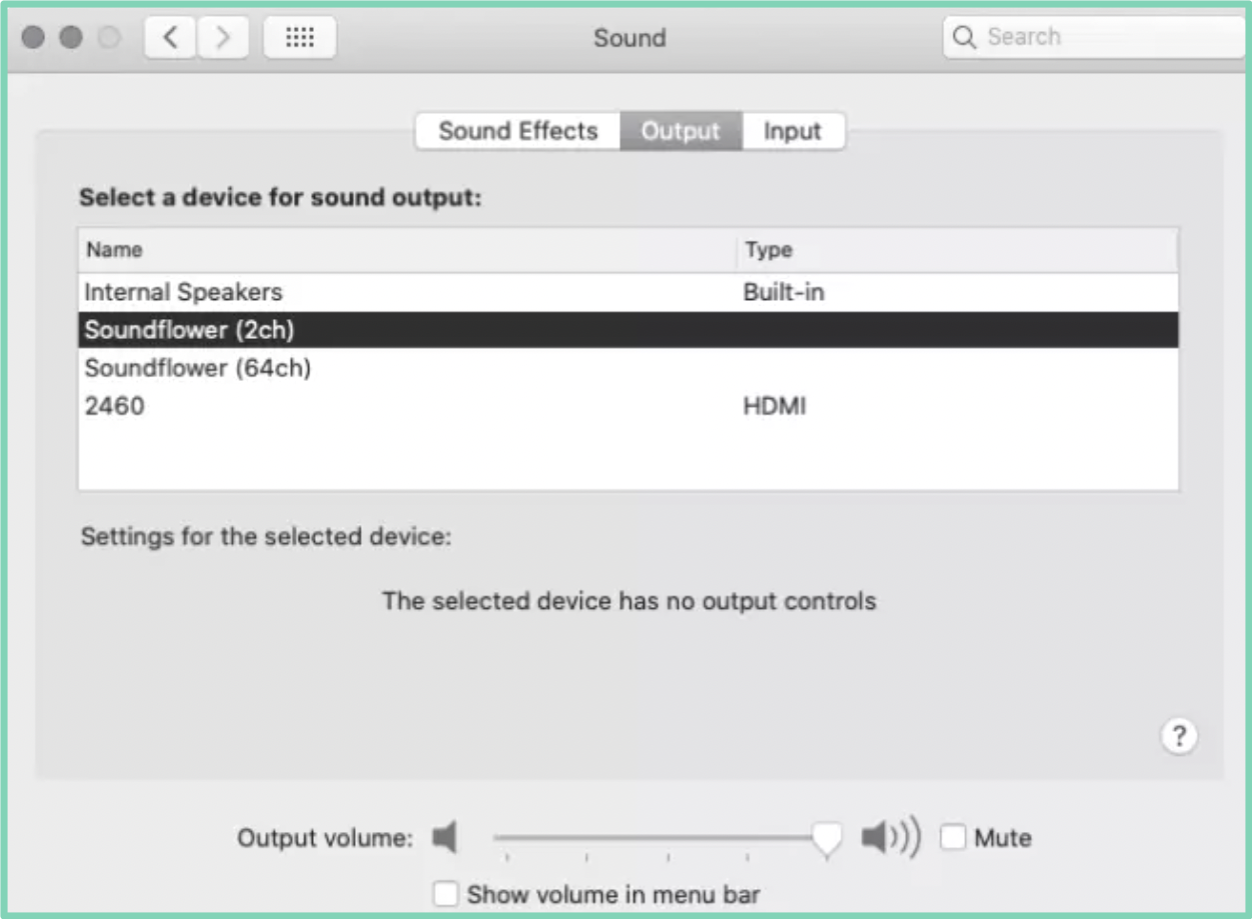
Step 2: Open System Preferences, click the Sound icon, and switch to the Output tab. Pick Soundflower (2ch) as your output device.
Step 3: In Easy Audio Recorder Lite, set Soundflower (2ch) as the input device.
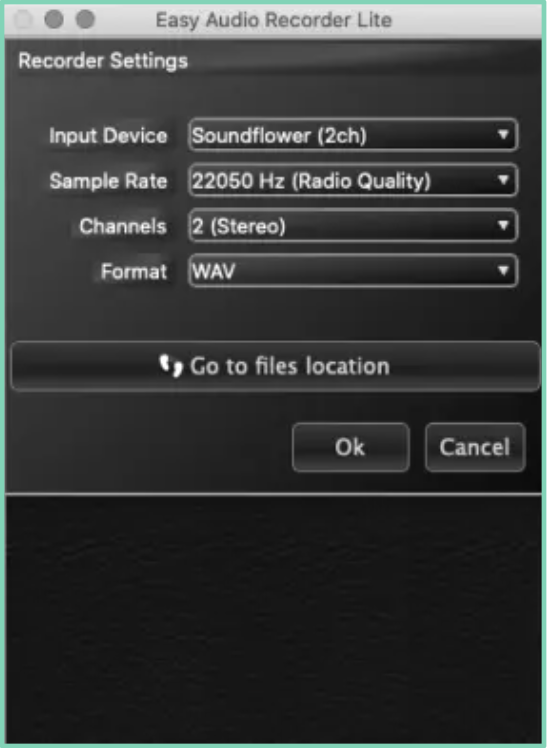
Step 4: Customise your recording, then click Record.
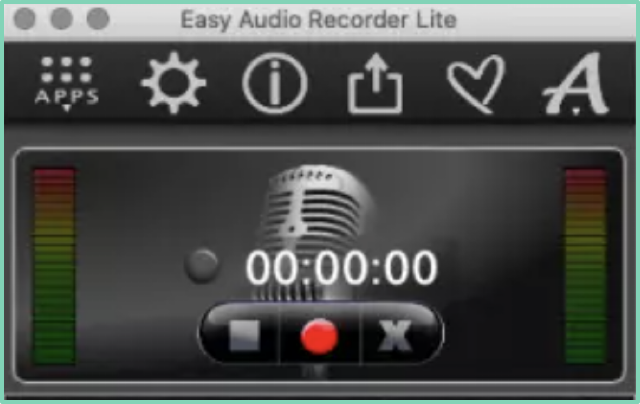
Step 5: When you finish, click the red dock button and save the file.
5. Record internal audio on Mac using Audacity
Audacity is an open-source audio editor popular with musicians and podcasters. It is free for Mac and Windows, supports MP3, AIFF, and WAV files, and can record internal and external audio when paired with a virtual audio driver.
Pros
- Noise removal
- VST plug-in effects
- Bass boost
- Built-in frequency analysis
- Built-in amplitude editor
- Available in multiple languages
Cons
- Requires an additional virtual audio driver
- Cannot record video
Steps to record internal audio on Mac with Audacity and Soundflower
Step 1: Download Audacity from the official site. Also install Soundflower (or Blackhole as a modern alternative).
Step 2: In System Preferences > Sound, set Soundflower (2ch) as your output device.
Step 3: Open Audacity and pick Soundflower as the recording device. Go to File and create a new project. Click the red Record button to start. Click Stop when done.
Step 4: Edit and export the recording in WAV, MP3, or AIFF.
6. Record computer audio on Mac using Recordit
Recordit is a free screencast tool for audio presentations and GIFs. The free plan caps recordings at 5 minutes. Pro unlocks more features.
Pros
- Lightweight
- Easy interface
Cons
- Subscription required for premium features
- 5-minute recording cap on free plan
Steps to record internal audio on Mac with Recordit
Step 1: Download Recordit from the official site and install it.
Step 2: Open System Preferences > Sound. On the Input tab, pick Internal Microphone. On the Output tab, pick Aggregate Device.
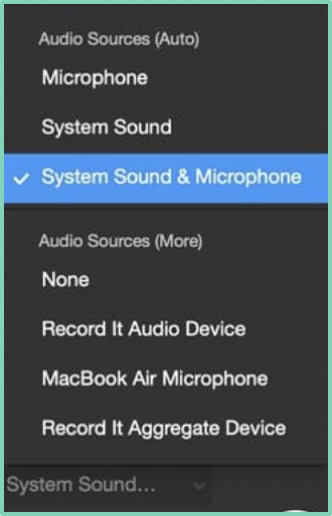
Step 3: Open Recordit and pick Aggregate Device as the audio source. You can also pick microphone audio, system sound, or both.
Step 4: Click Stop when done. The recording saves to the Recordit server, and you can also download a local copy.
7. Record computer audio on Mac using QuickTime Player + Blackhole
QuickTime Player cannot record internal audio on its own. To make it work, install a virtual audio driver like Blackhole or Soundflower. Blackhole is the modern, well-maintained replacement for Soundflower.
Pros
- Free
- Simple to set up
- 16 channels of audio output and input
- Configurable up to 256 channels
Cons
- Records all audio to a single file
Steps to record internal audio on Mac with QuickTime and Blackhole
Step 1: Download Blackhole from the official site. Open the installer and search "Setup" in Spotlight.
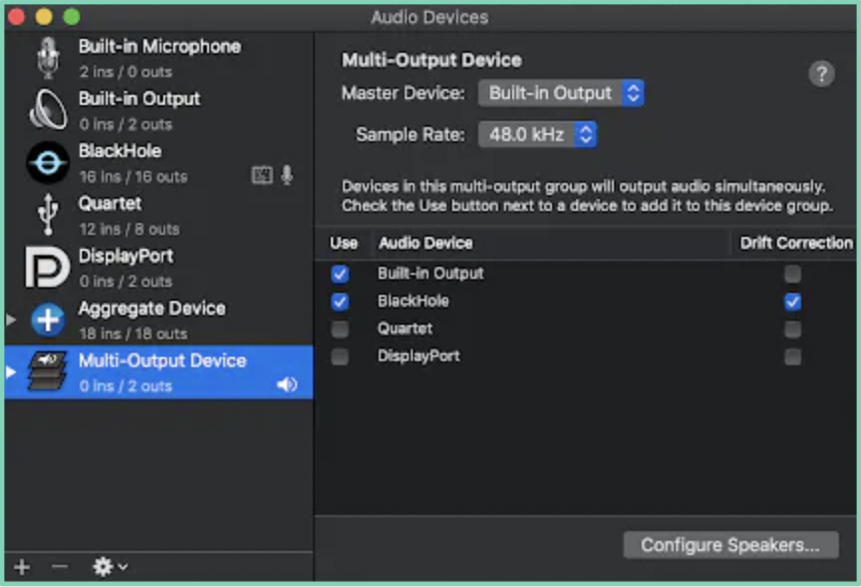
Step 2: Create a new Aggregate Device that combines Blackhole (for internal audio) and your microphone (for external audio). Open Audio MIDI Setup to set this up.
Step 3: Open QuickTime Player and pick Aggregate Device as the recording input.
Step 4: To hear internal audio while recording, set up a Multi-Output Device in Audio MIDI Setup that includes both your microphone and Blackhole. Then in Sound Preferences, pick the Multi-Output Device.
Step 5: In QuickTime, pick File > New Audio Recording. Click the dropdown next to the record button and select Aggregate Device. Make sure the Blackhole checkbox is on under your audio device source.
Frequently Asked Questions
1. What are some tools used to record audio and video on Mac?
- Vmaker
- Audacity
- OBS Studio
- Monosnap
- Snagit
2. Can QuickTime Player record both internal and external audio?
Not on its own. To record internal audio with QuickTime, install a virtual audio driver like Blackhole or Soundflower.
3. What features are available for free users in Vmaker?
The free plan covers most of what video creators need. The full Vmaker features list is on the site. Highlights:
- Unlimited recordings
- Background noise cancellation
- Switch tabs and windows during recording
- Webcam, screen, and screen + webcam modes
4. How do I record internal audio on Mac without Soundflower?
Use Blackhole instead. It is actively maintained and runs cleanly on the latest macOS versions.
5. Can QuickTime record internal audio?
Yes, but only with a virtual audio driver like Blackhole. The setup steps:
- Open QuickTime Player.
- In System Preferences > Sound, pick your audio input channel.
- Click File > New Audio Recording.
- A grey panel appears. Click Start and pick your output device.
- Save the recording locally or upload it to your cloud storage.
6. Does Mac have a built-in recorder?
Yes. Mac ships with QuickTime Player. But QuickTime cannot record computer audio and microphone audio at the same time. For that, use a screen recorder like Vmaker.
7. How do I record my Mac screen without external sound?
Use a screen recorder with background noise control, like Vmaker. The noise filter records videos without ambient room noise.
Recommended Reads:
- How to Record Your Computer Screen for Free
- How to Perform a Mic Test for Free
- Best Screen Recorders for Mac
- How to Use an iPhone as a Webcam on a Mac (macOS Ventura)
- How to Screen Record on Mac with Audio and Camera
- How to Screen Record on Mac with Internal Audio
Recommended Video Playlist:
- How to Record Zoom Meetings without Permission
- Free Screen Recorder for Mac, Windows, and Chromebook (No Watermark, Unlimited Videos)
- How to Record Screen and Webcam at the Same Time (Mac and Windows)
- Vmaker Tutorial: How to Use Vmaker for Mac