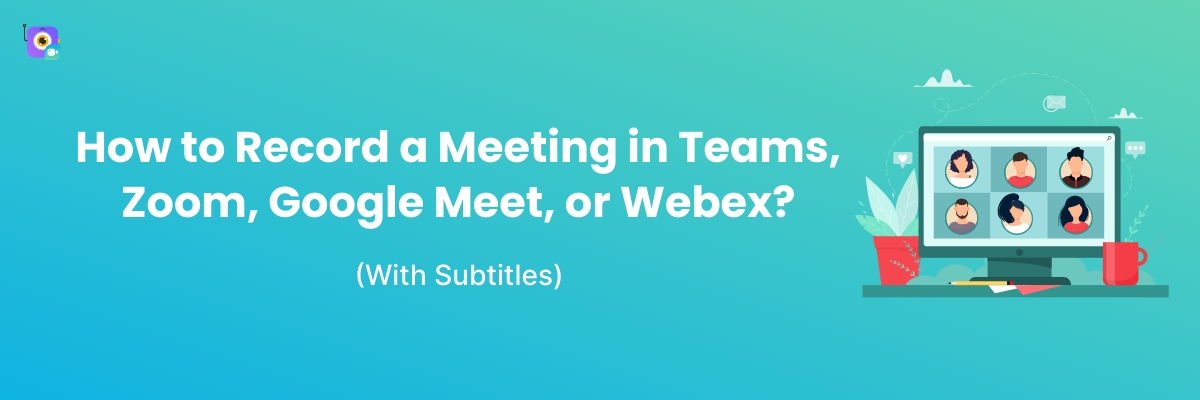
How to record Zoom, Google Meet, or any online meeting with subtitles?
Tired of scribbling down frantic notes to remember what people say in a meeting?
Looking for a clean way to record, save, and share meetings without breaking a sweat?
We have a fix.
With the right tool, you can record, share, and save meeting recordings straight to the cloud in minutes.
This guide covers how to record, share, and save unlimited meeting recordings to the cloud, plus how to add subtitles and translations to your meeting videos.
Let's get into it.
How to record a meeting in Teams, Zoom, Meet, or Webex (with subtitles and translations)
This guide uses Vmaker, a screen recorder built for full-quality meeting recordings.
Why use a third-party screen recorder when the meeting apps have native recording? The native recorders in Zoom, Webex, Google Meet, Skype, and Microsoft Teams are limited. Quality is compressed, editing is non-existent, and Zoom and Microsoft Teams will not let participants record without the host's permission.
The cleaner option is to record meetings with a dedicated screen recorder like Vmaker. Record, edit, share, and save meetings to the cloud at 4K. Even on the free plan, you get unlimited recordings.
Here is the full flow for recording online meetings with subtitles and translations.
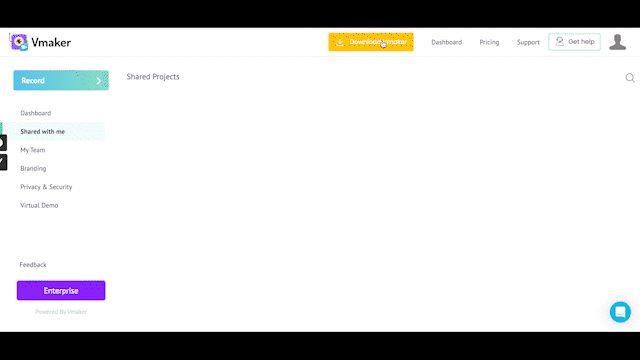
Step 1: Sign up and install Vmaker
Sign up for Vmaker and click Download Vmaker on the dashboard.
The app downloads to your device.
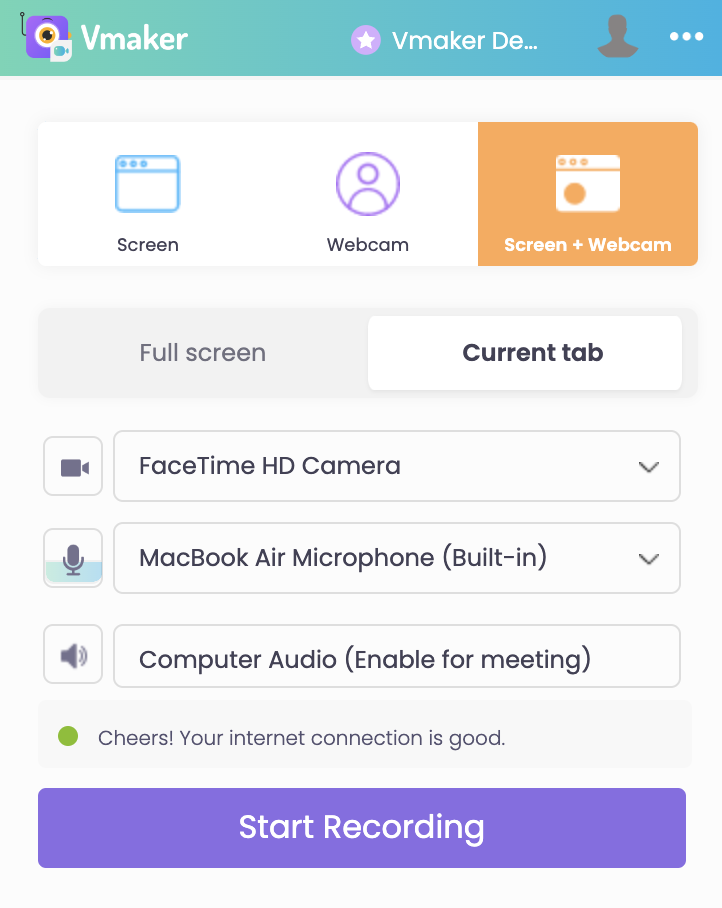
Step 2: Record the meeting
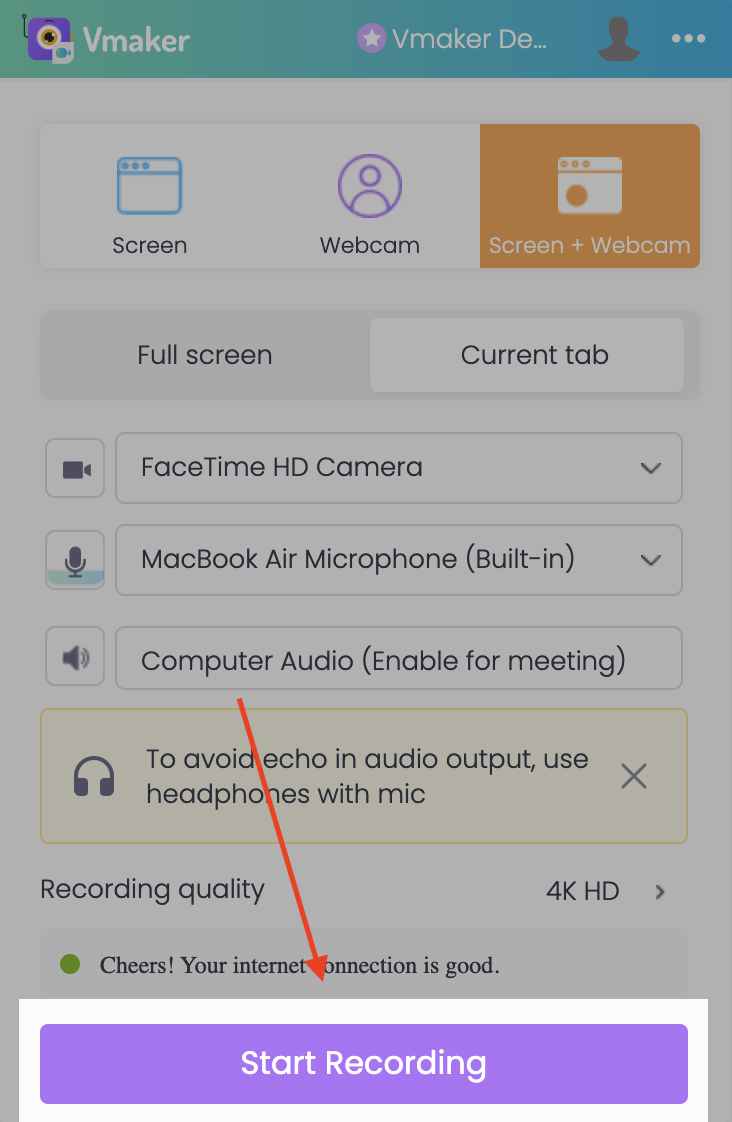
Launch Vmaker, set your recording preferences, and start recording. Pick your recording mode, recording quality, and audio inputs.
For more options, click the three-dot menu in the top-right of the recording pop-up and pick Preferences.
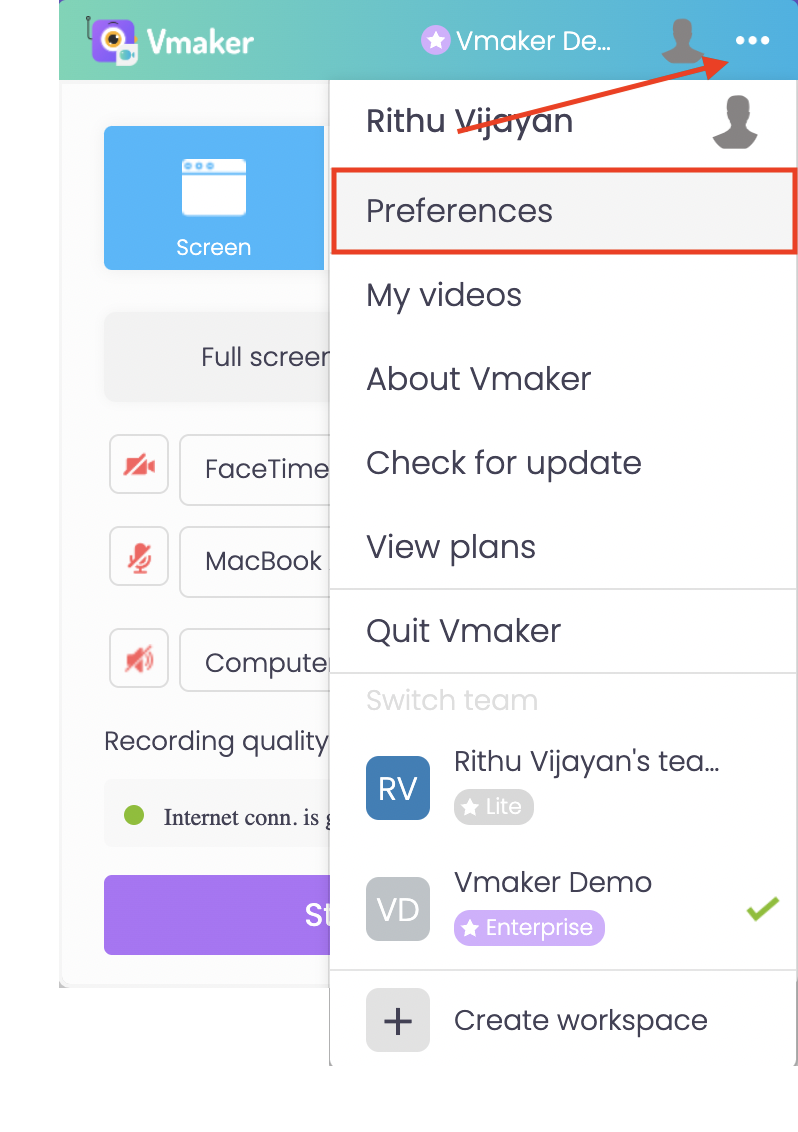
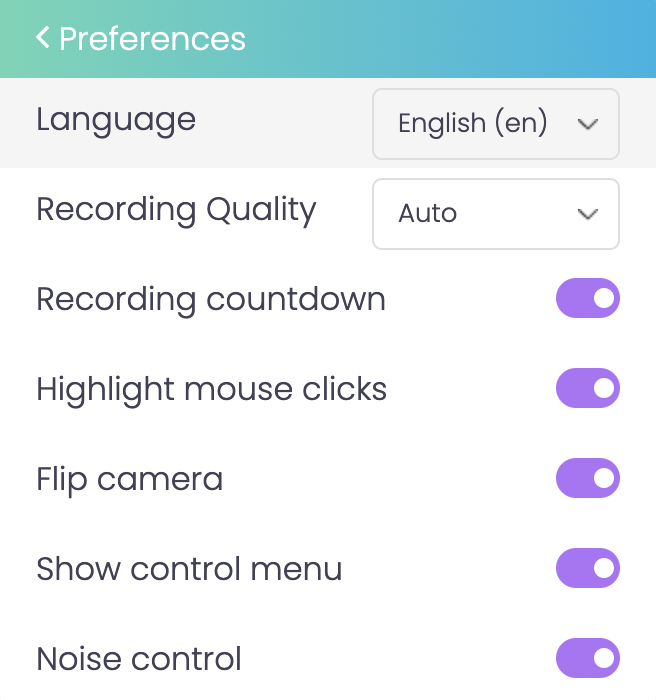
Turn on extras like noise control and recording countdown.
Once your settings are in place, click Start Recording.
Now join your online meeting. Vmaker captures your screen with both computer audio and microphone audio.
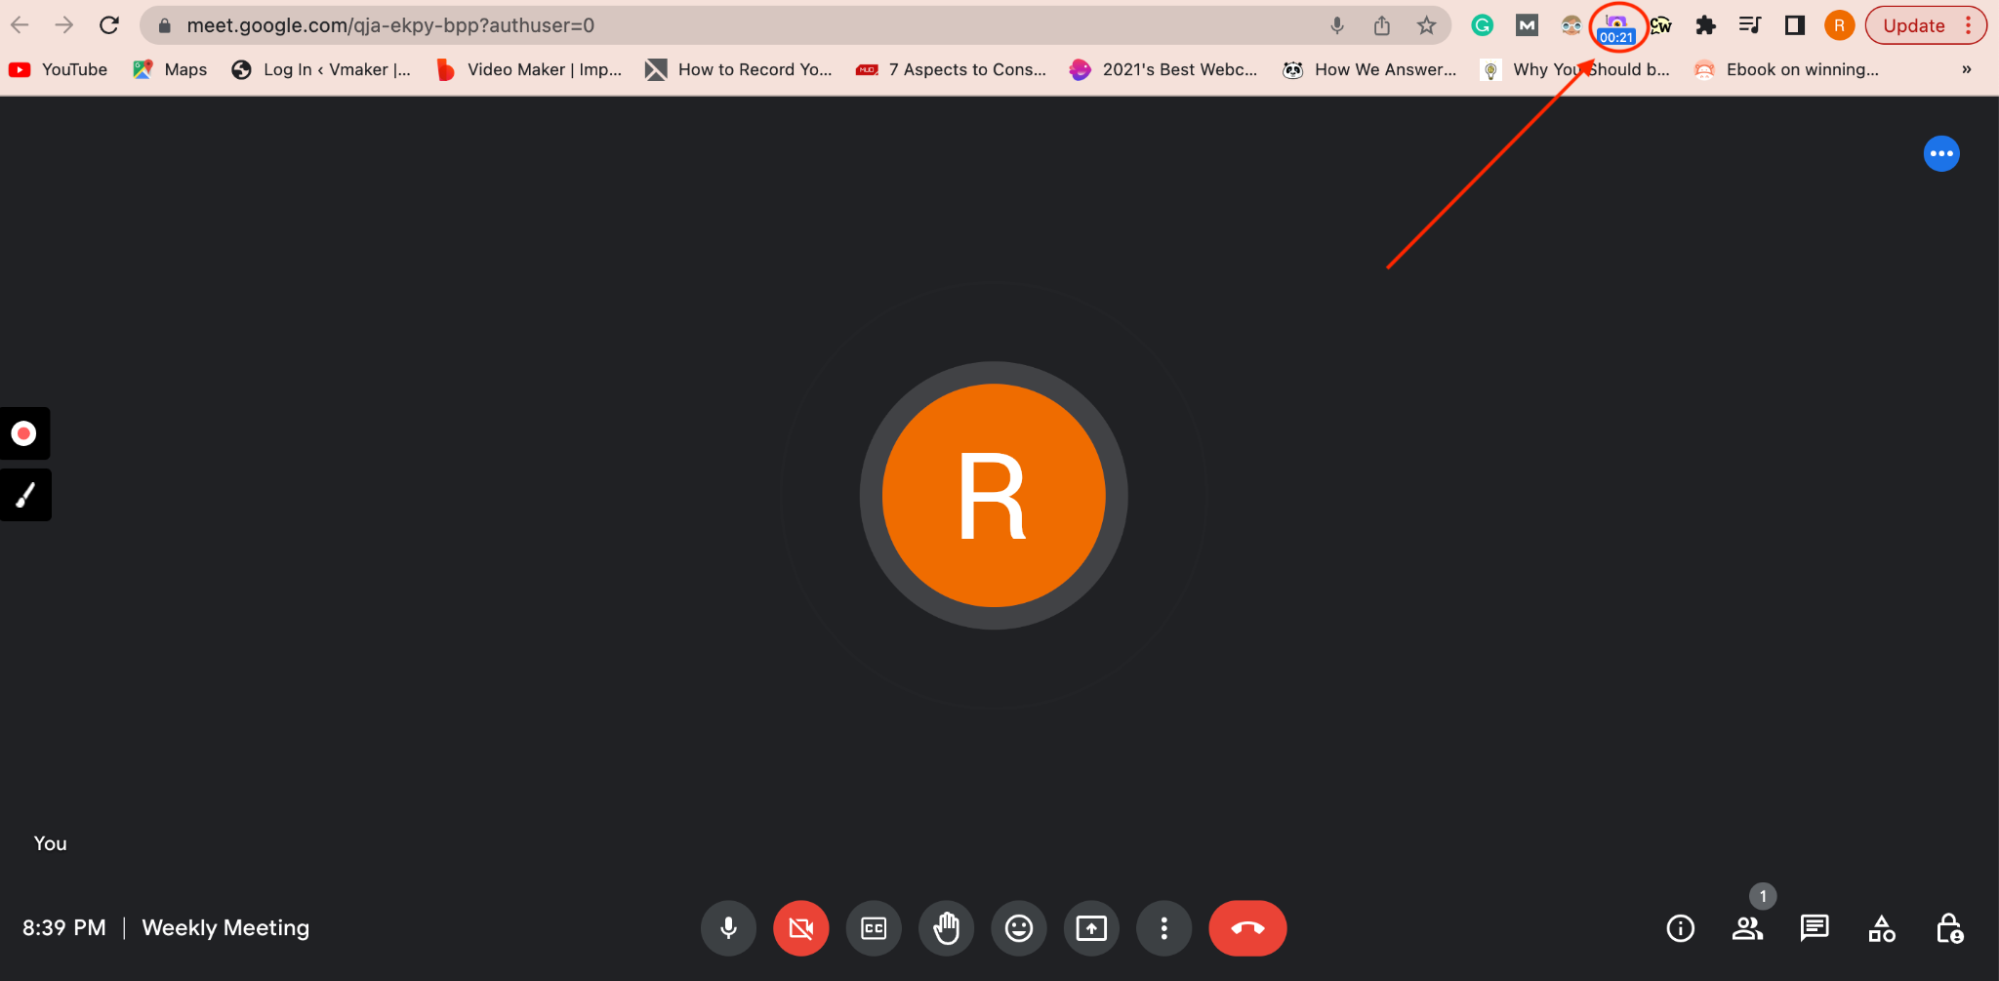
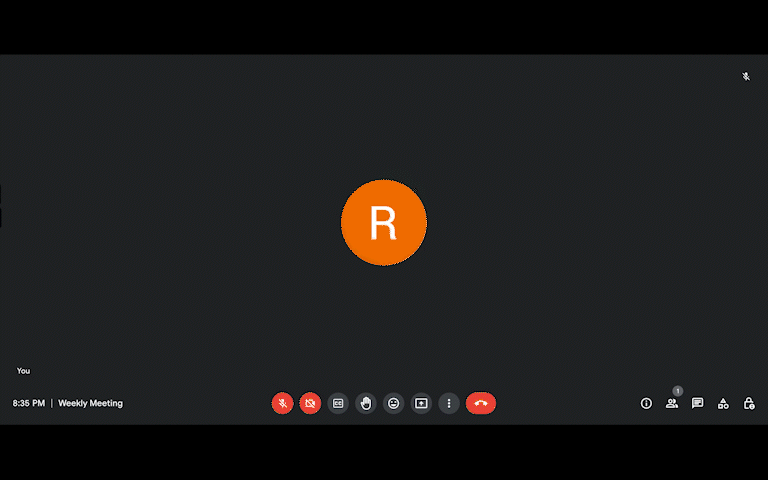
When the meeting ends, click the red dock button in the bottom-left corner. The recording stops and lands on your dashboard.
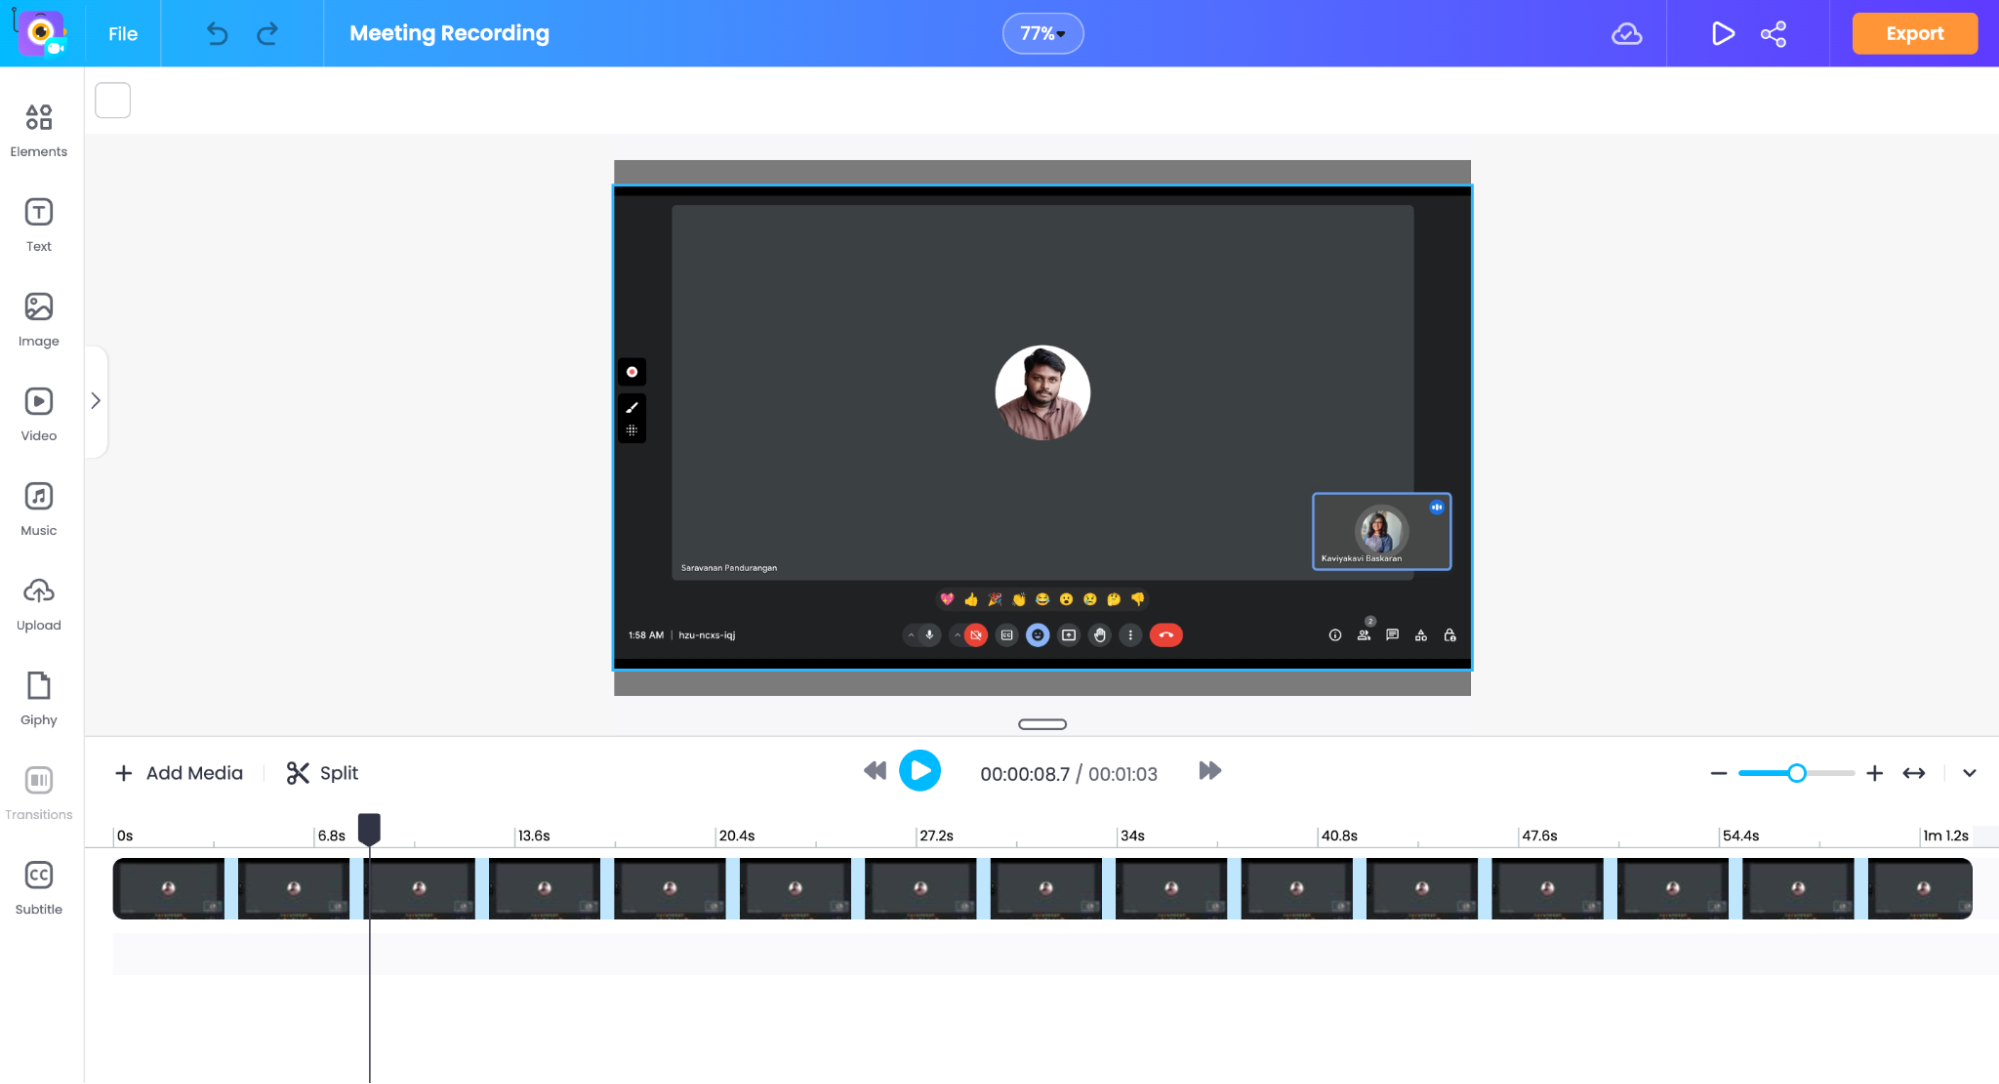
Step 3: Edit the recording
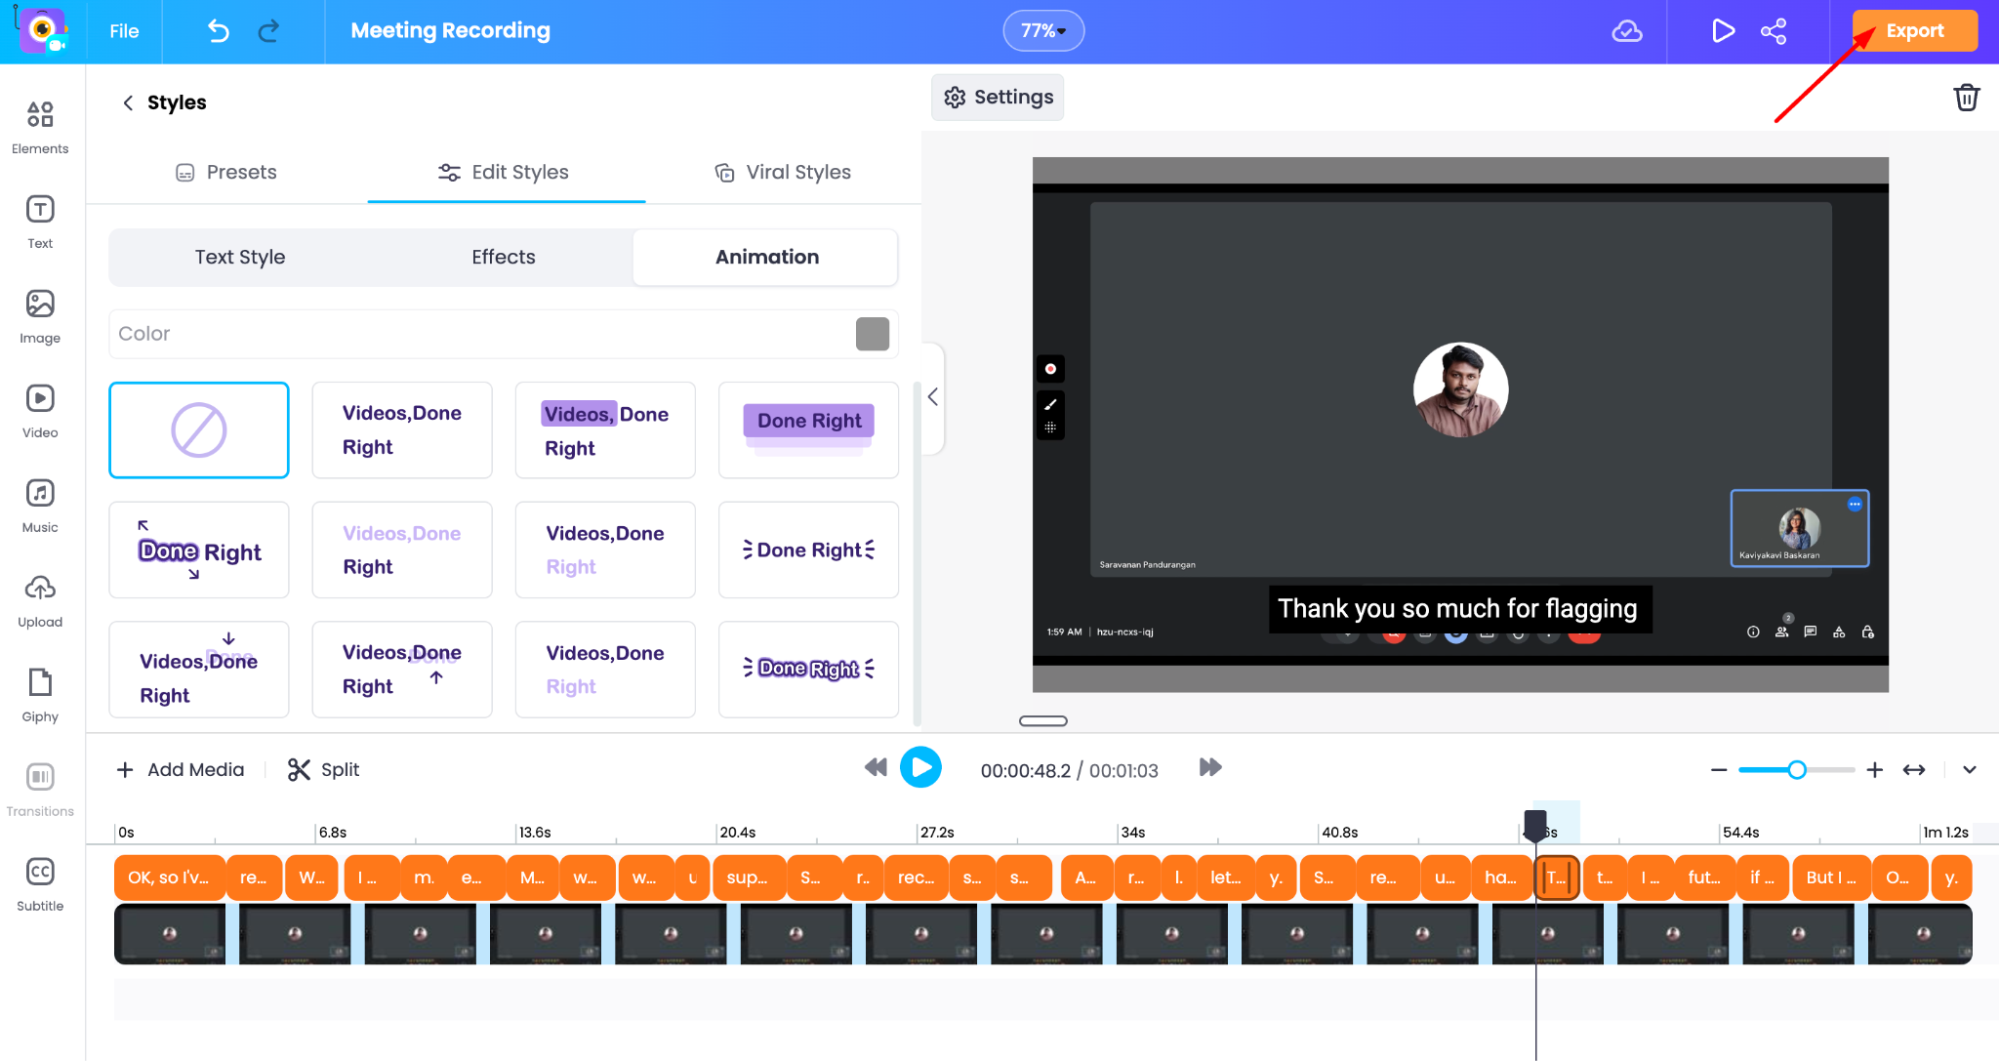
From the player page, click Edit Video to open the Vmaker AI video editor and trim or polish your recording.
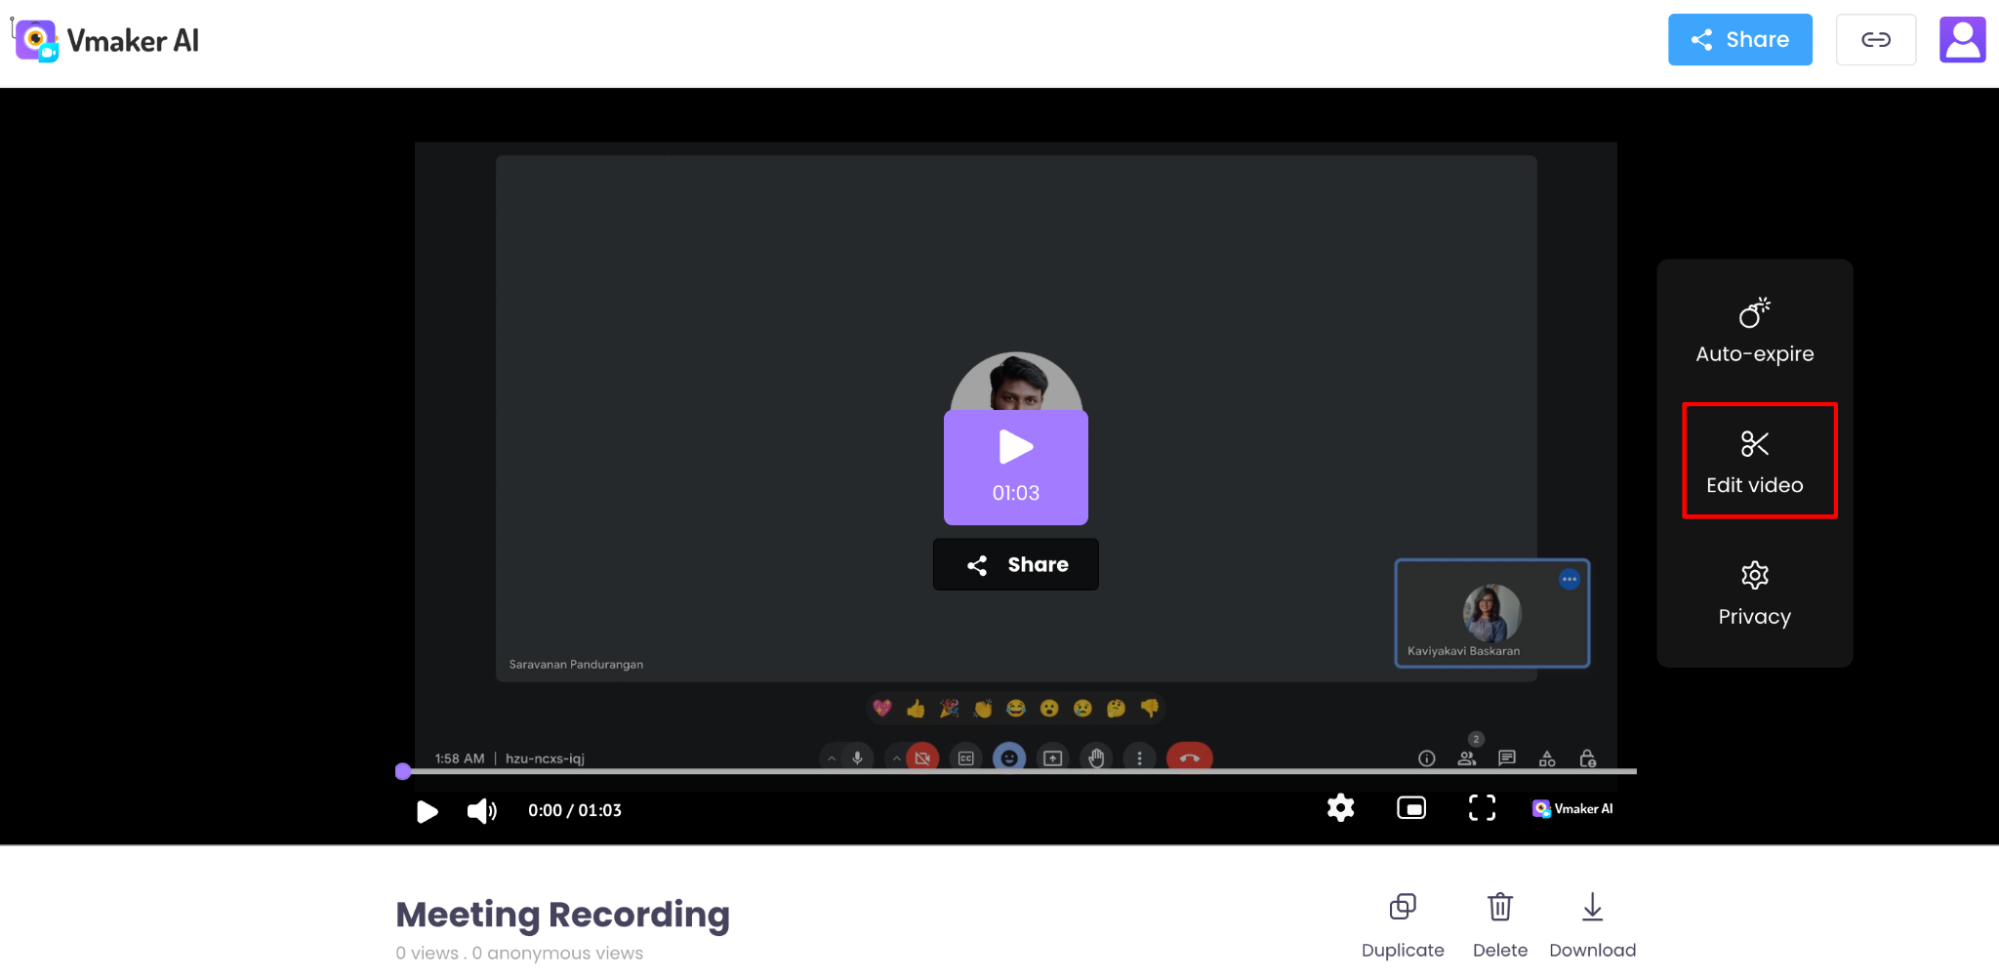
The editor canvas looks like this:
Step 4: Add subtitles
Click the Subtitles button in the bottom-left corner of the editor. You will see options to auto-generate captions and add subtitles manually.
Vmaker AI generates accurate subtitles automatically, so skip the SRT upload step and use auto-subtitles instead.
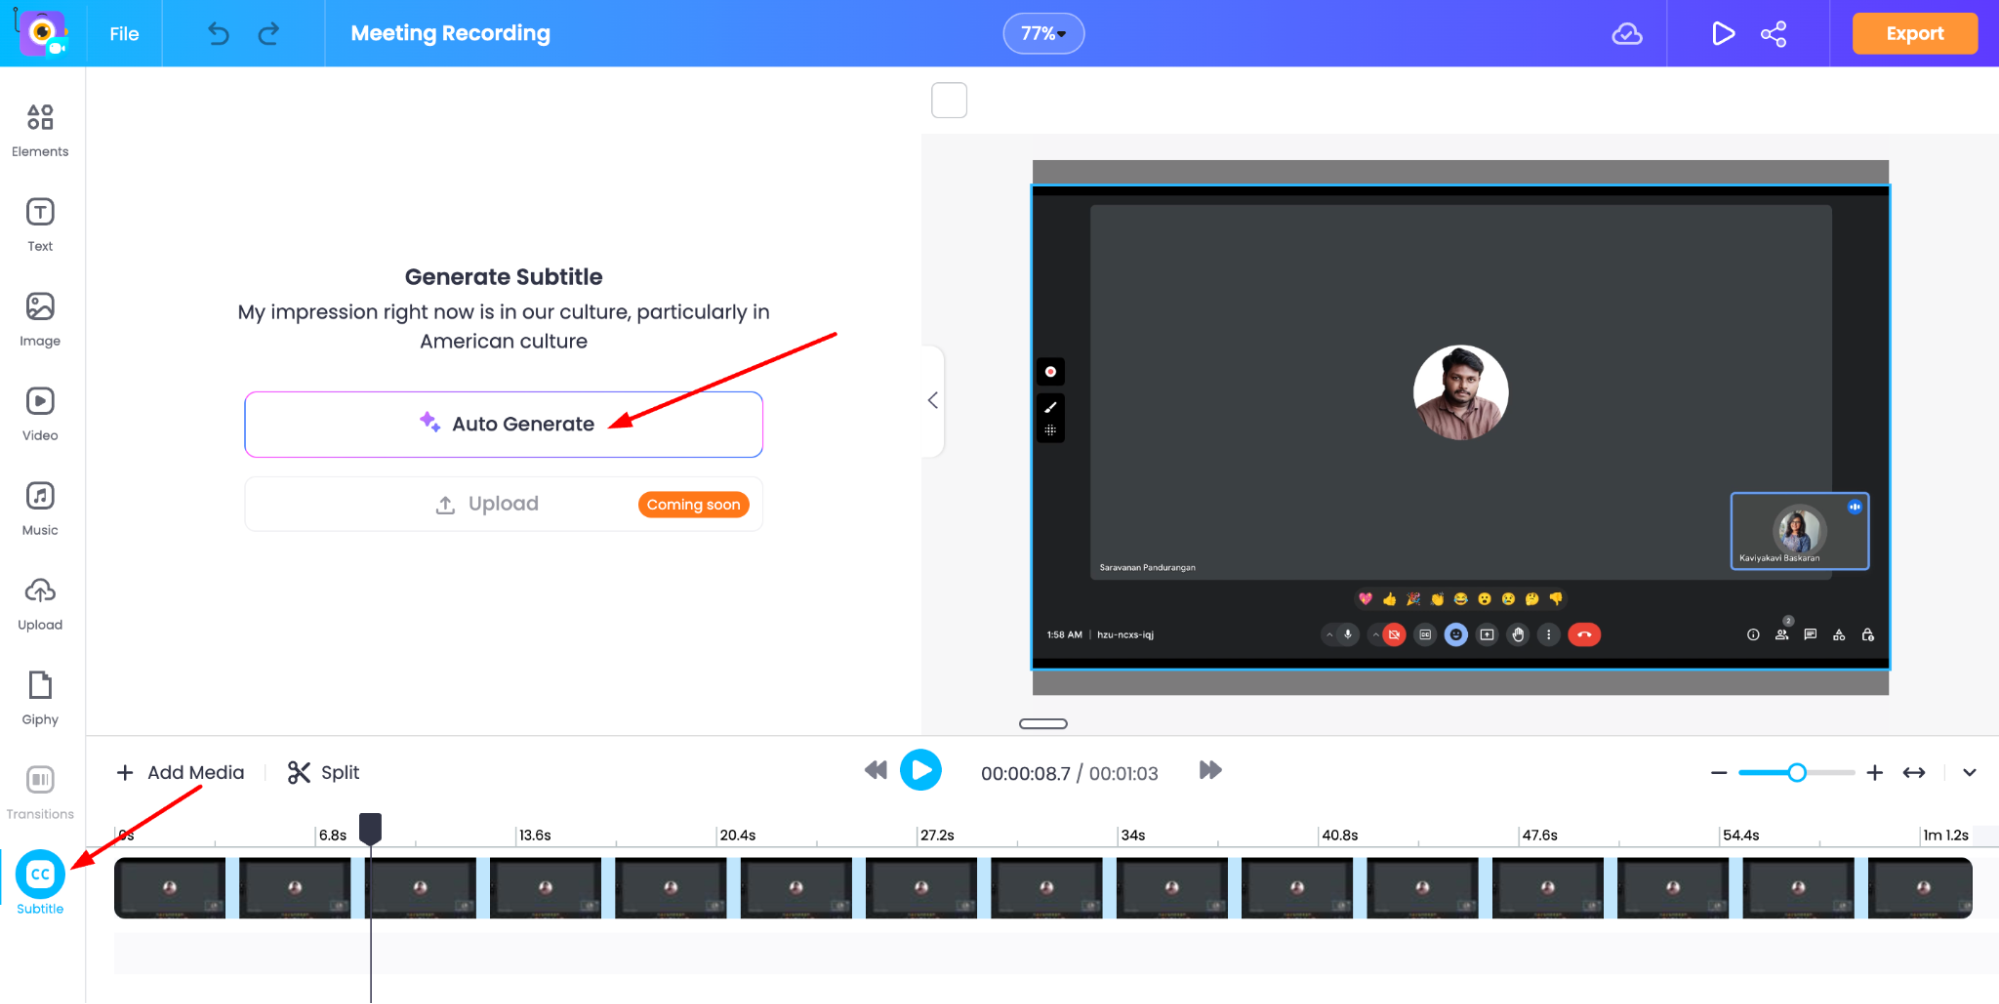
Click Auto Generate. Vmaker AI generates the subtitles in seconds.
Vmaker AI understands 35+ languages and can auto-translate or dub them into 100+ languages, useful for sharing meetings with global teams.
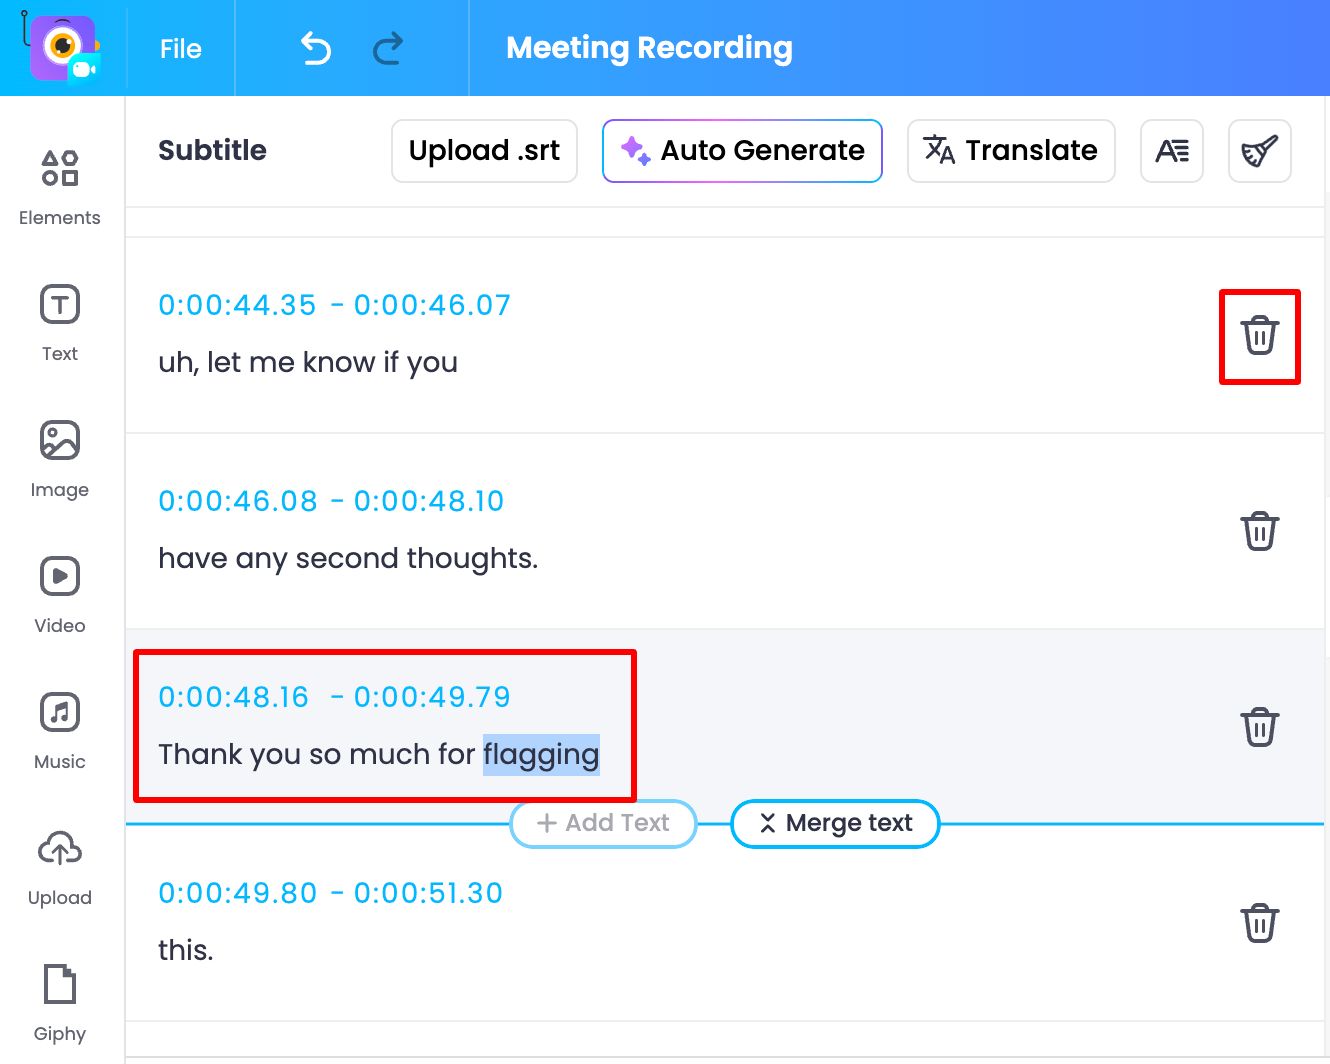
To tweak the output, click any subtitle text box on the left and edit. You can shift the timestamps too.
To remove subtitles from a specific section, use the bin icon.
Step 5: Customise the subtitle style
Click Subtitles Styles to open the customisation tab. Three options:
i) Presets
ii) Edit Styles
iii) Viral Styles
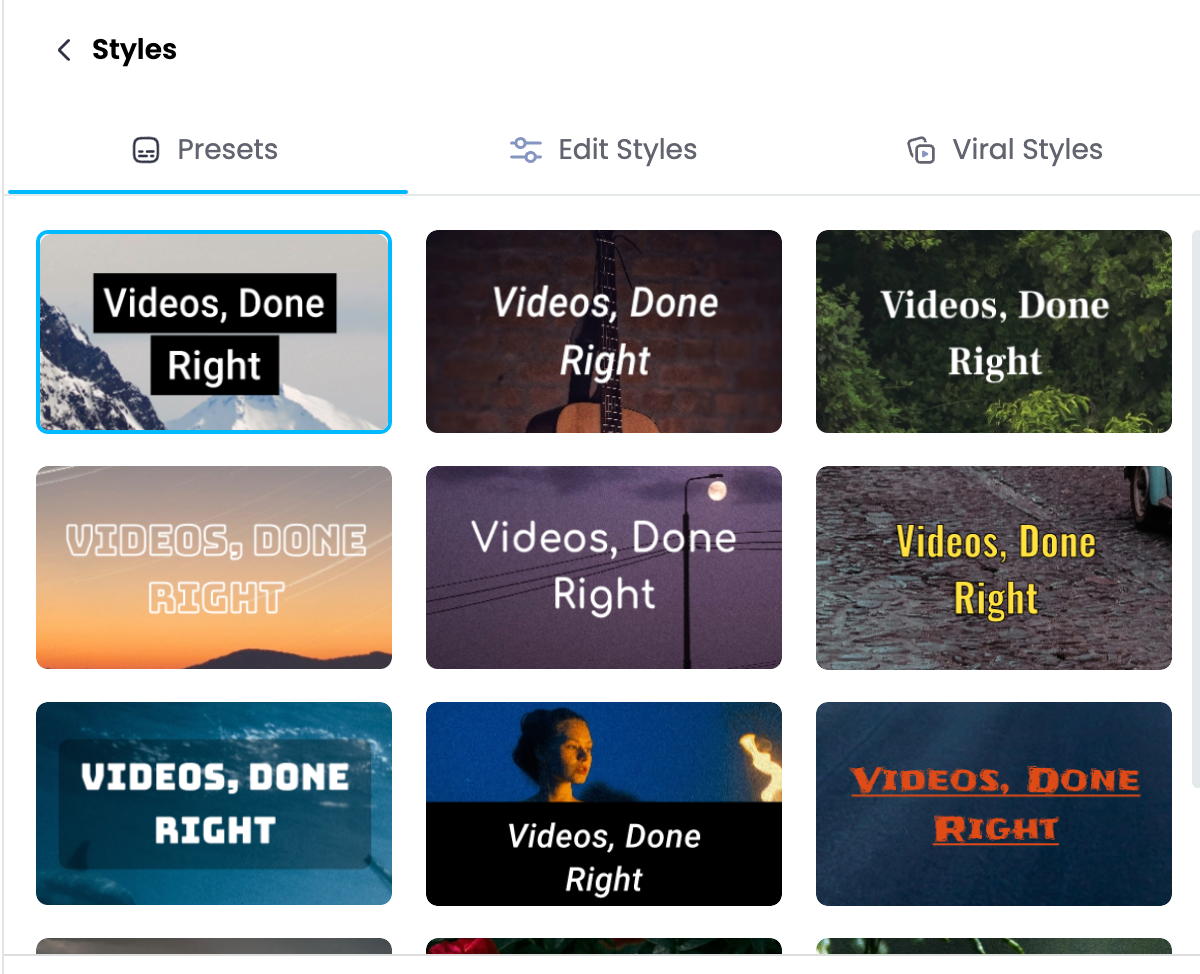
i) Presets: Pre-built subtitle styles. Pick one and apply it.
ii) Edit Styles: Customise from scratch. Change text style, add a background to the text, apply effects, and pick a custom animation.
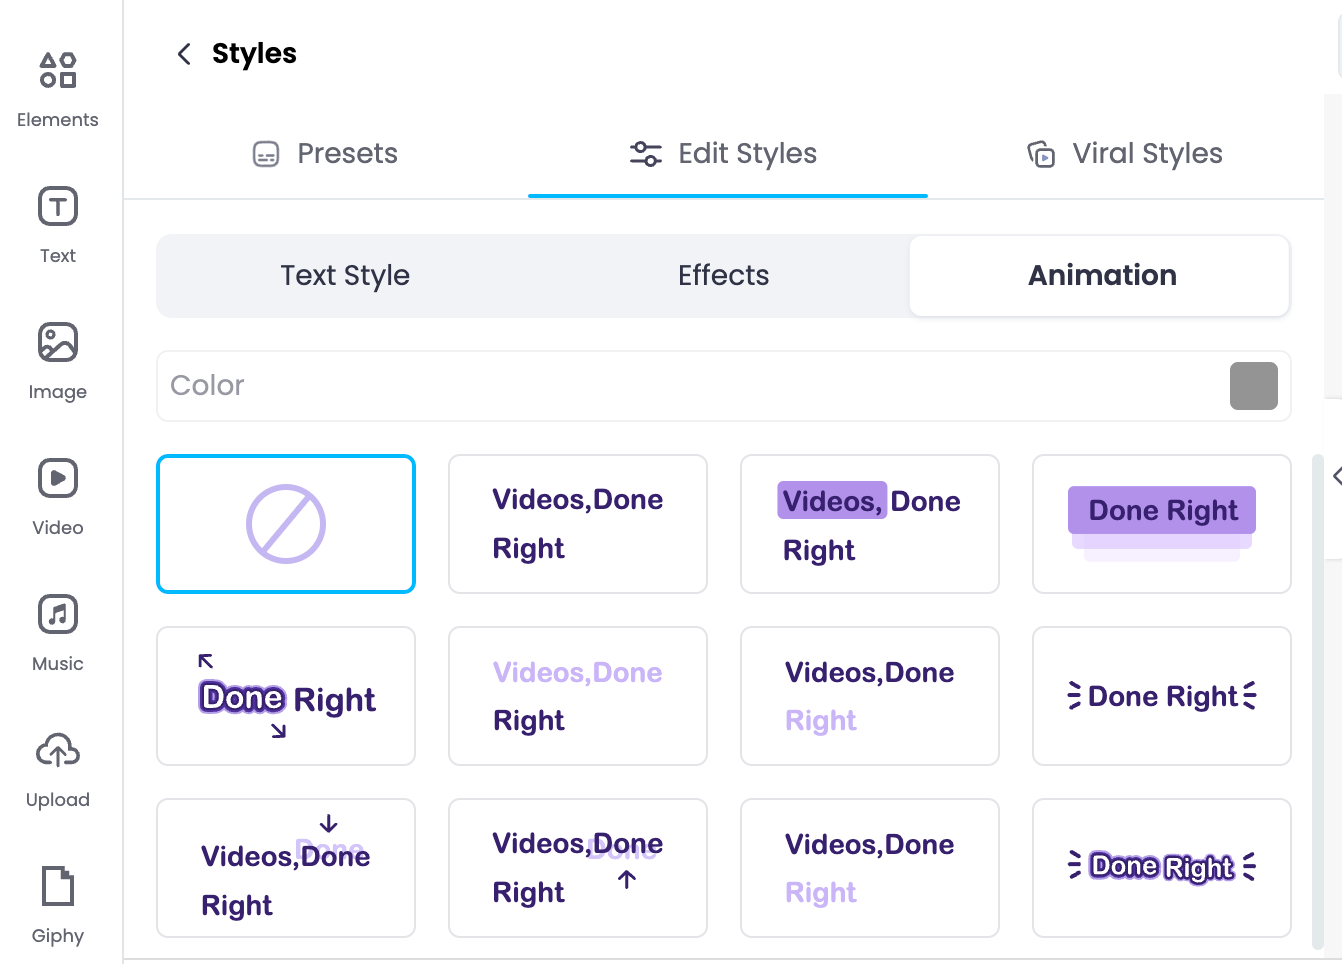
iii) Viral Styles: The styles popular with viral content creators. Strong animation effects that draw attention. Useful beyond social. They make even a long meeting recording easier to skim.
Step 6: Share the recording
Once your subtitles and translations are set, share the recording. Either upload directly to social or download to your local device.
Even if you do not download, the recording stays in your Vmaker library, accessible any time.
If the meeting is long, use Vmaker's long-to-short AI to chop the full recording into highlight clips. Useful for surfacing key decisions, action items, or quotable moments without sharing a full hour-long video.
For teams using meeting recordings as training material, see how videos in learning and development can fit into your L&D programme.
That covers the full flow.
You now have a clean way to record, share, and save online meetings to the cloud with subtitles and translations. Same flow works for Zoom, Microsoft Teams, Google Meet, Webex, or Skype.
Sign up for free and start recording your meetings.Recommended Reads
How to Record a Webinar (Step-by-Step Guide)
How to Record PowerPoint Presentations with Audio and Video
How to Add Multilingual Subtitles to Videos (with Use Cases)
How to Make a Viral YouTube Video Using ChatGPT and Vmaker
How to Add Auto-Captions to Screen Recordings
How to Blur, Change, or Remove Your Webcam Virtual Background
How to Record on Zoom for Free (Step-by-Step Guide with Video)
10 Best Zoom Meeting Recorders