Contents
What is a screencast used for?
How to create a screencast in 5 steps
What to look for in a screencasting tool
5 best screencasting tools online
The Ultimate Guide: What Is A Screencast & How To Create One?
Screencasts started as a way to make instructional videos for software products. Over time, the use cases grew. Today, course creators, teachers, students, and YouTubers all use screencasts to build online courses, tutorials, how-to videos, product demos, and presentations.
If you are wondering what a screencast is and how to create one, this guide is for you. We cover everything you need to know about screencasts.
You will get a step-by-step walkthrough of the screencast creation process, plus tips that help you avoid the mistakes most beginners make.
The whole guide uses Vmaker, a free screen recorder, so you can follow along without any cost.
First, the basics: what is a screencast?
What is a screencast?
A screencast is a digital recording of your computer screen. It captures every movement on screen and lets you add a voice-over to explain what is happening. You can also add background music and captions on top.
Screencasts bring boring PowerPoint slides to life, give students personal feedback on common questions, and create instructional guides for complex software.
Common types of screencasts
- Narration videos (desktop view with voice-over)
- Slidecast narration videos (slides with voice-over)
- Interactive tutorials (the learner clicks along with the video)
What is a screencast used for?
i) Onboarding and employee training
Many companies now use screencasts in their training material. Onboarding new hires is stressful and repetitive. Instead of walking each new joiner through the same setup steps in person, the HR team records a screencast once and shares it with everyone. Each employee can watch at their own pace.
For more on this, see how teams use video in learning and development.
ii) Product demos
Product demo videos are powerful sales tools. They walk the audience through the product and its features. Adobe, for example, uses screencast demos to help users learn its apps.
iii) Promo videos and ads
Marketers love screencasts. Video marketing works, but high-end production gear is expensive. Screencasts give brands a low-cost way to promote products without a film crew.
iv) Tutorials
Teachers use screencasts to give feedback on a topic and answer common student questions. They also help absentees catch up. Over time, this lifts class participation and student outcomes.
Researchers regularly test new learning methods to see what works best. One method gaining ground in schools is flipped classroom learning.
In flipped learning, students watch the lesson at home before class. By the time they show up the next day, they already understand the basics, and class time goes to discussion and questions. Screencasts are how teachers build these tutorial videos.
With a screen recorder and a few PowerPoint slides, plus a voice-over explaining each one, the lesson is ready.
v) Video testimonials
Testimonials build trust on a website. They feel honest because they come from real customers, not the brand. Ask happy customers to record a quick screencast walking through your product and what they like about it.
How to create a screencast in 5 steps
You now know what a screencast is and how it can be used. Time to make one.
Step 1: Download a screen recorder
Pick a screen recorder that matches what you need and install it. If you use Chrome, you can install one of many screen recorder extensions from the Chrome Web Store. Popular options: Vmaker, Loom, Nimbus, Hippo Video.
Note: A list of the 5 best screencasting tools, with pricing, features, pros, and cons, is below.
The walkthrough here uses Vmaker. Sign up for Vmaker and download the app.
Chrome users can install the Chrome extension. Mac users can download the desktop app from the Vmaker site.
Note: If you use the Chrome extension, pin it to your toolbar to launch it faster.
Step 2: Set your preferences and rehearse
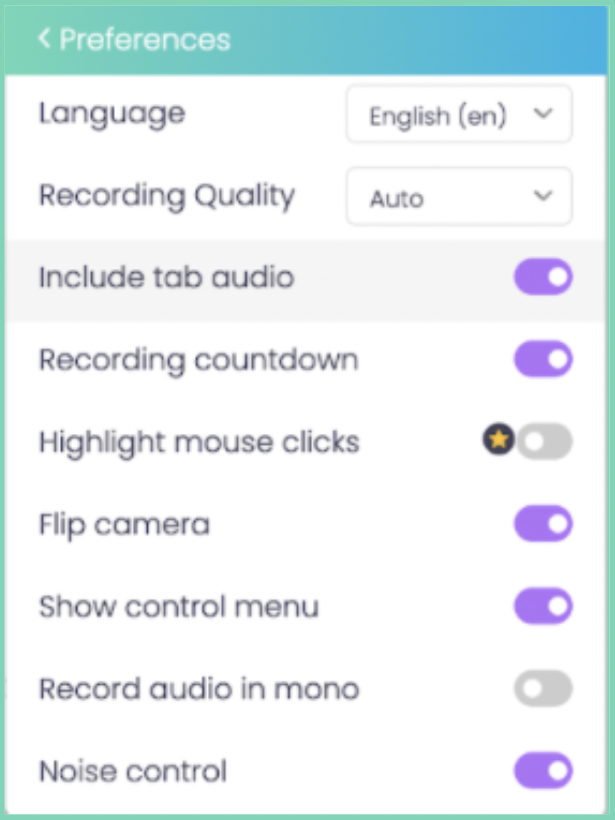
Open the recording preferences and turn on the features you need. A teacher might want screen annotation and subtitles. A YouTuber might want music. Set it up for what you are recording.
Get your script ready and rehearse. Record a short test clip first to check your audio and video quality.
Step 3: Start recording
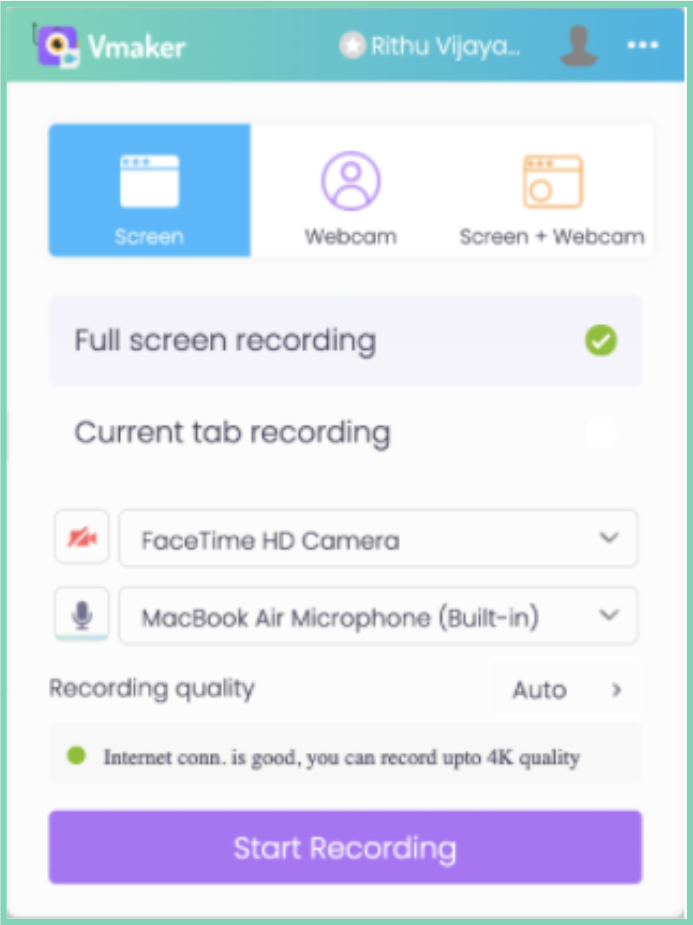
Hit record. A countdown shows that the recording is about to start. When you are done, click "Stop Sharing" to end it.
Step 4: Edit your recording
If the take was clean, download the file. To clean it up, click Edit. The Vmaker AI video editor turns raw footage into a polished video in minutes. It auto-adds B-rolls, background music, transitions, effects, subtitles, and more, with one click.
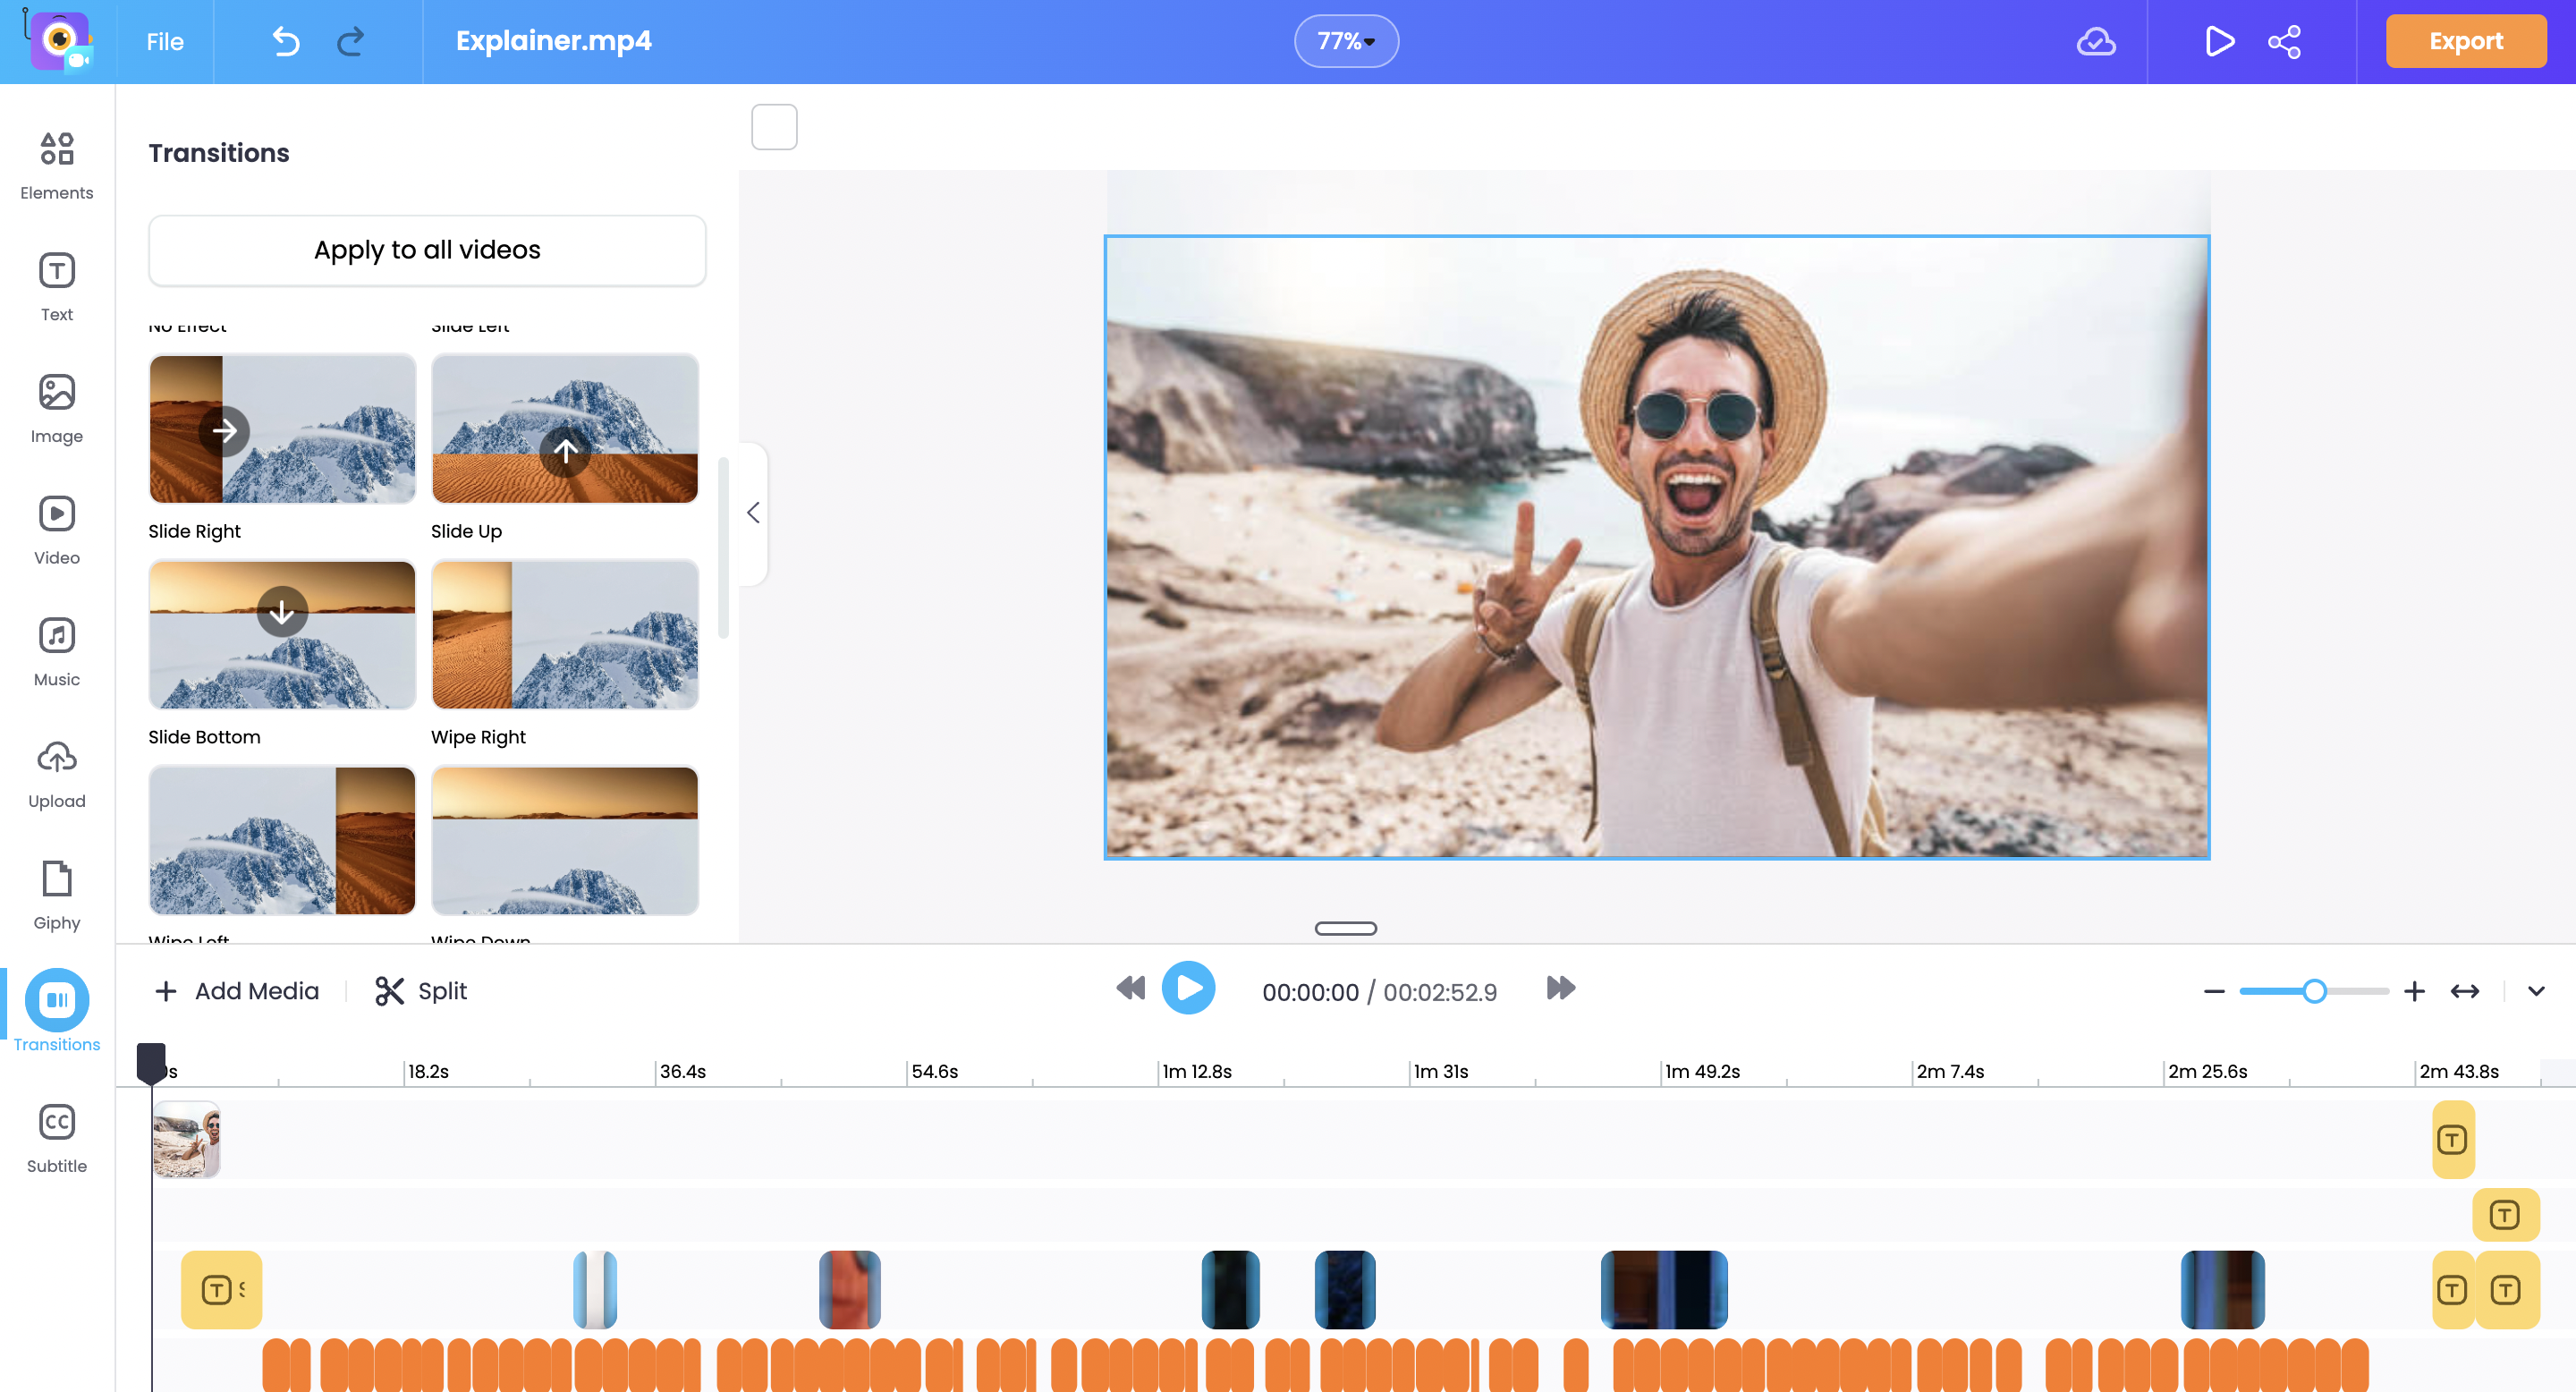
Note: Duplicate your file before you edit. That way, if you accidentally cut something important, you still have the original.
Step 5: Download, share, or upload
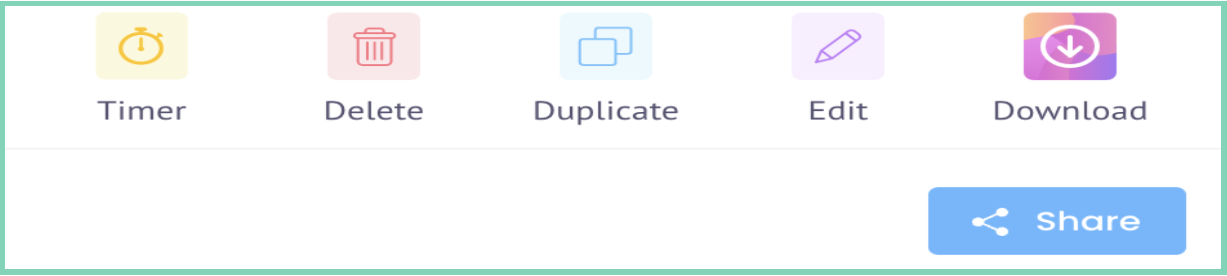
Download the file, share the link, or upload directly to YouTube, Facebook, and other platforms.
What does a screencast look like?
Here is a sample screencast made with Vmaker.
What to look for in a screencasting tool
A few things to check before you commit to a tool.
i) Storage and system load
Some screen recorders need a lot of disk space. Heavy apps slow your system over time.
Pick a tool that does not eat your storage. Many screen recorders are also available as Chrome extensions, which is helpful if your disk is tight. Popular options: Vmaker, Loom, Hippo, Vidyard, Nimbus.
ii) Ease of use
Screencasting is not rocket science, but a clean interface still helps. Pick a tool you can navigate without a tutorial.
iii) Watermarks
Some free plans add a watermark. Some do not. Vmaker and OBS Studio let you record without a watermark on the free plan. Always check before you commit.
iv) Built-in editor
Editing is the most time-consuming part of video creation. Pick a tool that includes an editor, so you do not have to bounce between apps.
v) Features that match your use case
Make a list of what you actually need. Background music, voice-over, screen annotation, HD output, and so on. Pick a tool that covers all of them. The best tool is the one that fits your specific work, not the most feature-rich.
5 best screencasting tools online
Here are the 5 best screencasting tools, with features, pricing, pros, and cons.
- Vmaker
- OBS Studio
- Screencast-O-Matic
- Camtasia
- Loom
1. Vmaker
Vmaker is one of the most affordable and user-friendly screen recorders online. It comes as a Mac app, a Chrome extension, and an iOS app (in beta).
You can record screen, webcam, or both at once. Vmaker is used by YouTubers, teachers, marketers, managers, and students to record, edit, and share videos. The screen annotation feature is especially useful for teachers, letting you draw and highlight while you record.
Features
- Unlimited recordings
- Recording scheduler
- Built-in video editor
- Screen, webcam, and screen + webcam modes
- Internal and external audio
- Add music to recordings
- Change webcam background
- Upload external clips and merge with the recording
Pros
- User-friendly
- Strong customer support
- Most basic features available on the free plan
Cons
The Android app is not available yet. The iOS app is in beta.
Pricing
Three pricing plans:
- Lite: $0
- Starter: $7/month or $84/year
- Team: $10/month or $120/year
2. OBS Studio
OBS (Open Broadcaster Software) is an open-source screen recording and streaming app. It supports Linux, Windows, and macOS, and it is fully free.
Features
- Unlimited recordings
- Built-in video recorder
- Multi-screen recording
- Internal and external audio
- Live stream to YouTube, Facebook, and Instagram
Pros
Free.
Cons
Steep learning curve. The interface is not intuitive.
Pricing: Free
3. Screencast-O-Matic
Screencast-O-Matic is a popular screencasting tool that lets you record, edit, and create video and image content. It also comes with a stock library of photos and music tracks.
Features
- Built-in video editor
- Backup and recovery
- Collaboration tools
- Speech-to-text
- Internal and external audio
- Direct upload to YouTube
Pros
- Strong customer support
- Easy to use
Cons
Free users hit a 15-minute recording cap. To record longer, you have to upgrade.
Pricing
- Free: $0
- Deluxe: $4/month (billed annually)
- Business: $5/month (billed annually)
- Premier: $5.75/month (billed annually)
4. Camtasia
Camtasia is a screen recorder with a built-in video editor, made for tutorials and presentations. It records internal and external audio and lets you use hotkeys to start and stop the recording.
Features
- PowerPoint integration
- Screen annotations
- Speech-to-text translations
- Built-in video editor
- Ready-made video templates
- Direct upload to YouTube and Vimeo
Pros
- Easy to use
- Clean setup
- User-friendly interface
Cons
Camtasia is on the expensive end. There is no subscription, only a one-time licence.
Pricing: One-time licence around $349.
5. Loom
Loom helps teams communicate through quick video messages. It records screen, webcam, microphone, and desktop at the same time.
Features
- Built-in video editor
- Screen annotations
- Speech-to-text
- Collaboration tools
- Real-time chat
- Custom branding
Pros
- Easy to use
- Strong customer support
Cons
The free plan caps recordings at 5 minutes. To record longer, you have to upgrade.
Pricing
- Starter: $0
- Business: $8/month
Bonus: Screencasting tips
A few extra tips to help you ship better screencasts.
i) Outline first
Before you record, sketch out the flow. List the points you want to cover, in order. An outline saves time and keeps the recording focused.
ii) Rehearse
Read the script through a few times before you hit record. It sets your pace and cuts out filler words.
iii) Set up your space
Pick a quiet room. Turn off notifications on your phone and desktop. The fewer interruptions, the fewer takes you will need.
iv) Use the features your tool gives you
Most screen recorders have annotation, webcam overlay, and zoom features. Use them. Keep the recording short, cut filler words, and turn on your webcam to add a human face to the lesson.
Conclusion
You now have what you need to make your first screencast. Pick a tool, write a quick outline, and record.
Drop any questions in the comments.
Frequently Asked Questions
1. How can I screencast for free?
Plenty of free tools work well. The top three:
- Vmaker
- OBS Studio
- ActivePresenter
Note: Vmaker is freemium. The free plan covers all the basics, including unlimited recordings and storage.
2. How to screencast on a PC?
Either install a screen recorder app for your operating system, or use a Chrome extension. Popular Chrome extension options: Vmaker, Nimbus Capture, Loom.
3. How much does a screencast tool cost?
It depends on what you need. For a basic tutorial or how-to video, the free plans on most tools are enough. For advanced features, paid plans run between $0 and $300.
4. What is the best screencast software?
It depends on your needs.
There are dozens of screen recorders out there. Most people get overwhelmed picking one.
Every tool has trade-offs. Pick the one that matches your specific use case. If you want a simple tool with most basics free, Vmaker is a strong starting point.
Recommended Reads
- 10 Best Screen Recorders for Recording Zoom Meetings
- The Ultimate How-to Video Guide with Examples, Tips, and Ideas
- How to Screenshot a Video
- A Complete Product Video Guide
- The Ultimate Screen Recording Resource Guide