Contents
Types Of Educational Videos To Create On YouTube
Points To Remember Before Creating Educational Videos
Roadmap To Create Educational Videos For Your YouTube Audience
How To Make Your First Video With Vmaker
How To Make Educational Videos For YouTube
An Ultimate Guide You Will Need To Create Amazing Videos On YouTube
YouTube is now the easiest way to learn anything for free. If you want to teach a topic on YouTube, your video has to stand out. The fastest way to do that is to make the viewer's experience better.
This guide shows you how, step by step.
Types Of Educational Videos To Create On YouTube
You don't have to stick to one video type. Pick the format that best fits your topic and your audience.
Here are the easy, results-driven types you can start with:
- Animation videos
- Instructor-led videos
- Screencasts
- Presentation recordings
- Mixed media
- Whiteboard videos

Animation and whiteboard videos both work the same way. They explain ideas through characters or sketches. You can build these without drawing skills using an AI video generator.
Mixed media mixes a few formats together. Screencasts, talking head, and slides. It is the best pick for a complex topic.
Instructor-led videos work great when you know your topic well. You just need a good webcam recorder and clear audio.
Screencasts are the go-to for software tutorials. You record your screen and walk the viewer through each step.
Note: Educational videos are not just school topics. If you teach your viewer how to do something, it counts. The subject can be basic or deep. What matters is that the viewer learns.
Before you start, read this.
Points To Remember Before Creating Educational Videos
1. Define Your Goal
Set the goal first. Your goal decides your CTA. "Like, comment, subscribe" is not the only option.
Do you sell an online course? An ebook? Consulting? A community? Point your viewer there. Decide this before you write a single line of script.
2. Keep Videos Short
If you are new to YouTube, go short. Short videos beat long ones early on. Ten minutes is a good target. Short does not mean low quality. It means focused.
3. Break Big Topics Into A Series
Some topics are too big for one video. Split them into parts. Build a playlist. Playlists boost watch time and help new viewers find your channel.
4. Stick To One Topic
One video, one topic. It is tempting to cover everything you know. Resist that. A tight focus gives the viewer a clear takeaway and brings them back for more.
Roadmap To Create Educational Videos For Your YouTube Audience
Here is the path from idea to upload.
1. Know Your Audience
Look at what your audience already likes. Check:
- Repeat visitors
- Which videos get the most comments and shares
- Average watch time
- Bounce rate on each video
These numbers tell you what to make next.
2. Pick The Video Type
List all your ideas. Then match each idea with the best format. A "how to fix" topic fits a screencast. A concept fits animation. A story fits instructor-led. Got slides? Turn them into a video with the PPT to video tool.
3. Build A Simple Storyboard
A storyboard is just a rough plan. One box per scene. A line of text for what happens in each. This saves hours once you start recording.
4. Choose Your Tool
Your tool shapes your output. Pick one that does more than one job. That way you do not jump between five apps.
Vmaker handles the full flow in one place. You can record your screen, webcam, or both, and then edit the clip inside the AI video editor.
5. Record Your Video
Hit record. If you are doing an instructor-led video, film your webcam while you walk through your slides or screen. Speak clearly. Keep takes short so you can redo any mistakes.
6. Polish With Subtitles And Clean Edits
A raw recording is not enough. Add these to lift quality:
- Subtitles. Use the AI subtitle generator. It helps non-native speakers and anyone who watches on mute.
- Clean cuts. Trim silence, remove filler words, and tighten pauses. The YouTube video editor does this in a few clicks.
- Clear audio. Background noise kills retention. Record in a quiet room or use a simple mic.
These small touches change how the viewer feels about your channel.
How To Make Your First Video With Vmaker
Here is the full flow. No other tool needed.
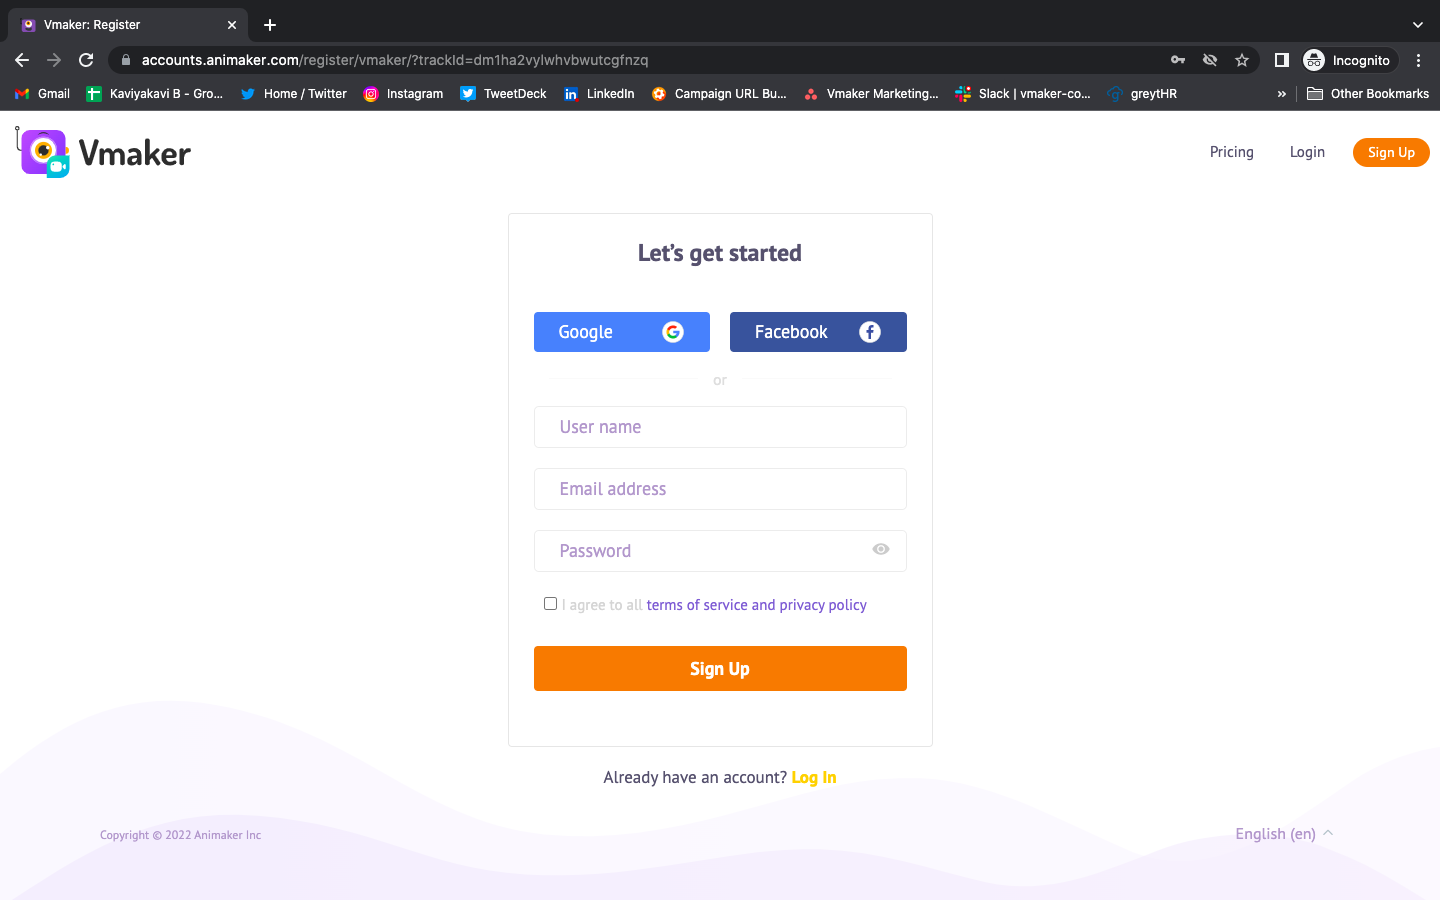
1. Sign Up
Go to vmaker.com and sign up. It is free. Then grab the app:
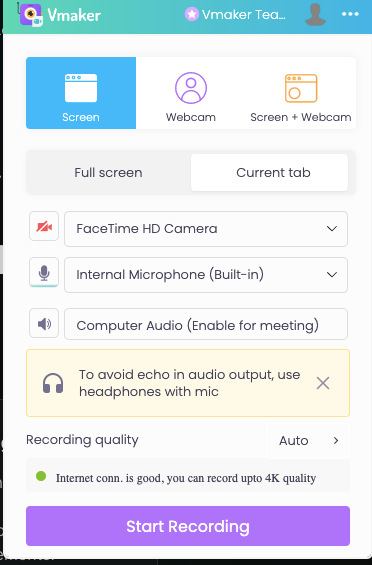
2. Pick Your Recording Mode
Choose screen, webcam, or both. Vmaker records internal and external audio with no glitch. Hit the record button and start teaching.
3. Save, Organize, Share
Your video saves to the cloud when you stop. You can rename it, drop it in a folder, share a link, or download the file.

4. Edit Inside Vmaker
Open the AI video editor. Trim silence. Cut dead air. Add your intro and outro. It all happens in the same tab, so you do not need to export and re-import.
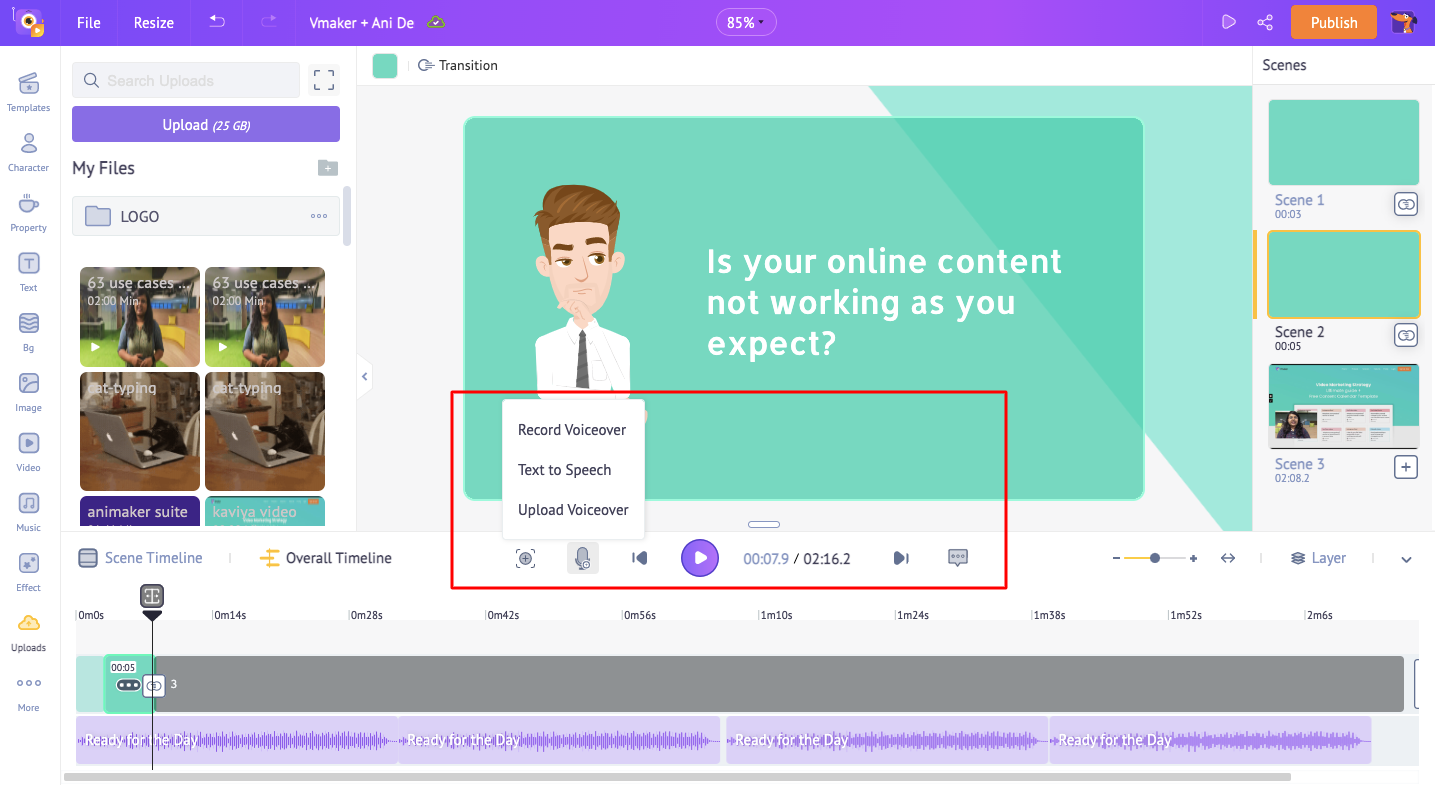
5. Add Subtitles And A Voice-Over
Auto-generate subtitles in one click with the AI subtitle generator. Need a voice-over? Record it, type a script, or let AI read it for you.
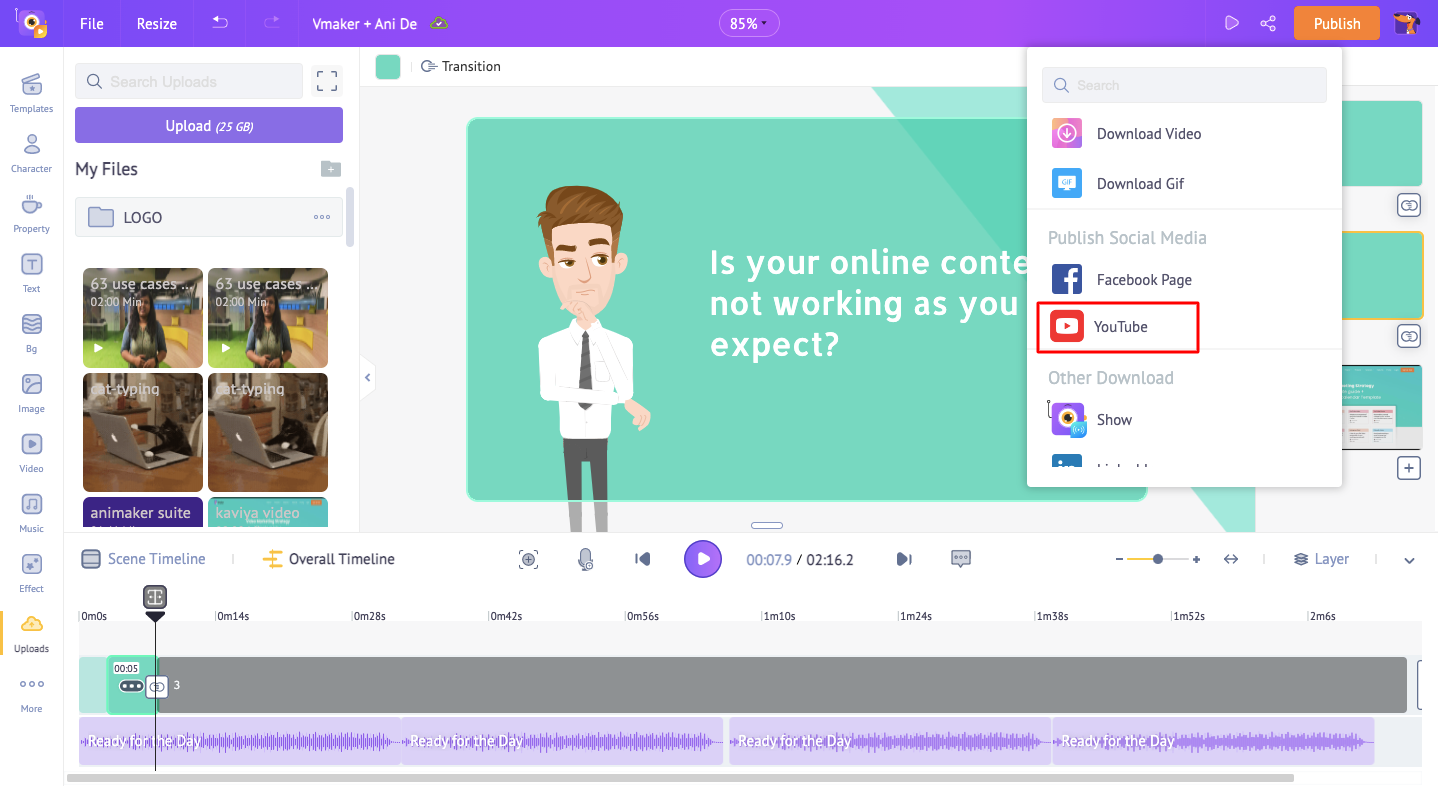
6. Publish
Download the final cut or publish straight to YouTube.
That is it. You do not need a film crew. You do not need five tools. You need a clear idea, a quiet room, and Vmaker.
Read more:
How to Make an Engaging Screencast? Four Easy Steps and Tips
Educational Video Creation Tools
Educational Technology Tools and Resources for Teachers
7 Best Screencast Software For Teachers
Best Screen Recorders for Teachers