How To Record Internal Audio on Windows 7, 8, 10 & 11
Windows ships with a basic voice recorder. It works, but the functionality is limited. The audio quality is not high enough for content you plan to publish.
If you record webinars, tutorials, screencasts, or meetings often, you need a more capable internal audio recorder. One with built-in editing.
There are plenty of options online. The right tool depends on what you record. Screencast and training video creators need screen annotation. Game streamers need enhanced gaming features. Pick the one that fits your work.
Here is how to record internal audio on Windows 7, 8, 10, and 11.
How to record internal audio on Windows 7, 8, 10, and 11
This guide uses Vmaker, an internal audio recorder with a clean interface and useful features like background noise cancellation, virtual backgrounds, and mouse emphasis.
What you can do with Vmaker:
- Record gameplay
- Record meetings
- Record PowerPoint presentations and Google Slides
- Create instructional videos
- Create training videos
- Create tutorial videos
- Create how-to videos
- Create video emails
- Create product demo videos
Here is a quick video that walks through the recording process.
Prefer reading? Follow the steps below.
Step 1: Sign up and download Vmaker
Head to the Vmaker site and create an account.
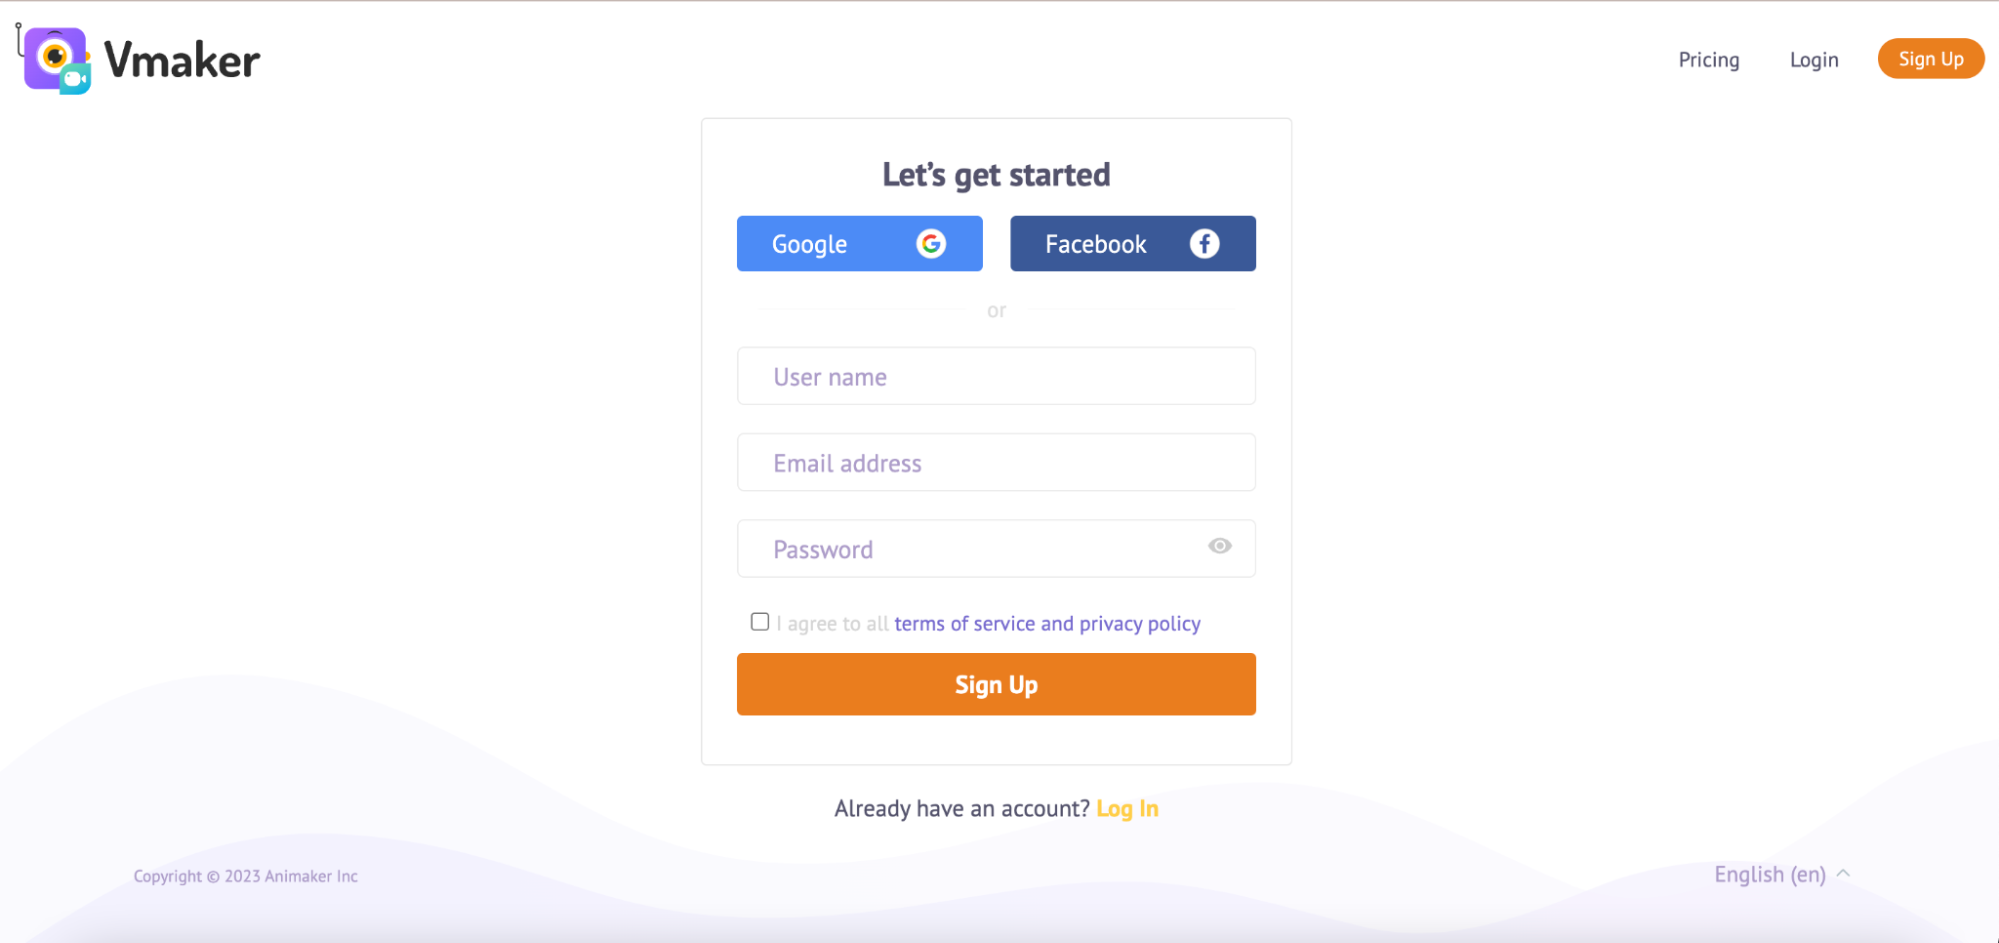
Once you log in, you land on the Vmaker dashboard.
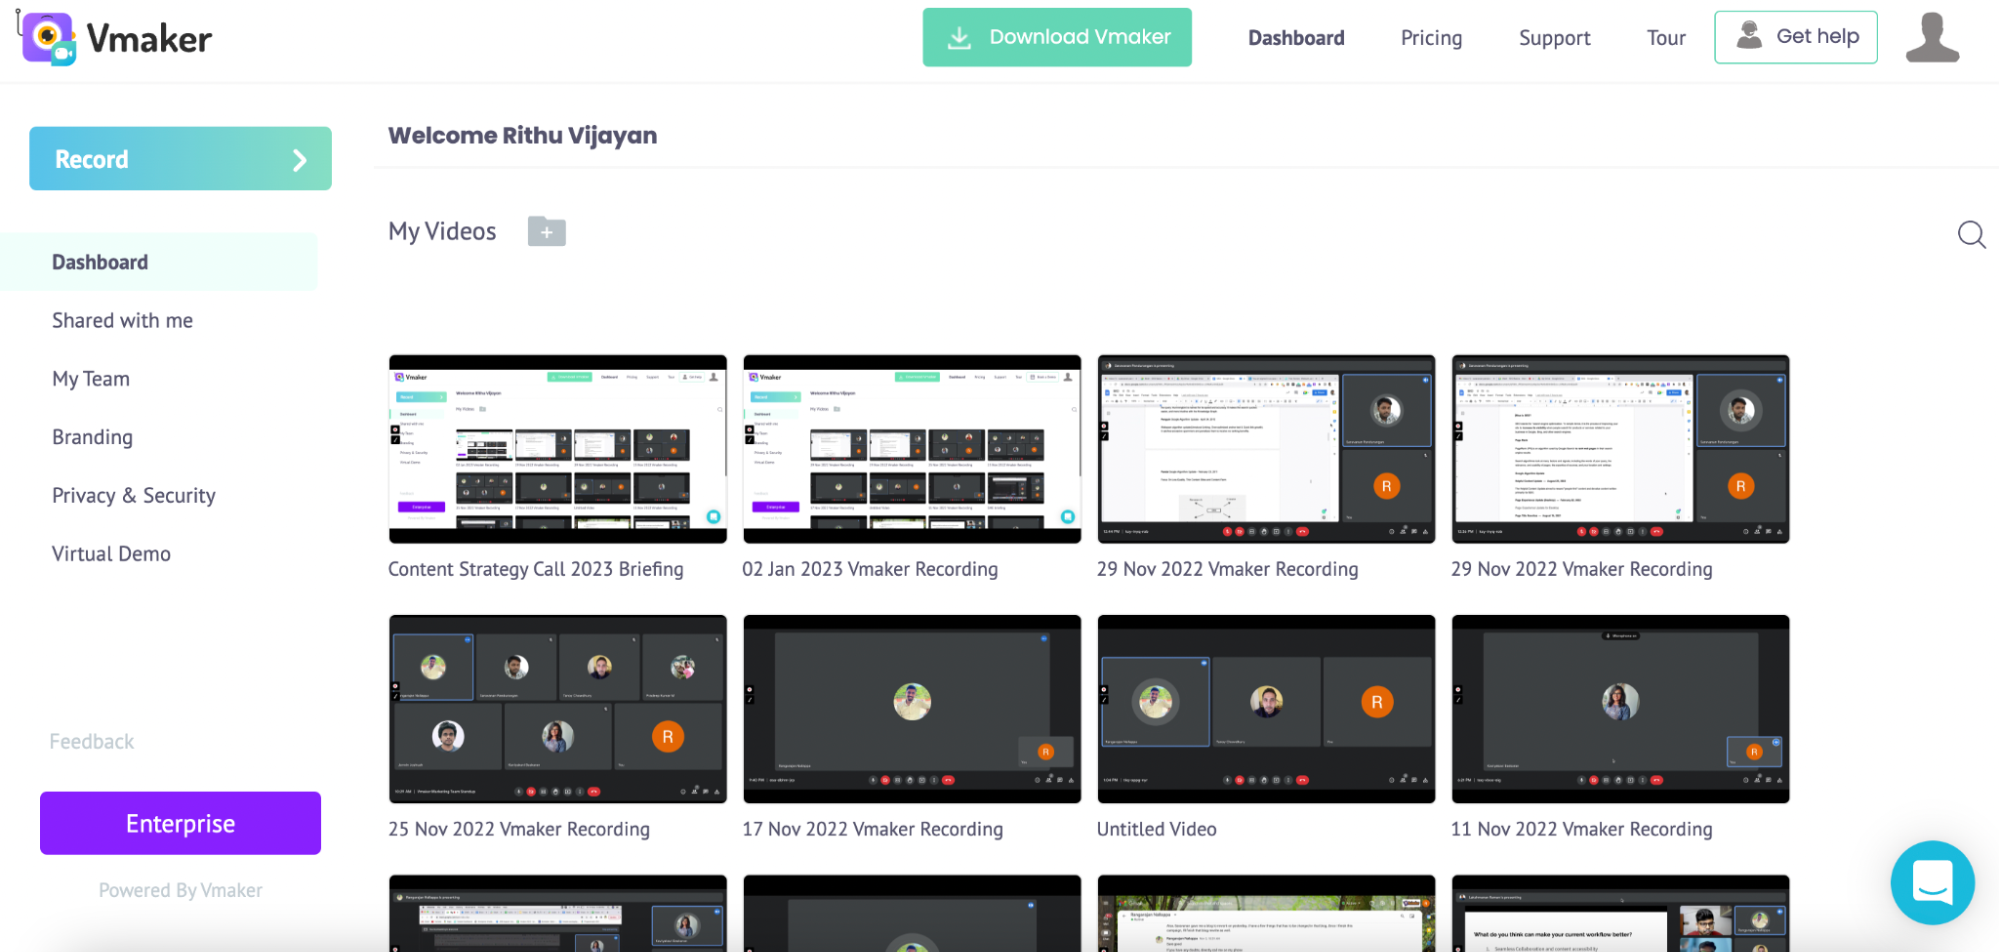
Click Record in the top-left corner of the dashboard.
A pop-up will appear with download options.
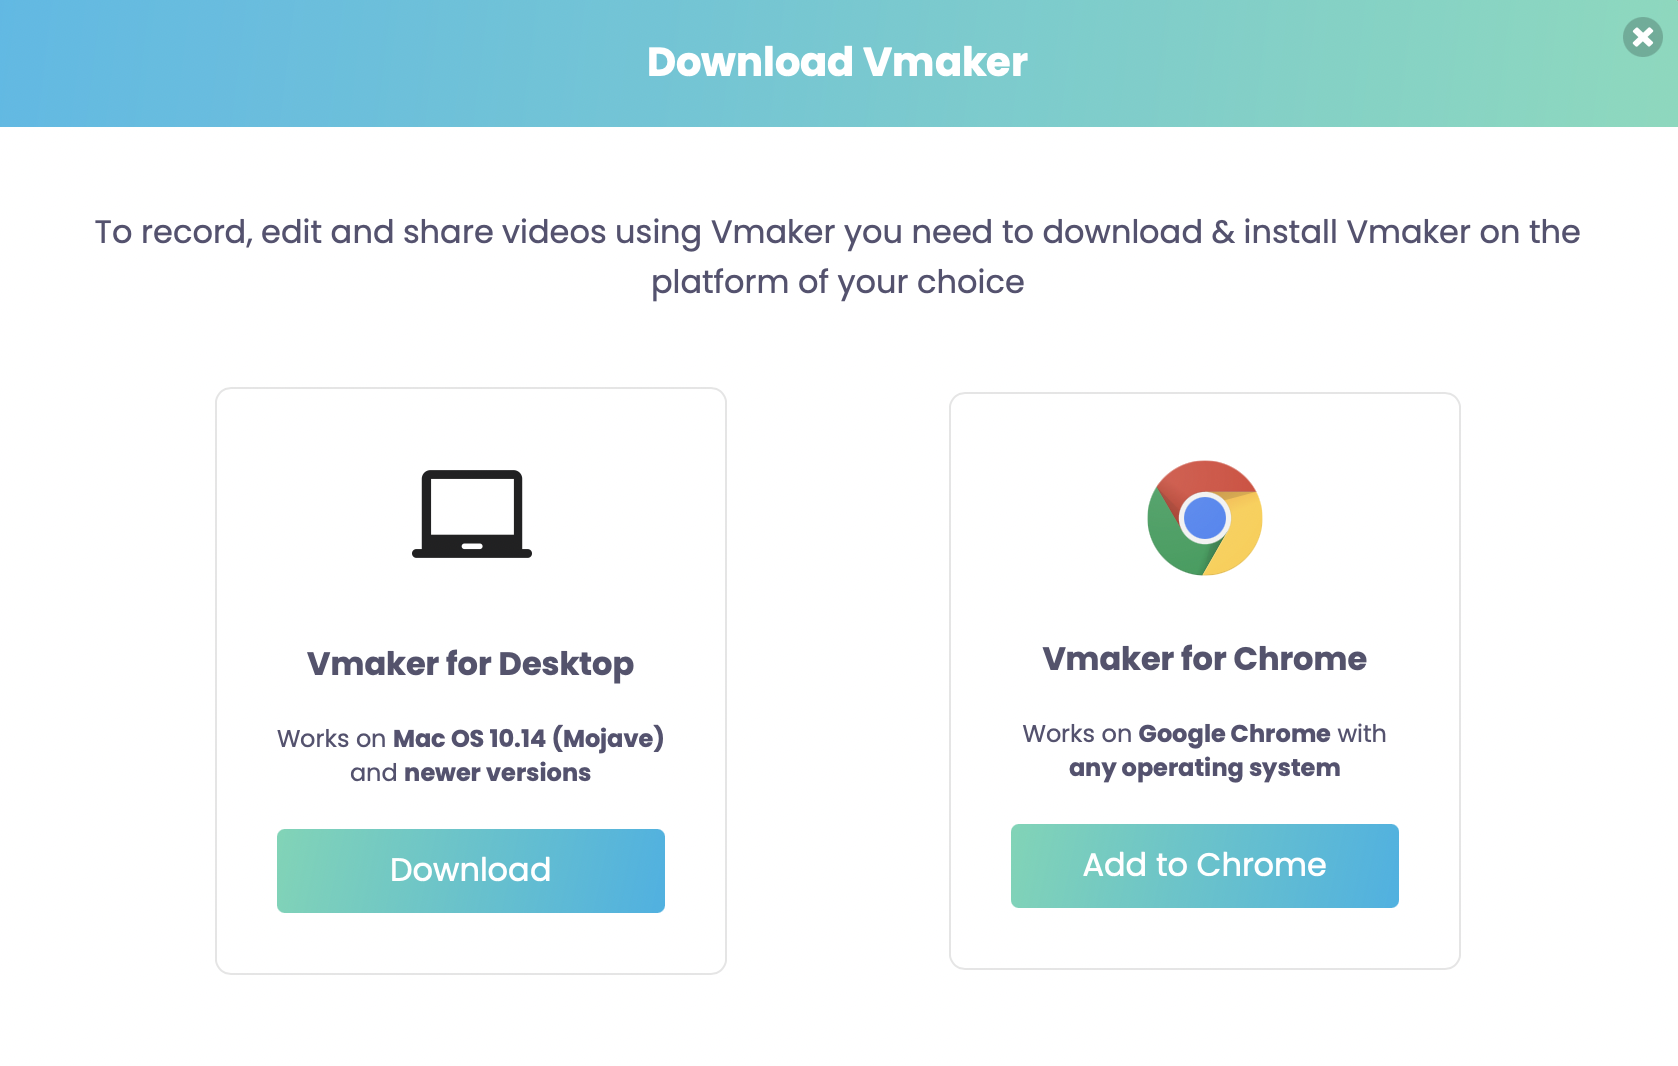
Pick Vmaker for Windows and download the app to your PC.

Step 2: Set your recording preferences
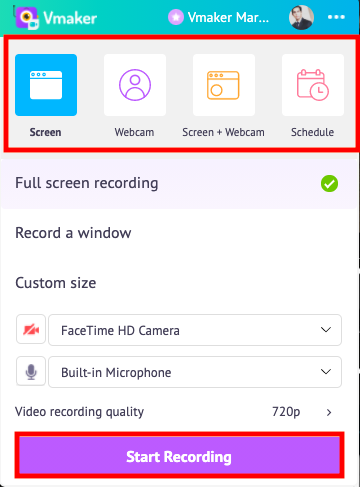
Once installed, launch Vmaker and pick a recording mode.
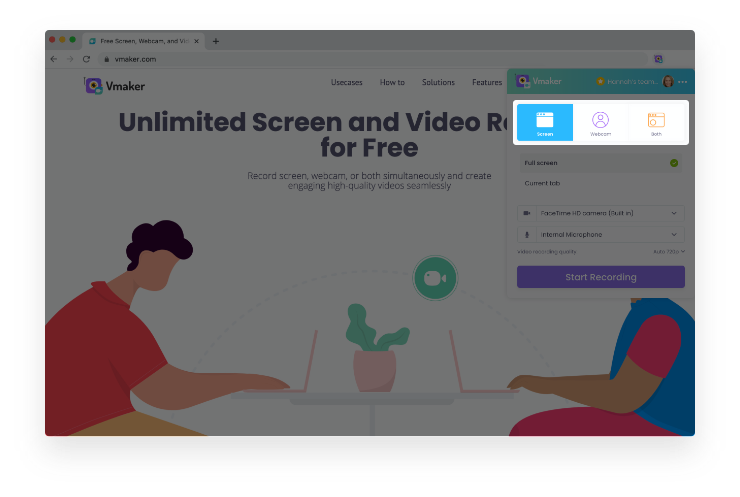
- To record only your screen, pick Screen
- To record only your webcam, pick Webcam
- To record both, pick Screen + Webcam
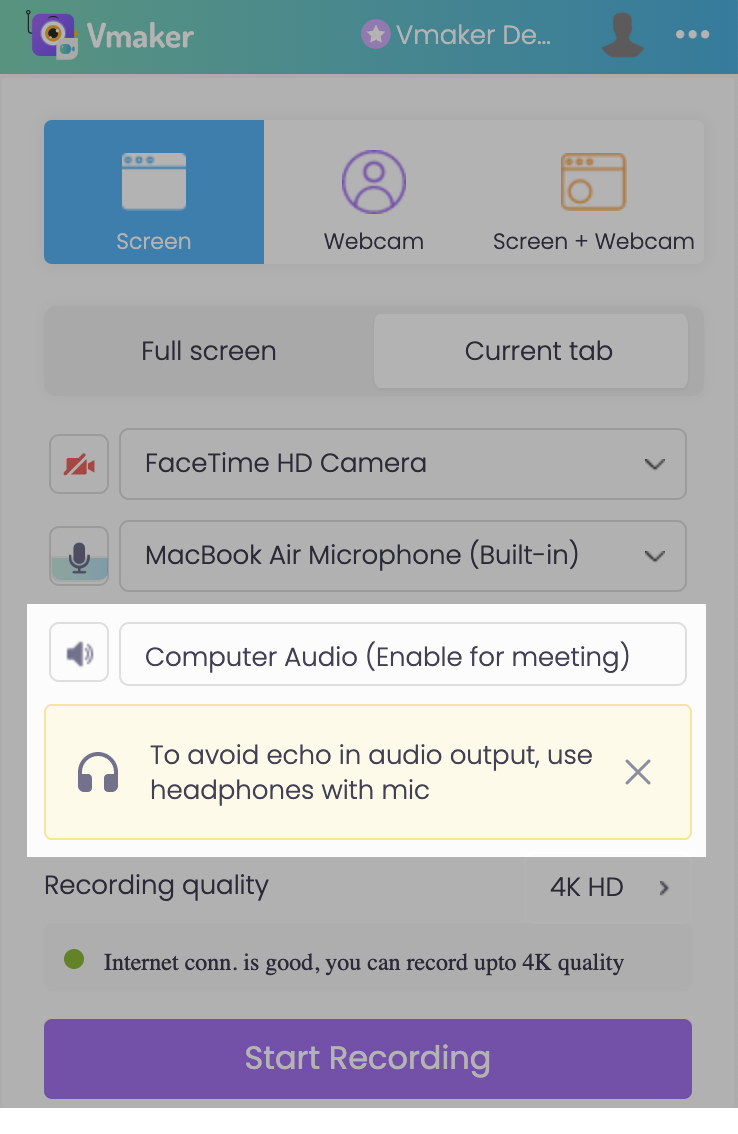
Now enable internal audio (system audio). Click the system audio icon to turn it on.
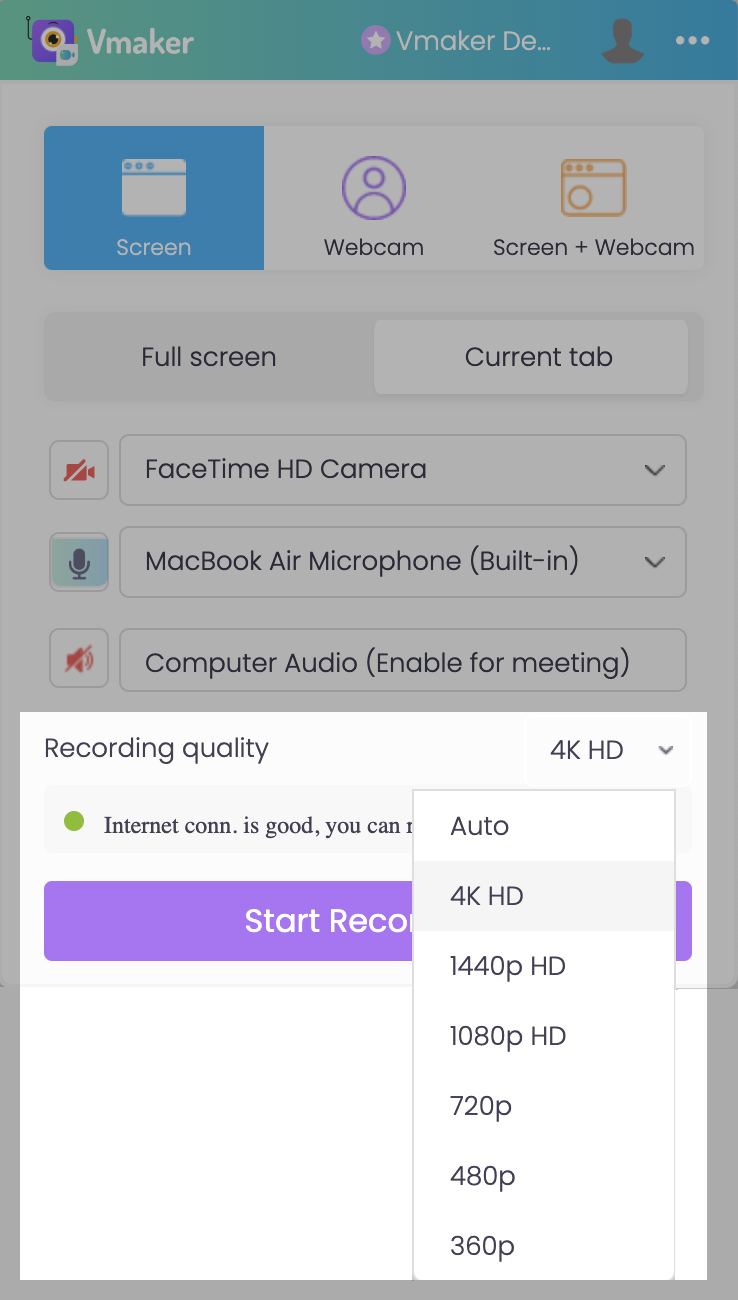
Pick your recording quality. Vmaker is a 4K screen recorder, so you can record, edit, and export at 4K.
Step 3: Use the advanced features
If the basic settings are enough, click Start Recording. To go deeper, click the three-dot menu in the top-right of the pop-up and pick Preferences.
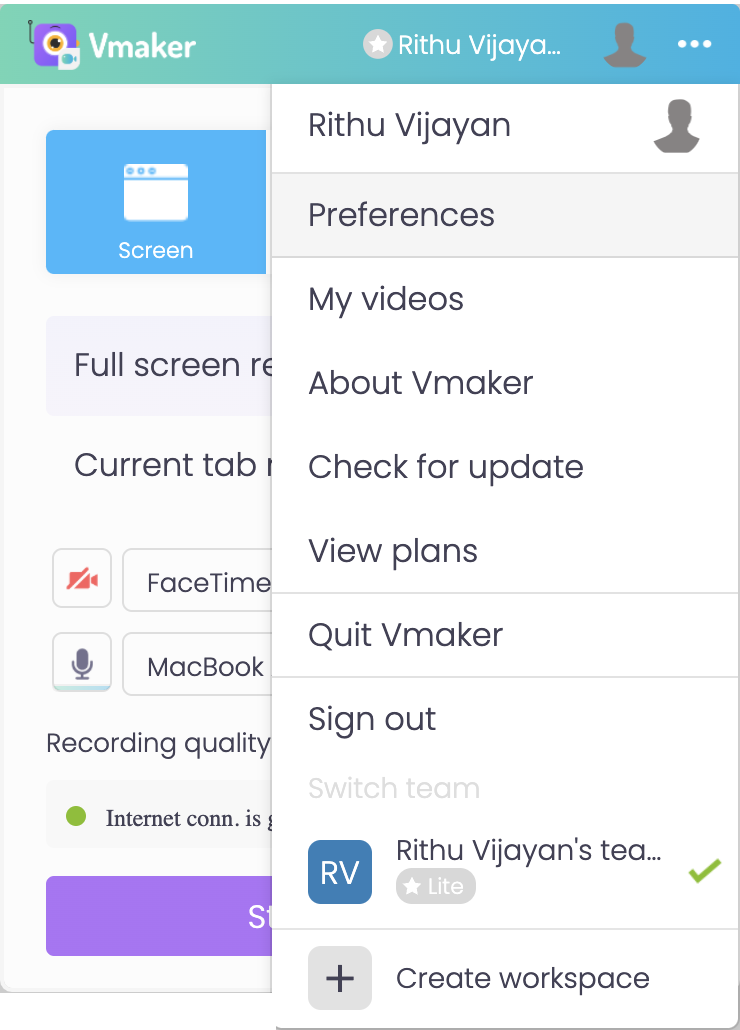
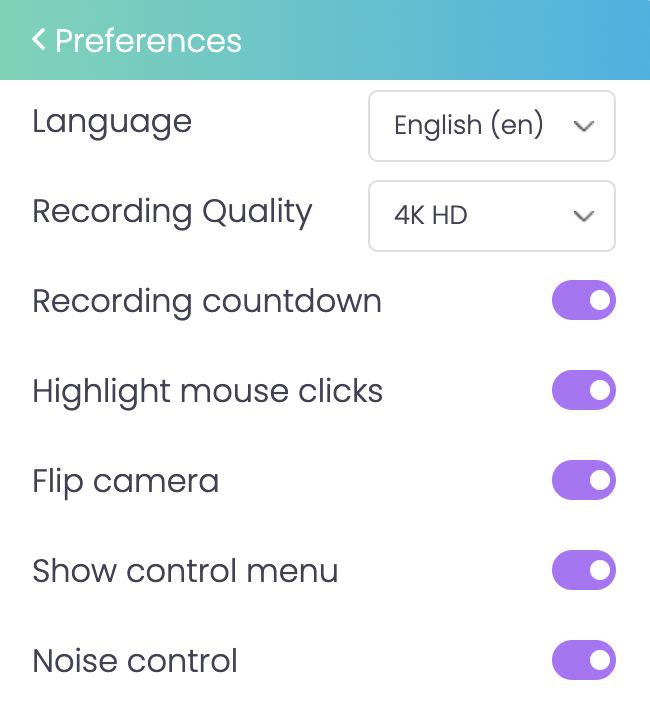
Pick your language and turn on the features you need.
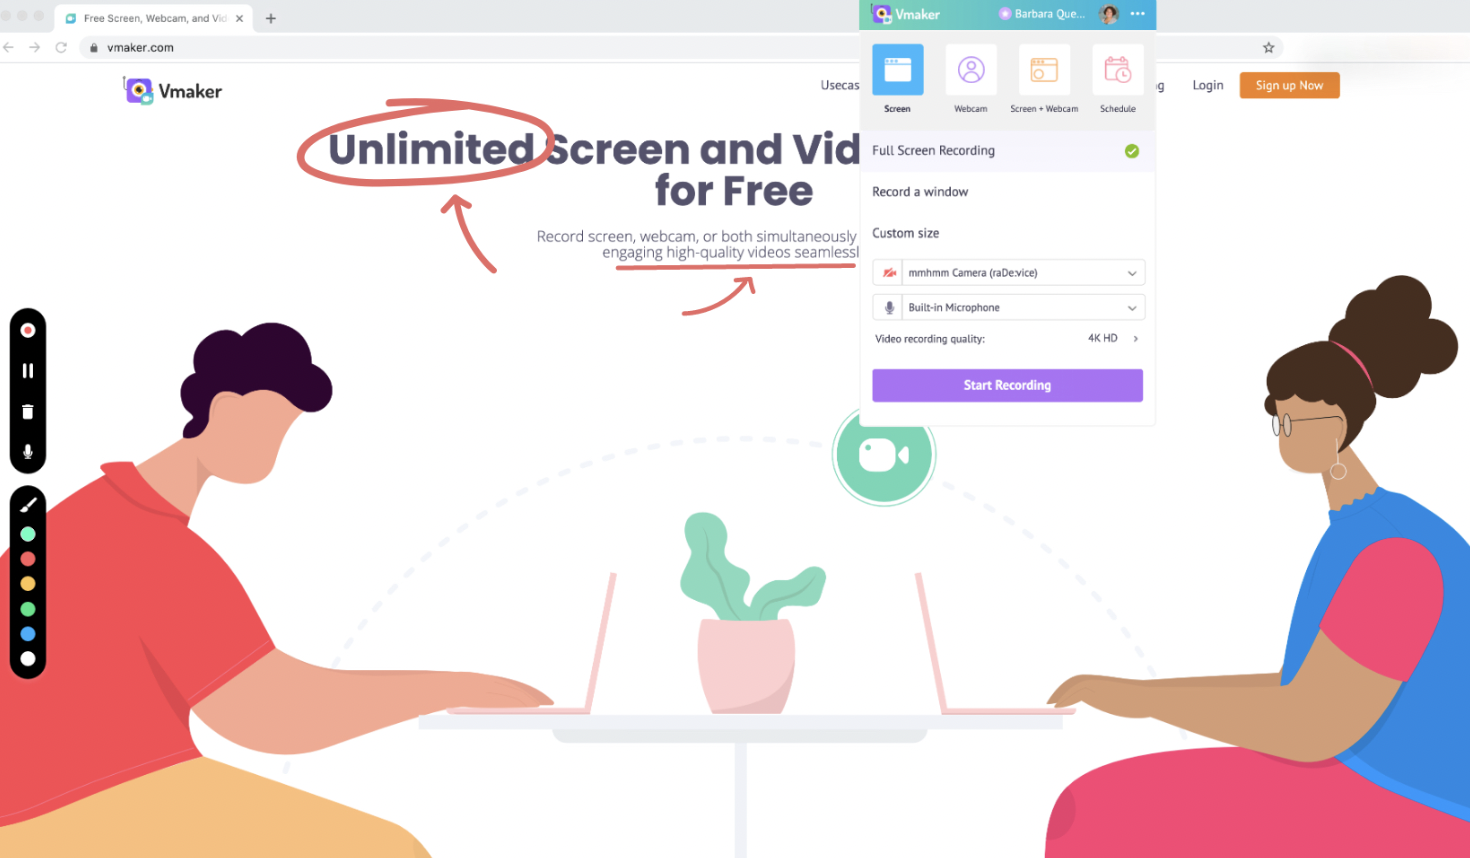
When you are ready, click Start Recording. A 3-second countdown runs, then recording begins.
Use the screen annotation tools to highlight key parts of the screen as you record. Click the Annotate icon in the bottom-left corner and pick a colour.
When you finish, click the red dock button in the bottom-left corner to stop recording.
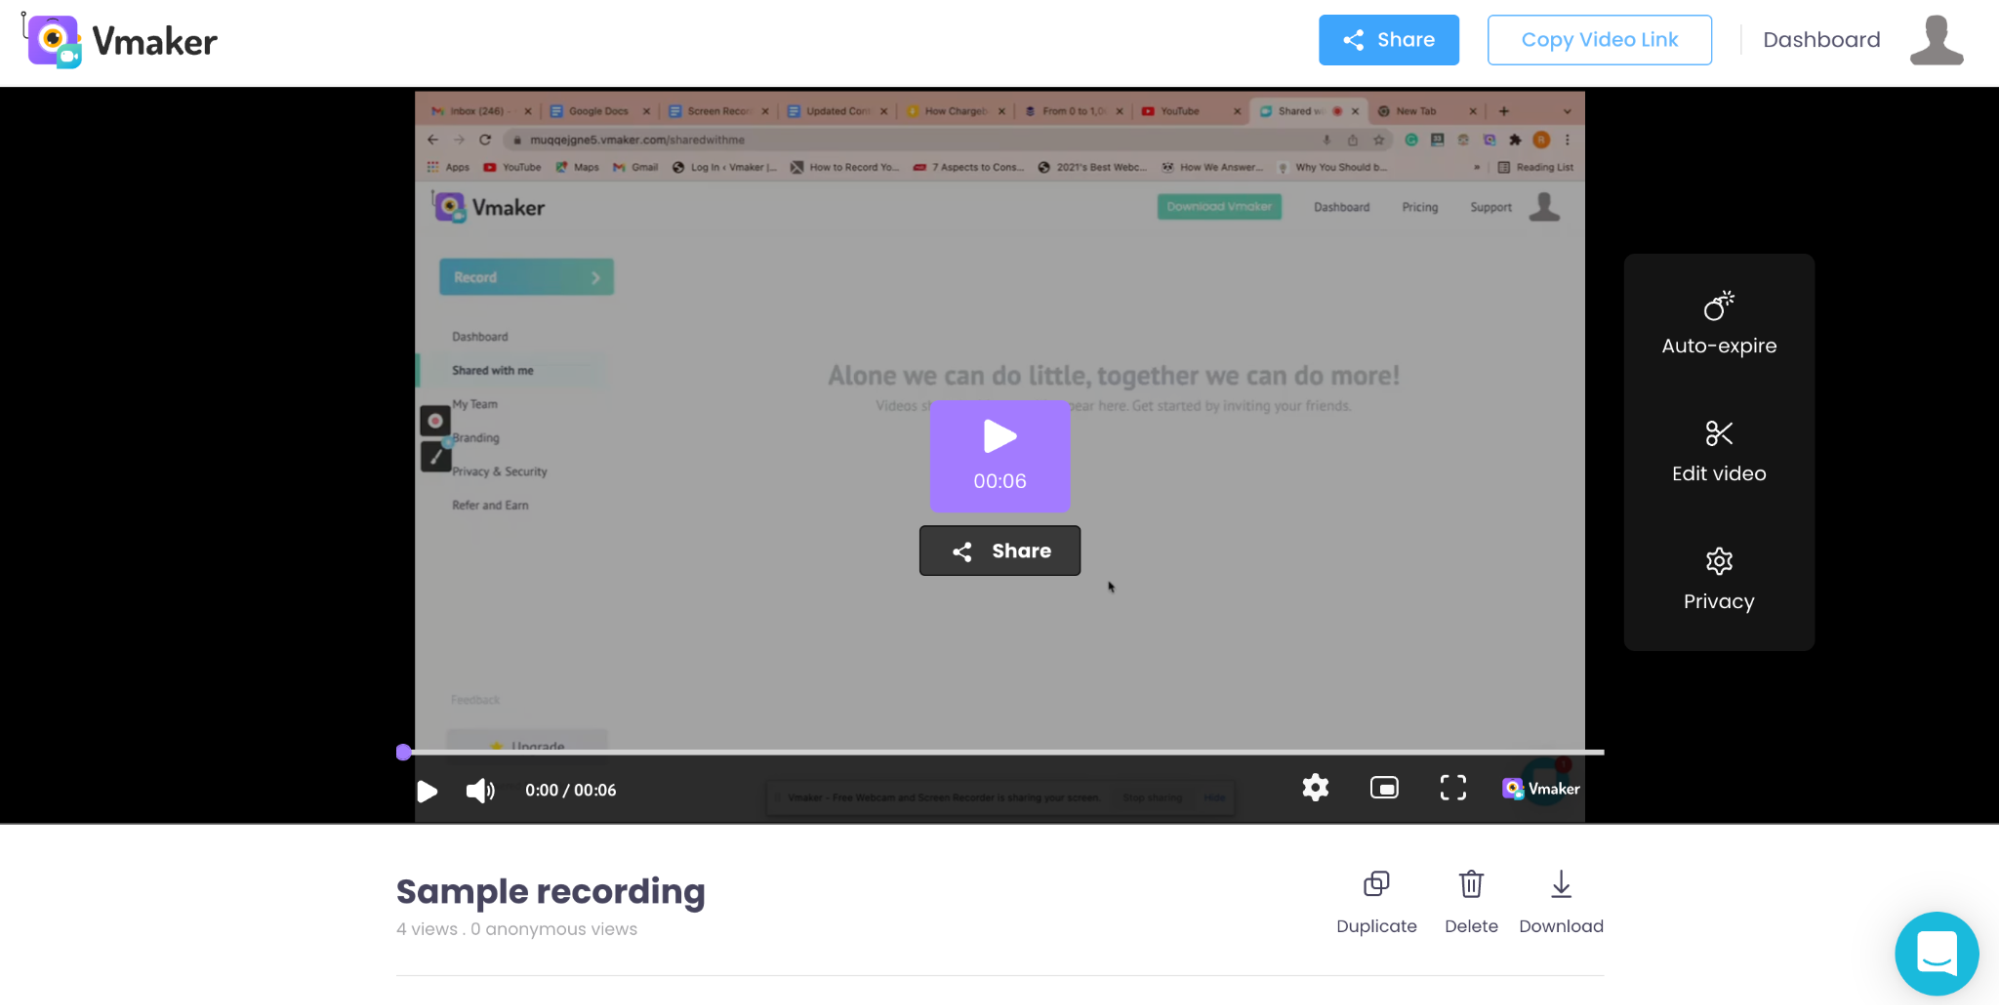
You will be taken to the player page, where you can edit, download, or share the recording.
Step 4: Edit your recording
To clean up the recording, click Edit Video. Vmaker's AI video editor opens with a full set of editing tools: trim, cut, crop, flip, merge, rotate, change speed, and resize.
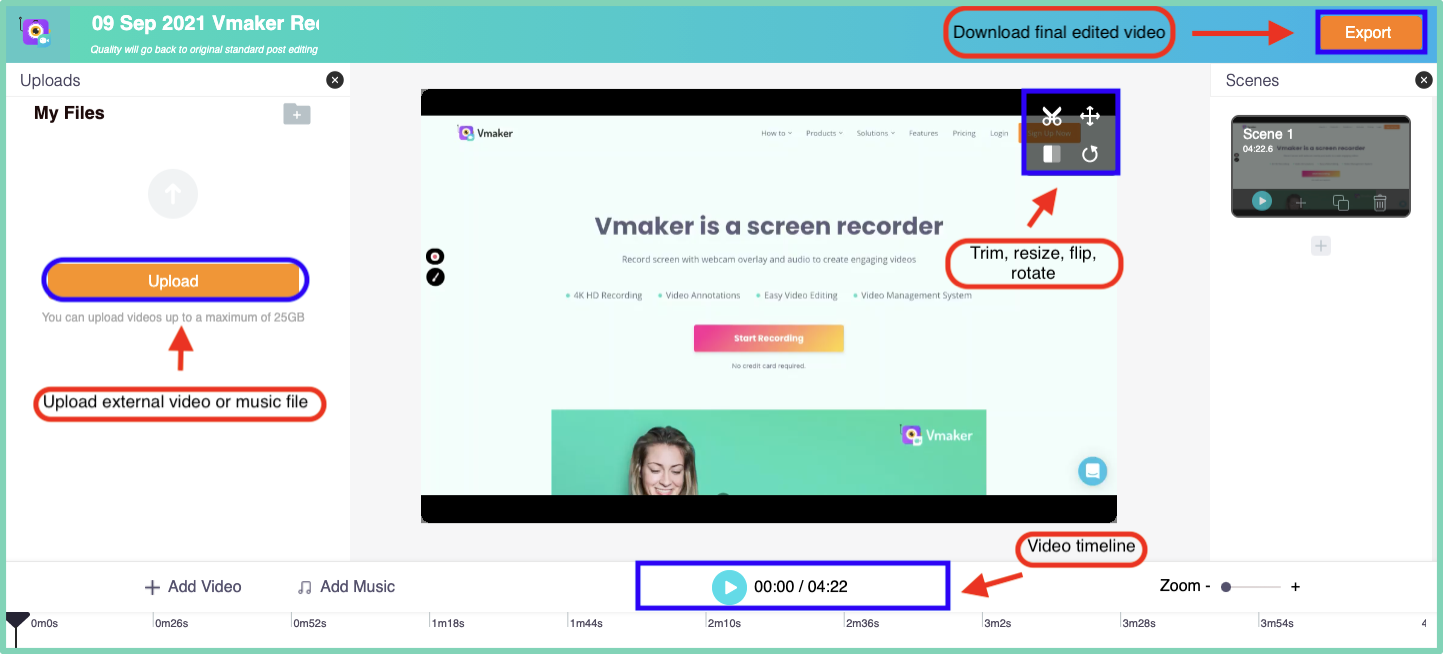
You can also merge external footage into the current recording using the Upload option in the bottom-left corner.
For training, tutorial, or webinar content, auto-generate subtitles in 35+ languages directly inside the editor.
Once you are done editing, click Export in the top-right corner to save the final video.
Step 5: Share your recording
Now share the recording. Three options:
- Copy the video link and share it
- Upload directly to YouTube, Facebook, Twitch, or another platform
- Download to your system
That covers the full flow.
Note: For Windows 7 and Windows 8, use the Vmaker Chrome extension.Frequently Asked Questions
1. How do I record audio on a Windows PC without a microphone?
With an internal audio recorder like Vmaker, you can turn off the microphone and record only system audio. Click the microphone icon to disable it.
2. What are the best internal audio recorders for Windows?
The top 5 options:
- Vmaker
- Screencastify (see Vmaker vs Screencastify)
- Screencast-O-Matic (see Vmaker vs Screencast-O-Matic)
- Camtasia (see Vmaker vs Camtasia)
- Movavi (see Vmaker vs Movavi)
3. How do I record screen and internal audio on Windows 10 and 11?
Use an internal audio recorder like Vmaker. It records screen, webcam, or both with internal and external audio. Follow the steps above to record any number of videos.
Recommended Reads:
5 Easy Ways to Record Internal Audio on Mac
How to Record Your Screen with Audio (Mac, Windows, Chromebook)
Top 10 Screen Recorders for Windows 7, 8, 10, and 11 (Free and Paid)