Contents
How to blur a specific element or region in a screen recording?
1. Install Vmaker Chrome Extension
Introducing Blur Tool: Blur Sensitive Data in Screen Recording
Do you think you can show all your sensitive data when creating training or tutorial videos for YouTube or sharing them with others?
It's not advisable to do that, right?
As a video content creator, you may create a lot of screen recording videos. While creating screen recording videos, you might reveal sensitive information such as email, account id, passwords, employer details, telephone number, address, card number, CVV, Social Security number, etc that are displayed on your screen.Imagine this…
If you're creating a screen recording for a quick yearly recap, it becomes accessible to a wide audience.
But then you suddenly realize that you've 'forgotten' to hide the following sensitive information.
- Financial information (income, expenses, investments)
- Social media profiles
- Photos of the individual or their loved ones
- Family members' names and information
- Personal achievements or milestones
To hide that, you're required to juggle multiple video editing tools to blur out the sensitive information that appears for just a few seconds in your video.
The primary goal of Vmaker is to enable users to effortlessly create screen recording videos, even if they lack technical expertise. With this objective in mind, we are introducing a blur feature within our Screen Recorder.
Here's what one of our exclusive early users have to say:
❝ I used to spend a lot of time manually blurring sensitive information after recording a video, before sharing it with my clients. Thanks to Vmaker's blur tool, I don't have to go through this step after recording a video anymore.❞
Here is the guide on how you can use our blur feature before or during screen recording.
How to blur a specific element or region in a screen recording?
This blur functionality is available on the Vmaker Chrome Extension. Follow the steps below to blur a portion of your screen recording without any hassle.
1. Install Vmaker Chrome Extension
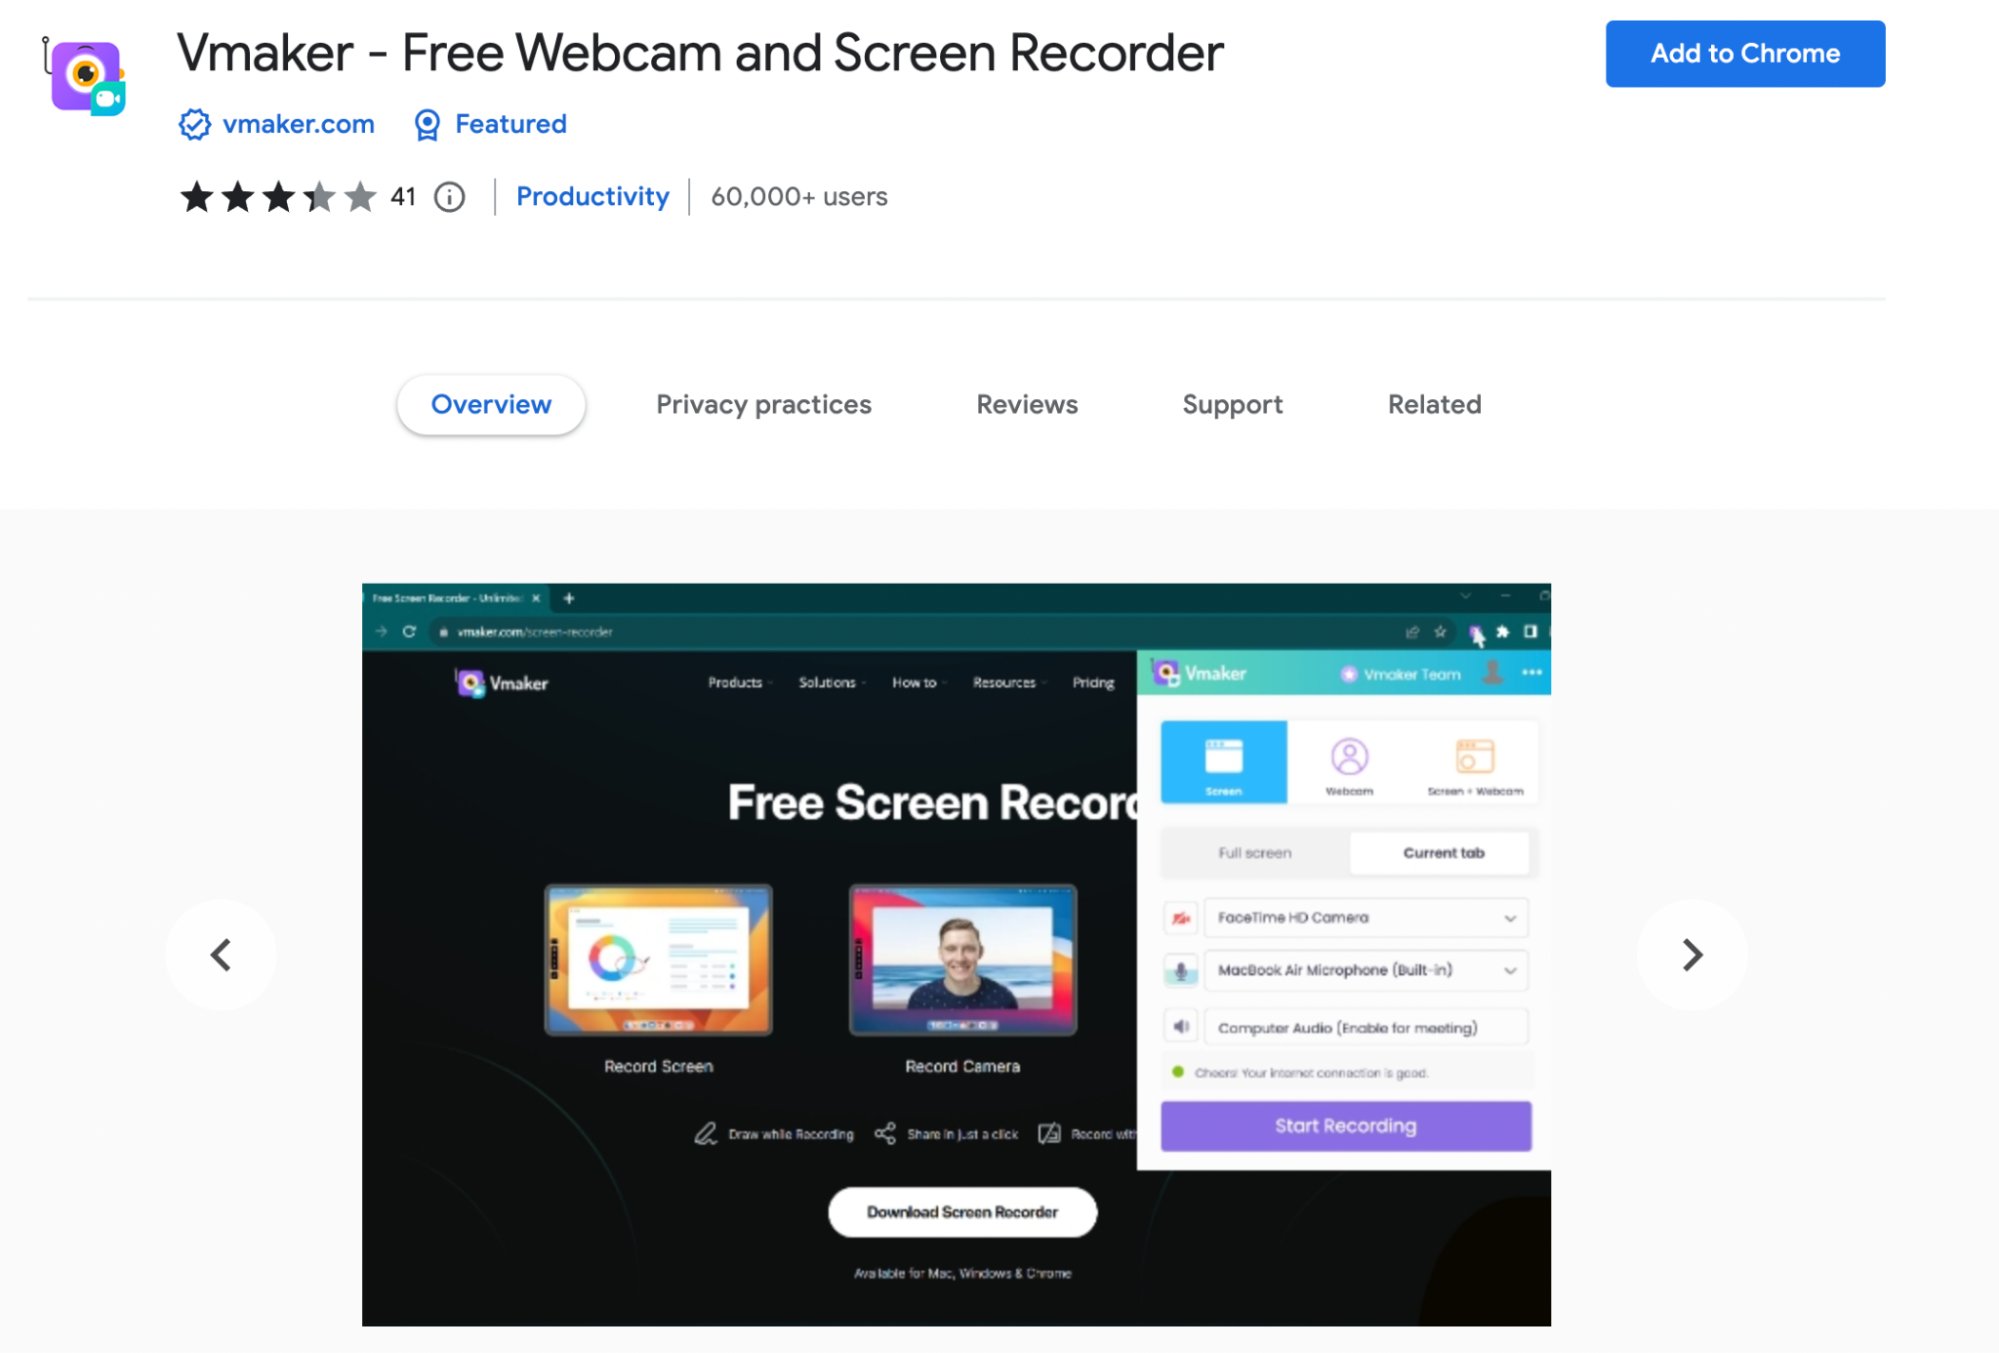
If you're new to Vmaker, visit vmaker.com or the Chrome Web Store to add the Vmaker Chrome Extension to your Chrome Browser.
2. Signup to Vmaker
After adding it to Chrome, sign up using a gmail or Facebook account. For existing users, simply continue with your current account. Ensure that you’re using the latest version of Vmaker Chrome Extension.
3. Launch Vmaker
Once you've completed the signup process, click on the Vmaker Chrome Extension browser icon to open it.
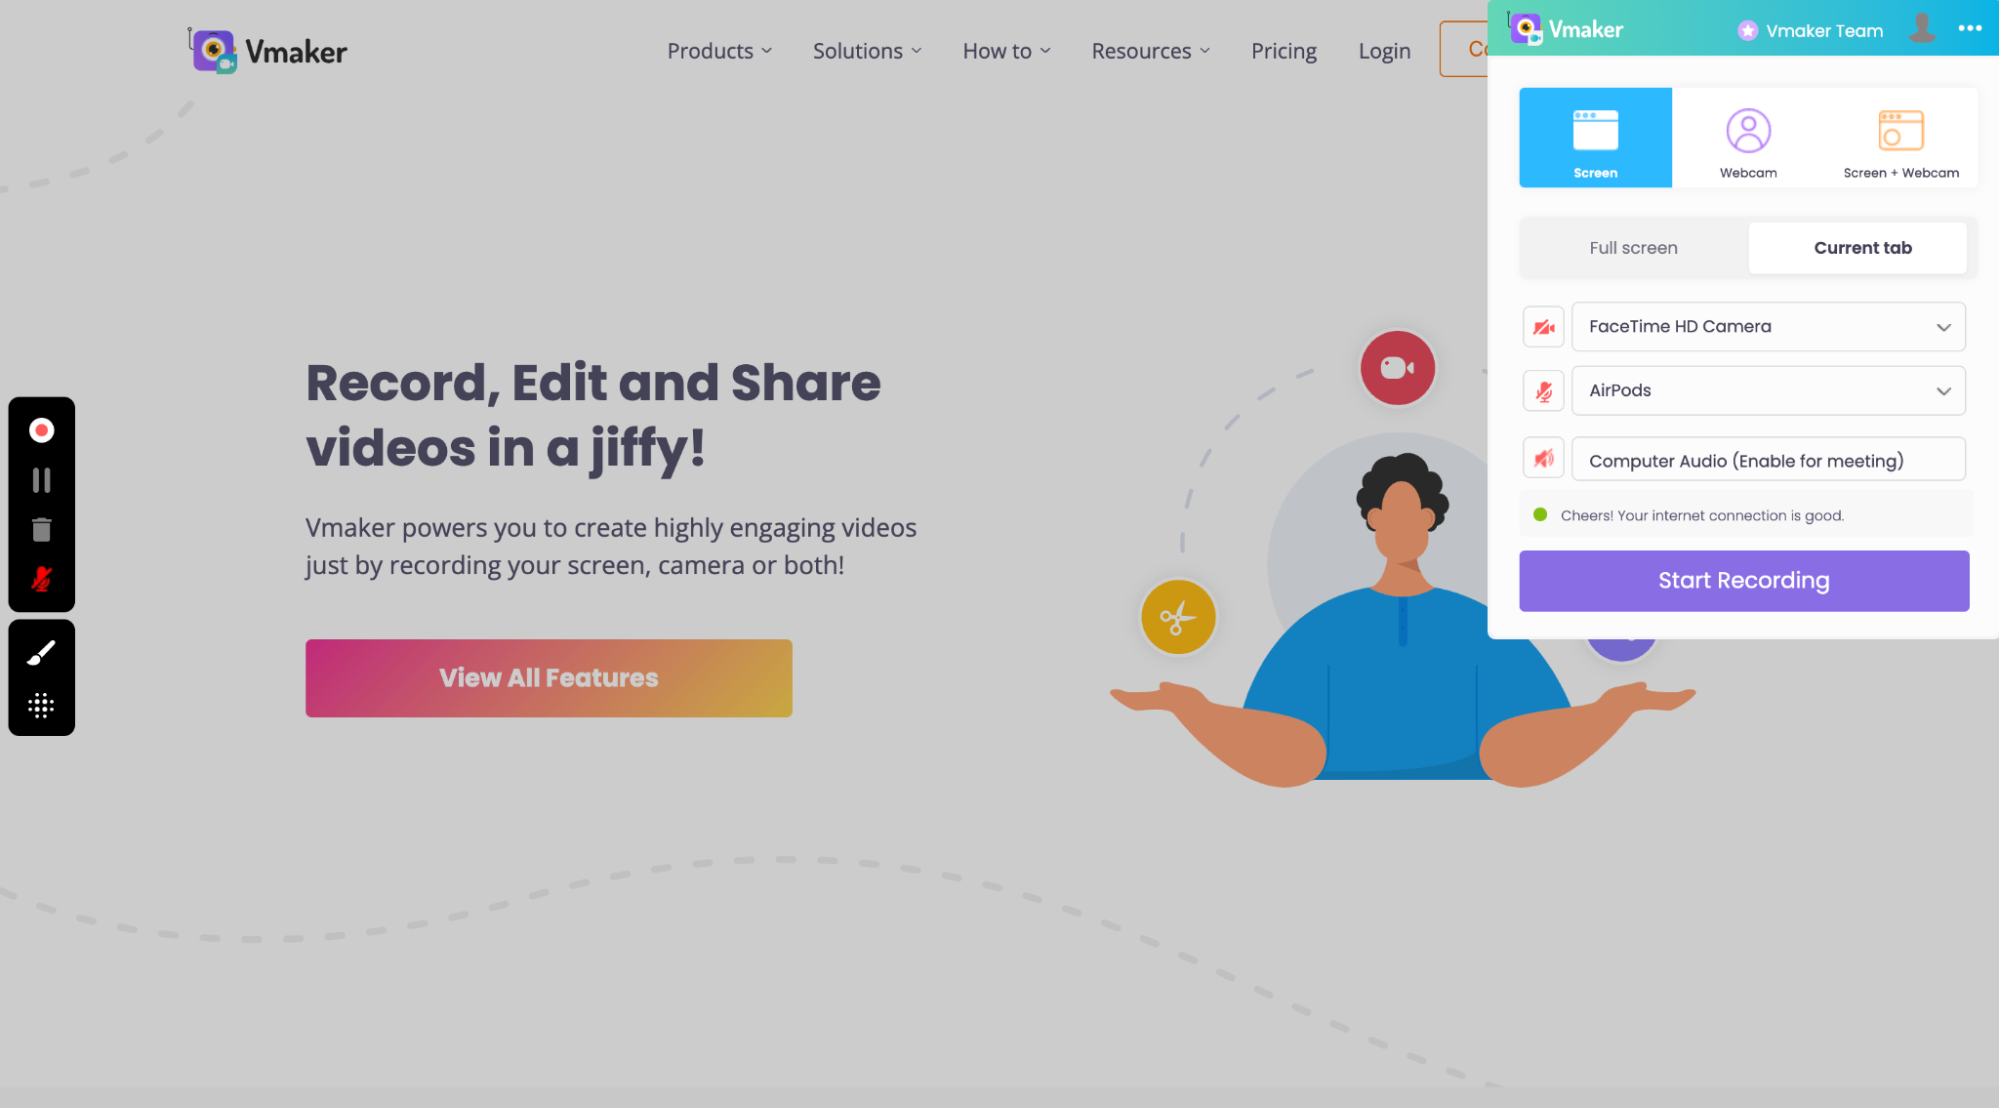
Now you’re all set to start creating your screen recording video. In the control menu you will find the blur option. It will be available to use before or during the recording.
4. Blur Option
Now, let's see how you can blur a portion of your screen using the blur tool on Vmaker.
Click on the Blur icon in the Vmaker control menu, and you will see two options.
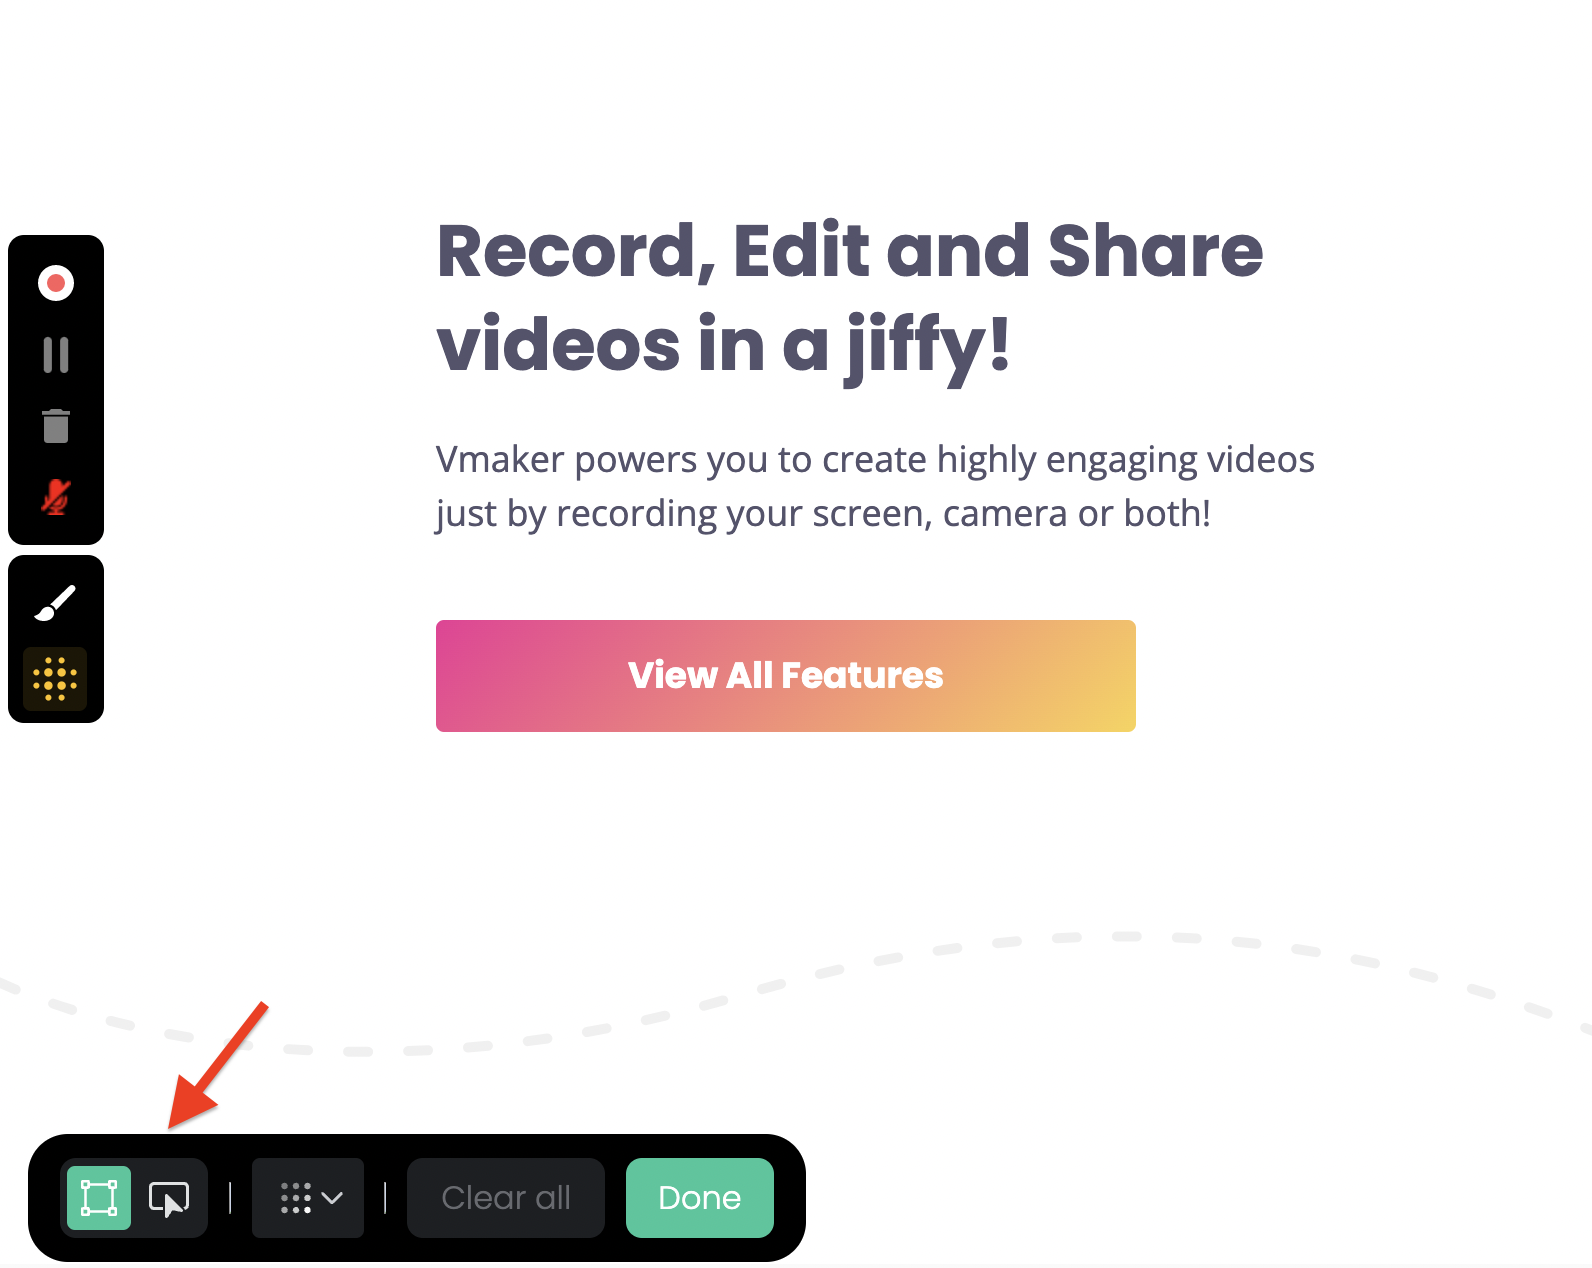
i) Region Blur
ii) Element Blur
You can use it according to your needs.
i) Blur region manually
To use this option, simply click on the first icon and cover the region you wish to blur.
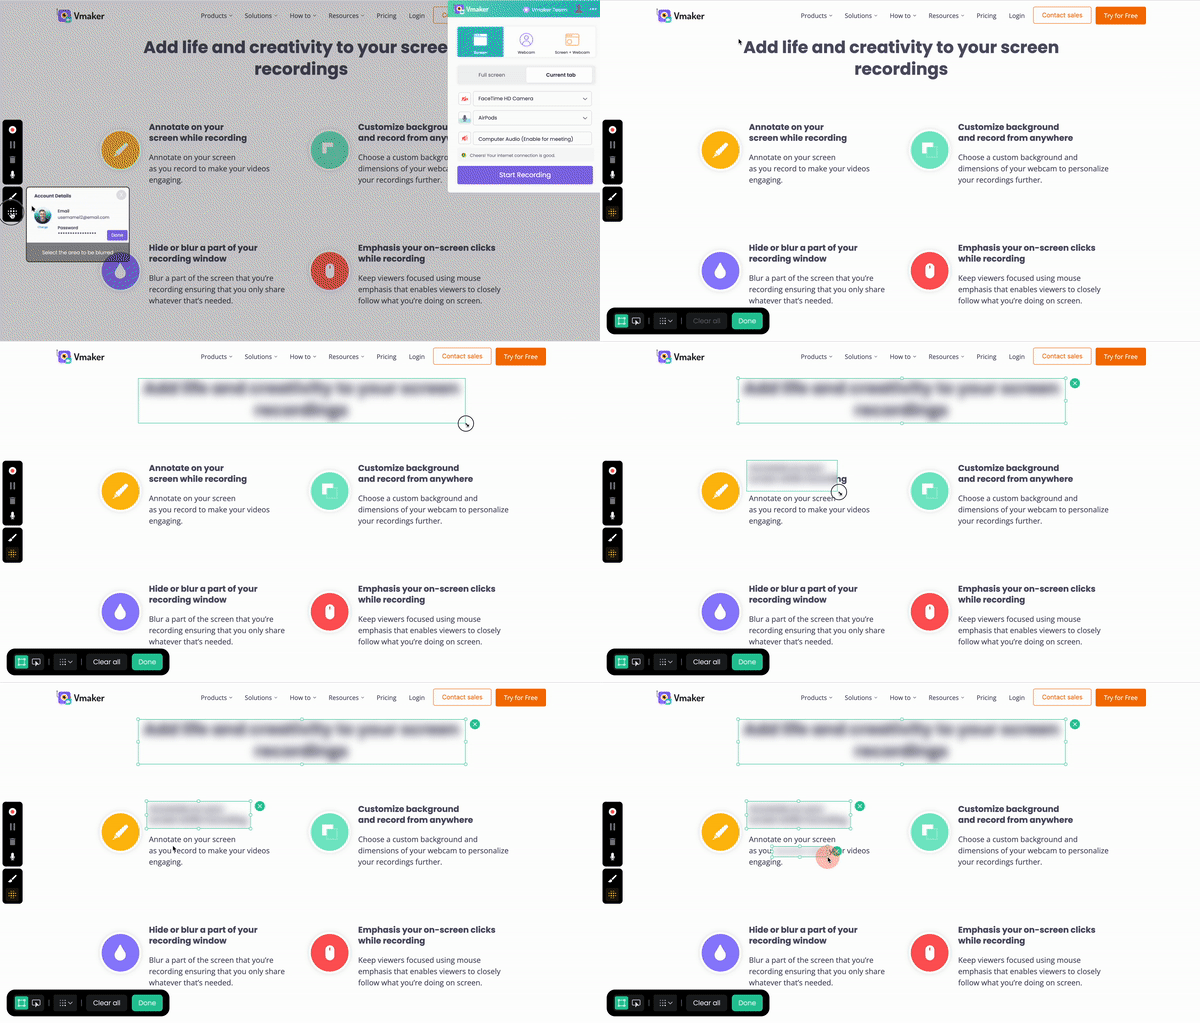
You can simultaneously blur multiple areas on your screen.
Region blur comes in handy when you're sharing a screen recording involving tasks such as reviewing legal contracts or documents, medical reports, client presentation, personal notes or other sensitive discussions.
Moreover, region blur is well-suited for blurring content within presentations, Word documents, Spreadsheets, PDF documents, and more.
ii) Blur element on you screen
In this option, you can blur a specific element on your screen. Just click on the second icon on the control menu and choose the element you wish to blur.
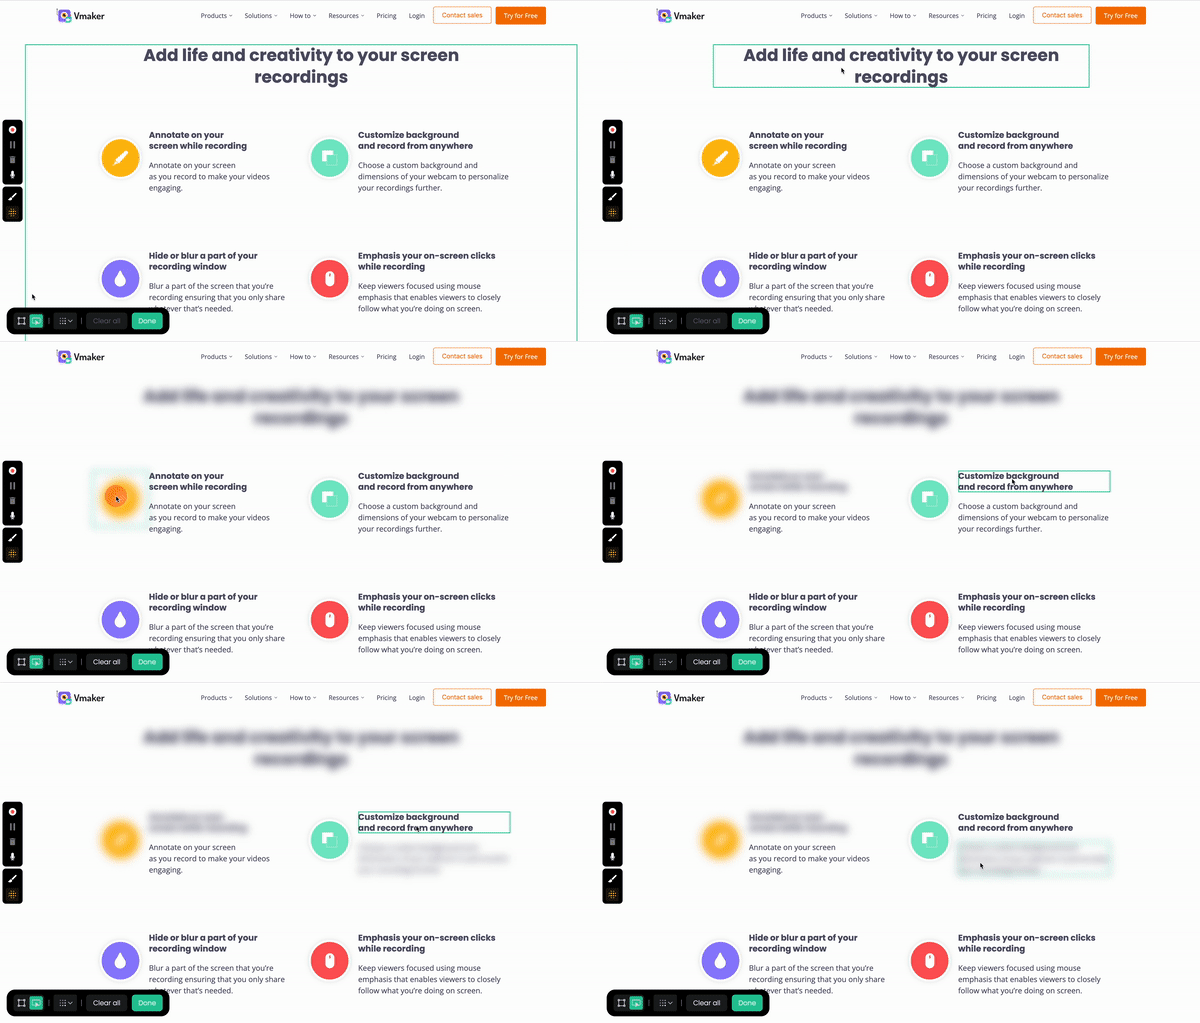
You have the flexibility to blur any element on the screen, including images. To remove a blurred element, simply click on the element again or select "Clear all" from the control menu.
Element blur is suitable when you want to blur specific elements like names, login credentials, card number, CVV, license, membership details, Green card, Employer detail, or financial information. By using region blur, you can effortlessly hide content within the chosen region.
Moreover, this becomes crucial when you showcasing communication tools or platforms, creating software tutorials, or conducting website reviews. With just one click, you can easily blur these elements.
Consider software demo tutorials as an example. Element blur can effectively blur specific buttons, options, login credentials, account ID or personal data without interrupting the flow of the tutorial.
You can also use element blur to reveal something surprising in your videos.
In addition, our blur tool allows you to adjust the opacity of the blur effect.
Click on the opacity control icon on the control menu and adjust the opacity of the blur.
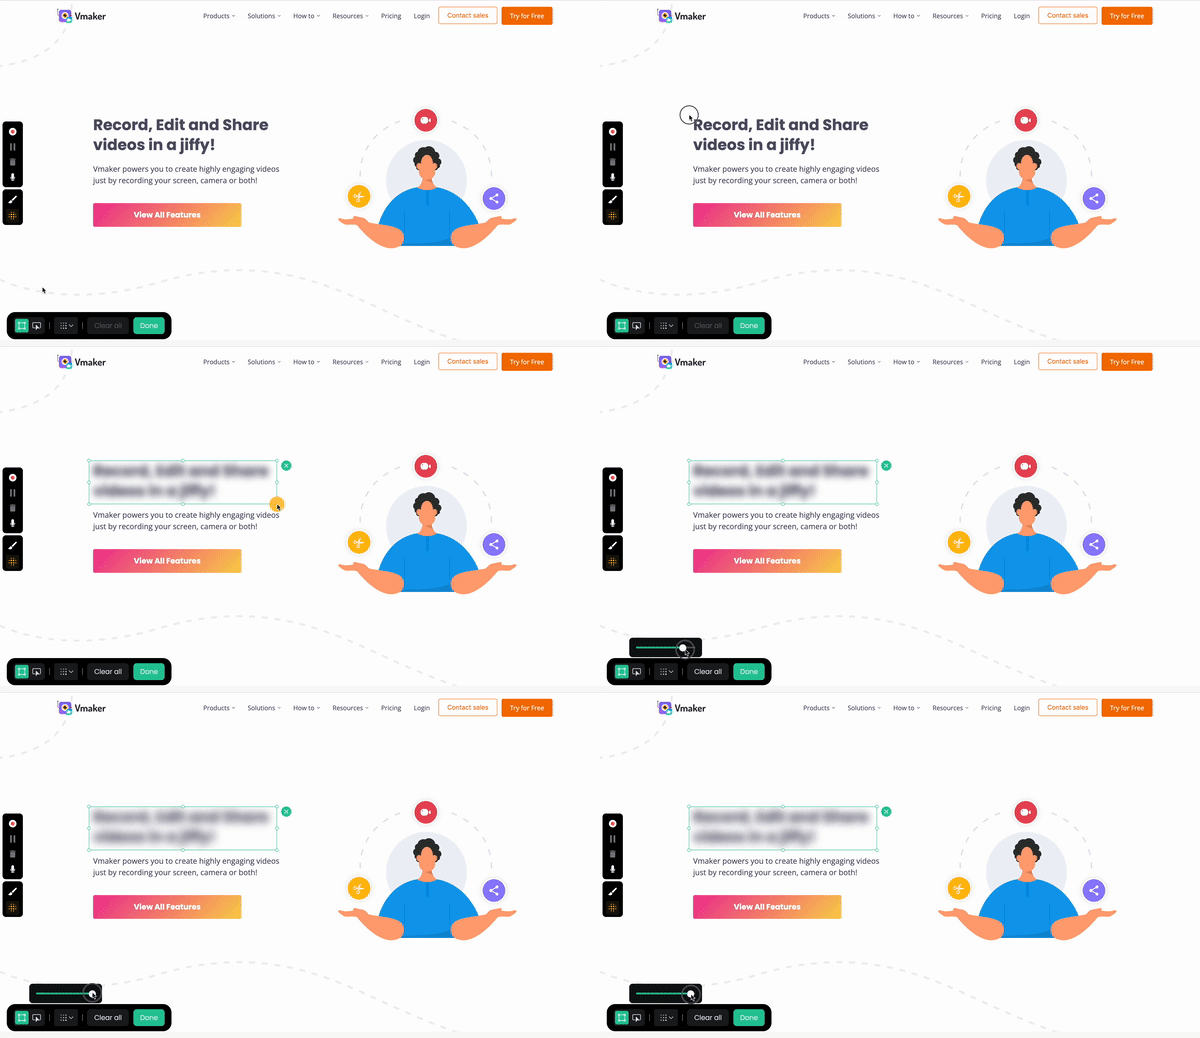
Now you’re ready to create your screen recording video. Customize your recording mode, audio preferences, and click the “Start Recording” button. The blurred region remains blurred until you stop the recording.
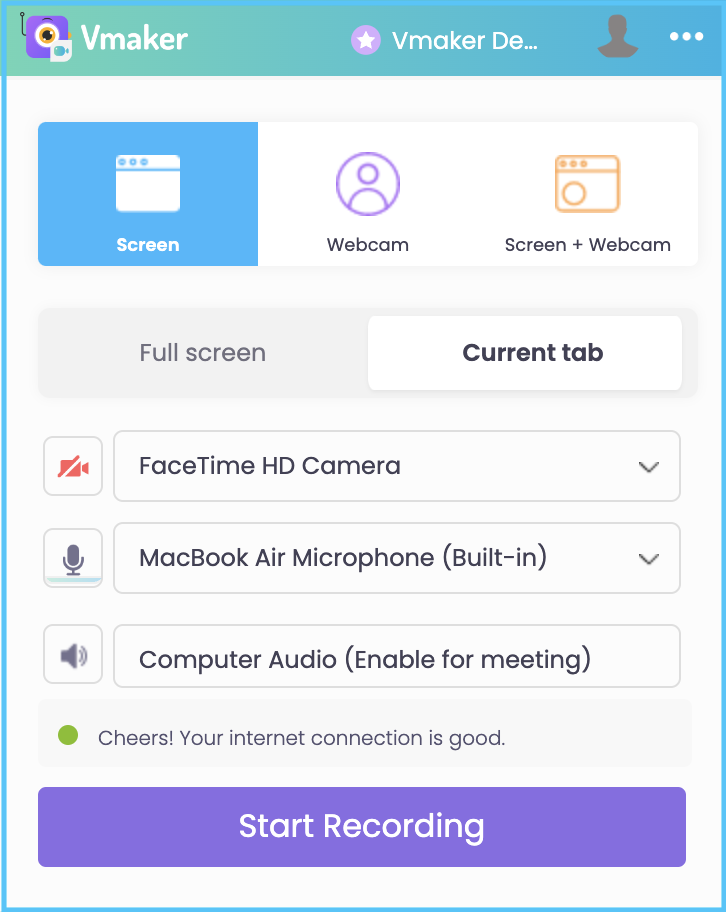
5. Blur Option during recording
If you’d like to use the blur option during recording, all the options within the blur tool function as described above.
The only difference is that clicking on the Blur icon during screen recording will temporarily pause the recording. This allows you to use the blur option to specific regions or elements on the screen. Once you’re finished, clicking the “Resume Recording” button will resume your recording.
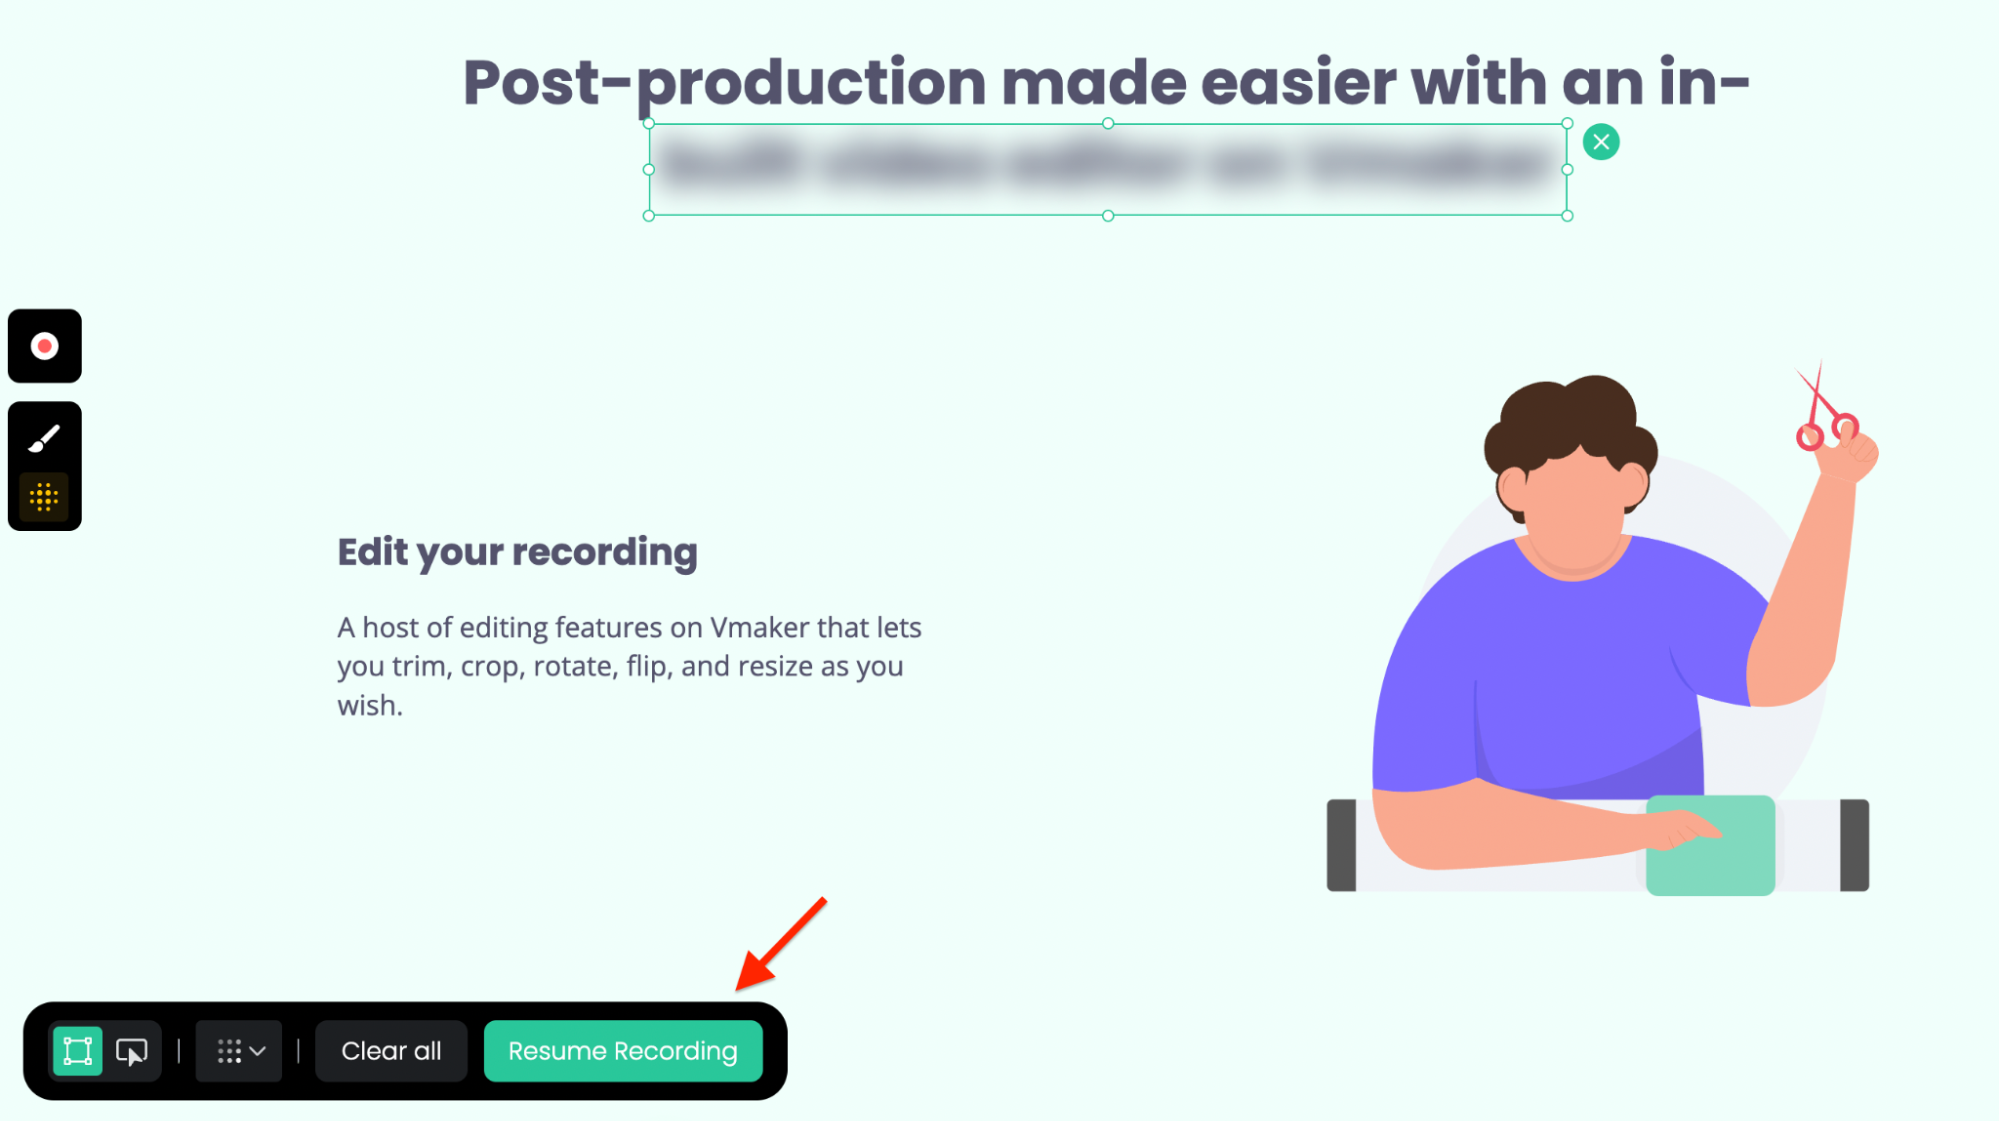
The blurred part remains unchanged even when you navigate between various tabs and different pages within Chrome.
That’s it.
You no longer need to worry about sensitive information while creating screen recording videos.
Happy Recording!
☛ Bonus Read: Vmaker How-to Guides
Frequently asked questions:
How to Blur Pictures in Screen Recording?
With Vmaker, you can easily blur out sensitive text or images displayed on your screen. Additionally, you have the option to adjust the intensity of the blur effect according to your preferences.
How to blur content on several tabs on Chrome browser?
Once you’ve applied the blur effect, it will persist even when you switch between multiple tabs in your Chrome browser until you refresh the tab.
Recommended Reading:
