Contents
How to record your Windows screen using Xbox Game Bar
2) Record the whole screen, only a window or custom size
3) Mouse emphasis and annotations
Built-in Windows Screen Recorder vs Vmaker: Make the right choice
If you use Windows 10, then you must be aware that it comes with a built-in screen recorder called Xbox Game Bar. This was launched with the Windows 10 version to help gamers record the gameplay.
In this blog, we will talk about it in detail and tell you how it’s not the right screen recorder for making screen recording videos on Windows. We will also be showing you how you can screen record, edit and share your videos on Windows 10 using the best screen recorder.
Make sure you read this blog till the end.
How to record your Windows screen using Xbox Game Bar
Before we head on to talk about why Xbox Game Bar is not right for you, we will give you a swift walkthrough of how you can actually record your screen using this tool
1) Open the application that you want to record. For example, if you want to record gameplay, ensure that you have already kept the game application open
2) Close/Minimize the other applications or windows that you have kept open. As Game bar can record only one window at a time, you need to ensure that you have the right one open
3) Press the Windows Key + G to open Game Bar
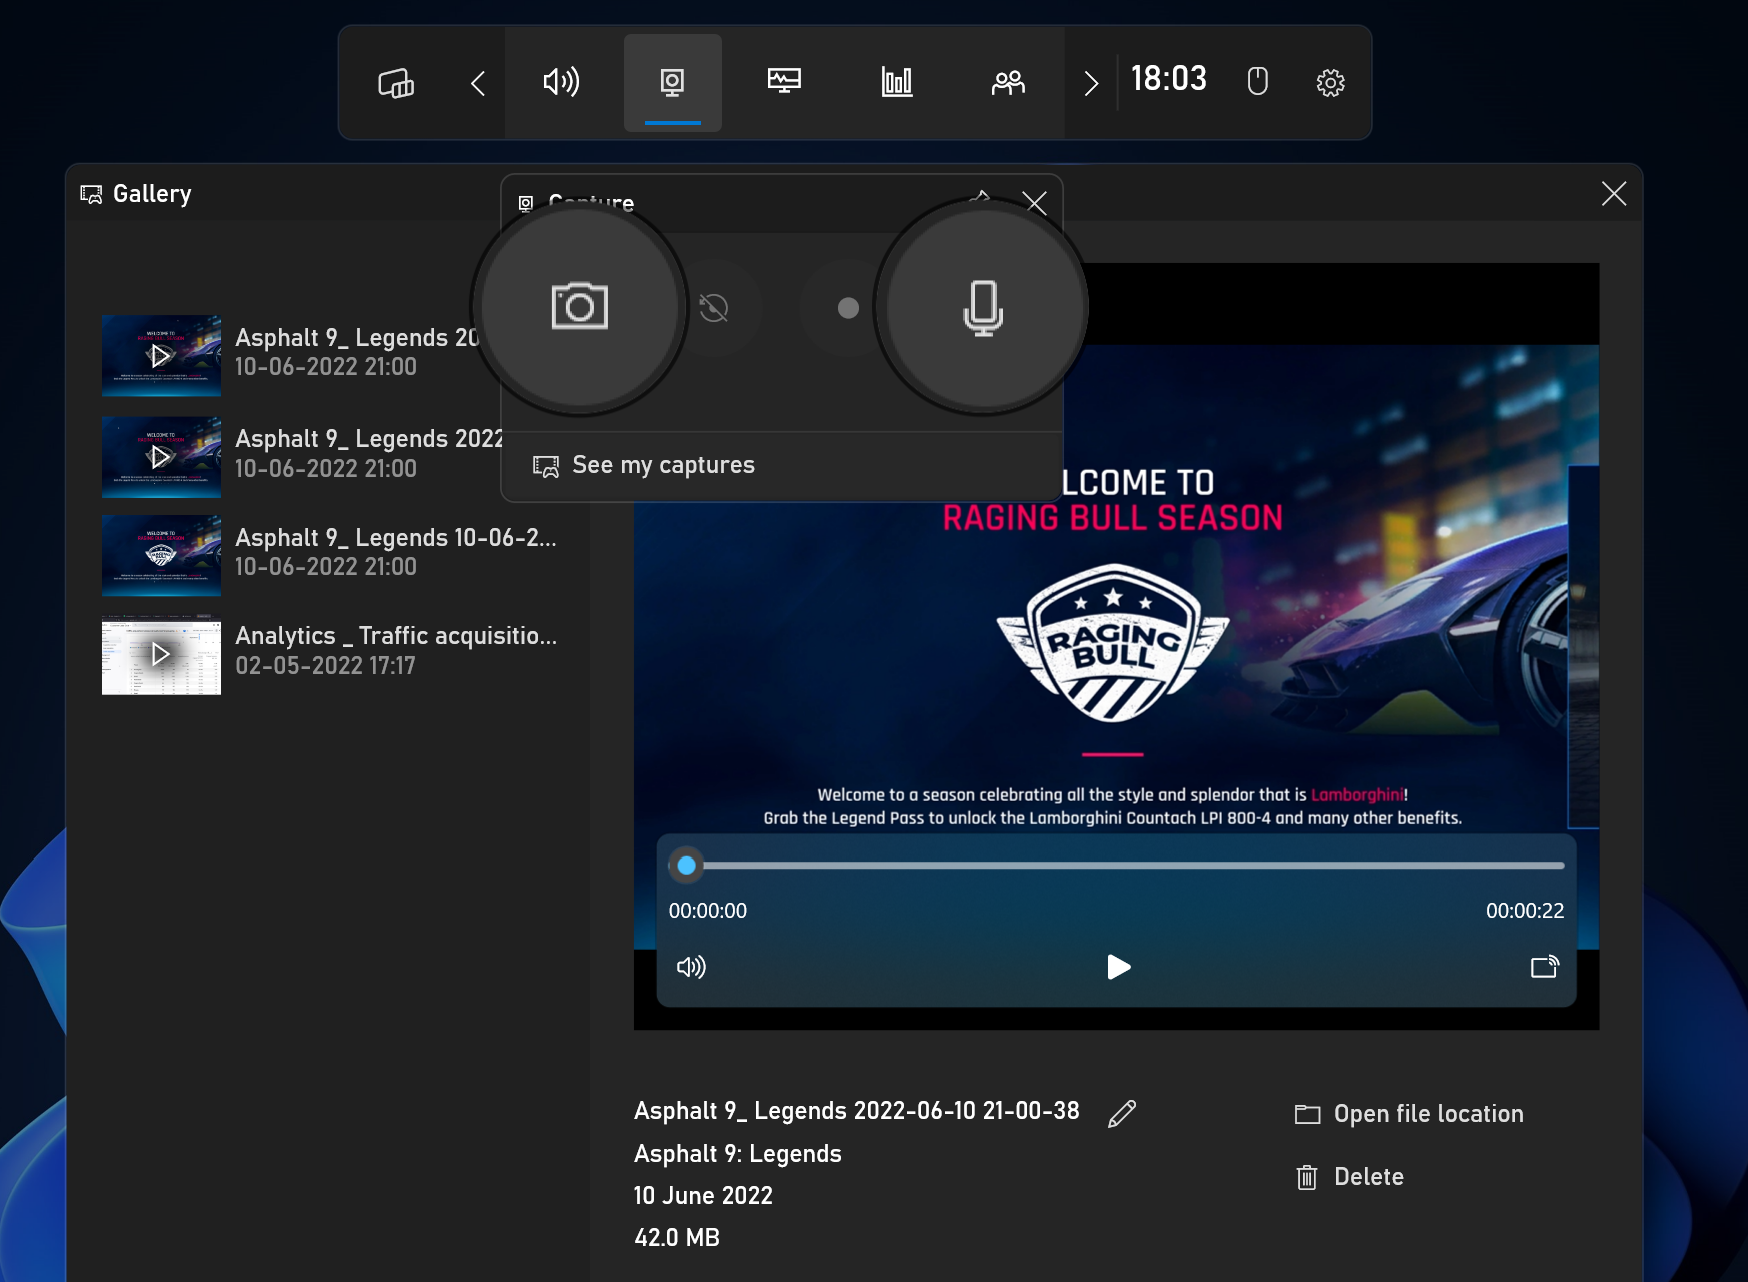
4) Click on the Capture icon that you will see on the top menu bar of the tool
5) Once you click on this icon, also check if the webcam and microphone access is enabled. If you don’t want to record your face, you can disable the webcam access. Also, if you don’t want to record your voice along with the system sound, then you disable the microphone too.
6) Click on the Record button to start recording
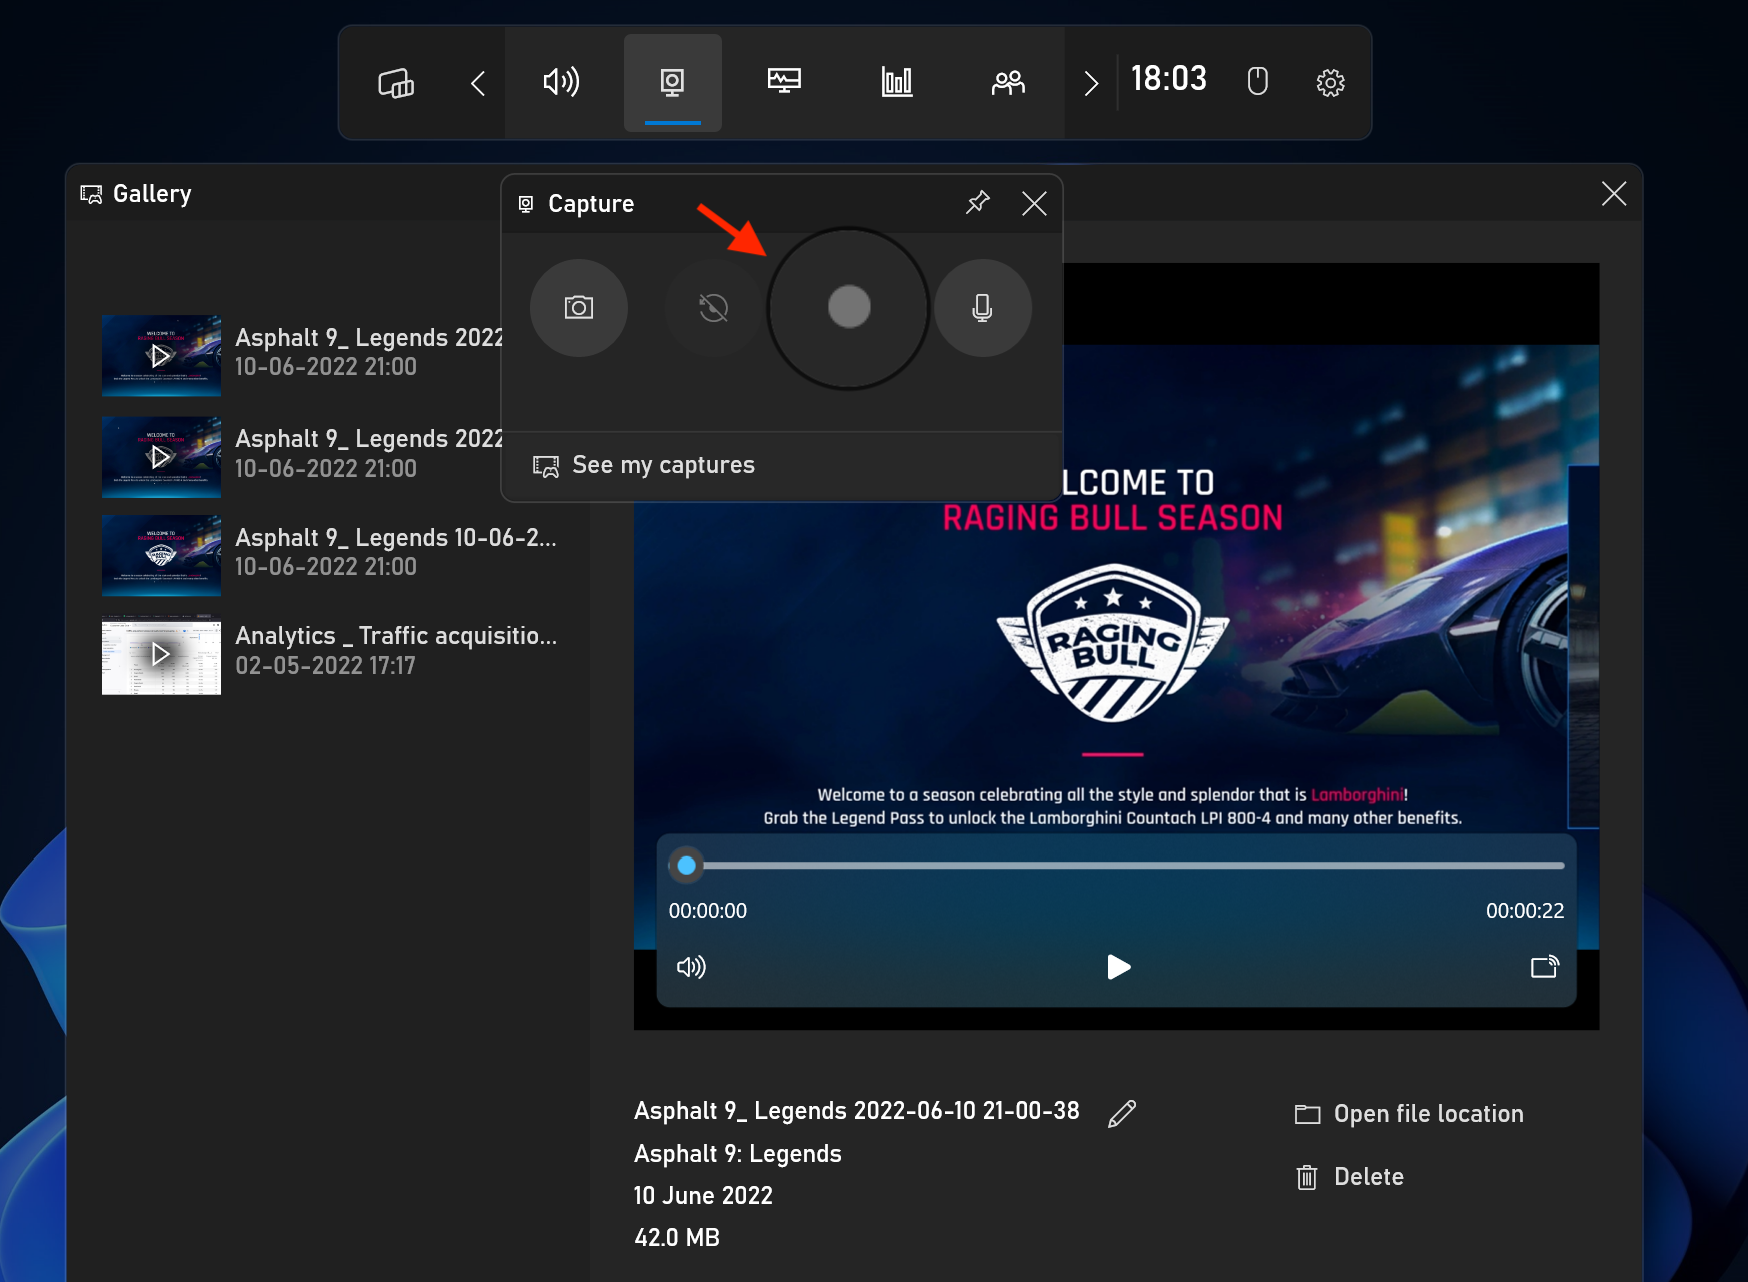
7) Click on the same button to Stop recording. If the Game Bar disappears while recording, then you can bring it back by clicking on the Windows Key + G, and then stop the recording
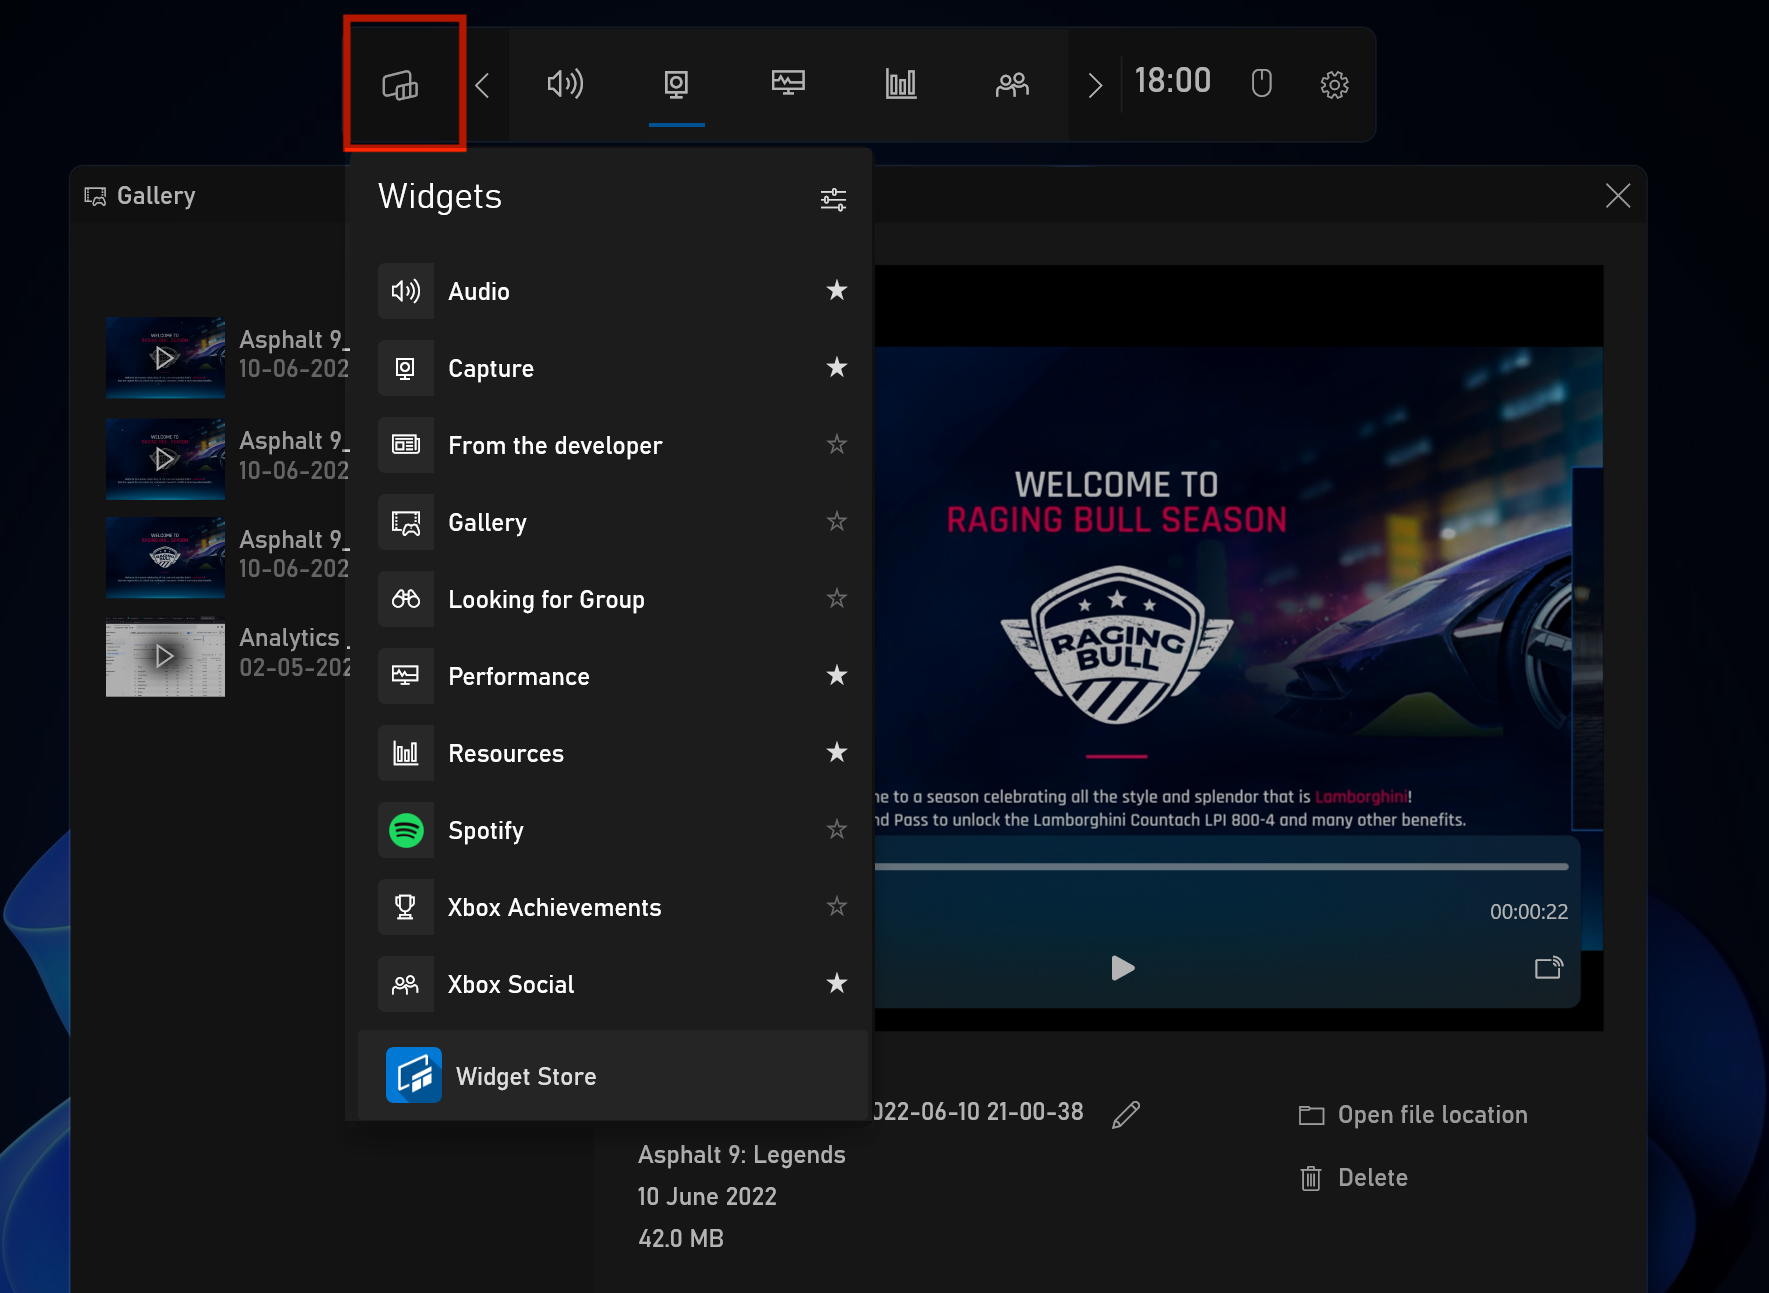
8) You can also decide which widgets you want to display at the top of the menu bar. You have to mark ☆ the options that you want to keep at the top. You can click on the Widgets Store to look for more options.
9) After you have recorded the video, you can watch the recordings by clicking on See my captures option

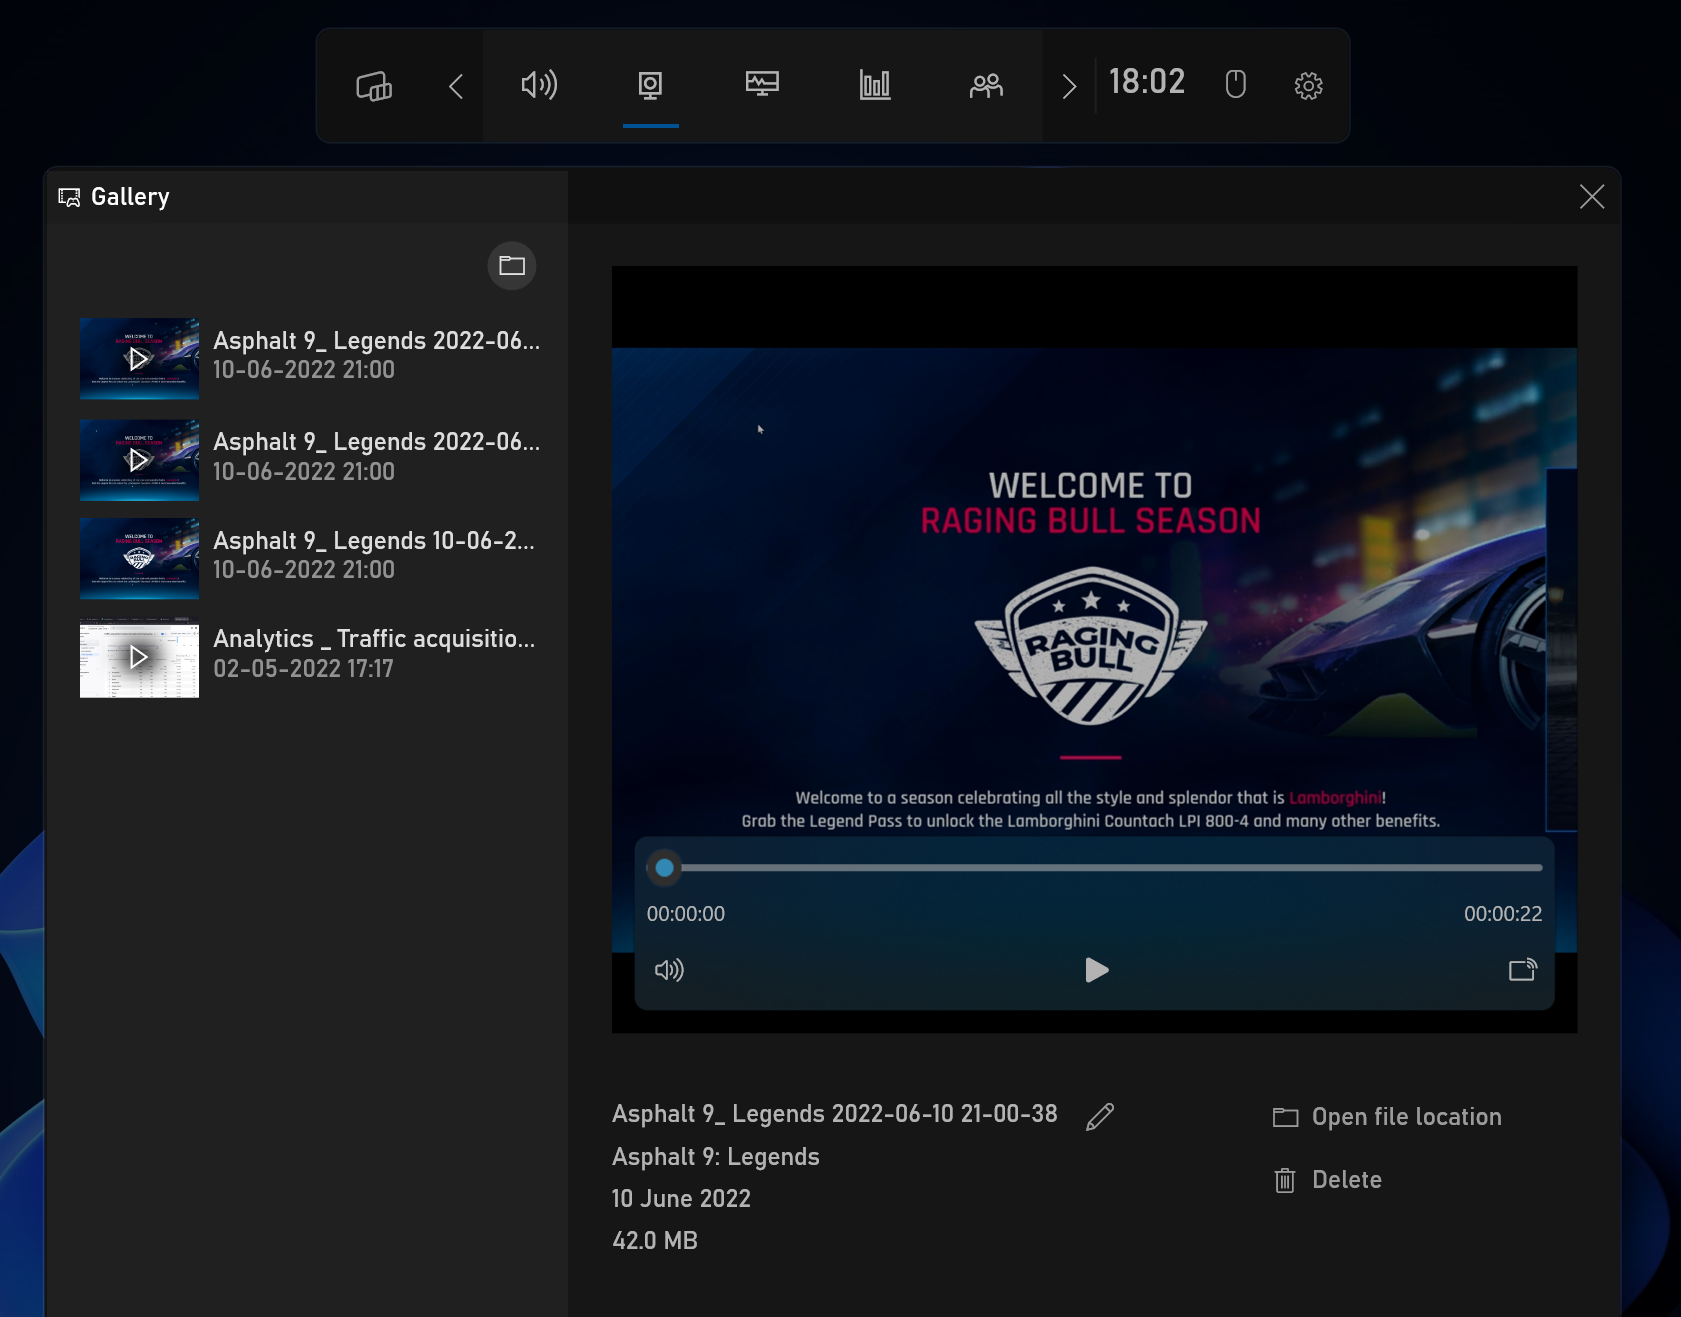
10) All the videos that you record using Game Bar will be displayed in the Gallery section of the tool
Windows 10 built-in screen recorder Xbox Game Bar: Our views on it
Windows’ strategy of launching a screen recorder within the system was to attract gamers, and to be honest it did a good job in doing that.
Before we come to the demerits of using Xbox Game Bar, we have to tell you that it does the basic job of screen recording well. For a gamer who just wants to record their gameplay, the Xbox Game Bar can serve the purpose.
It’s easy to use, free and can record system audio along with microphone audio. Gamers who like to record the sound effects of the game along with commentary will find these features very useful.
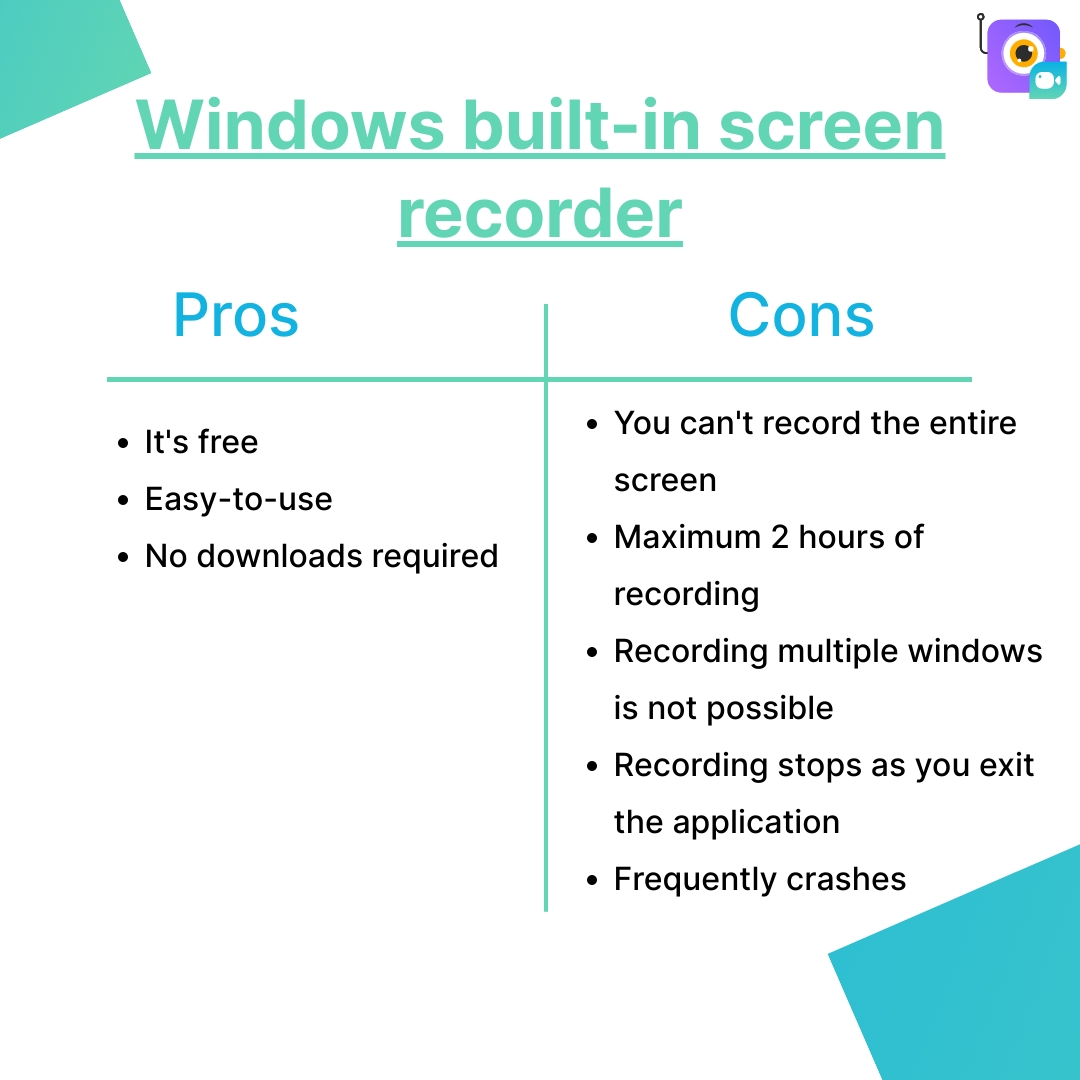
But, for other users who want more from a screen recorder like video editing, instant sharing and other advanced features, they will find themselves largely disappointed. Not only does the Xbox Game Bar lacks these features, but also comprises a few basic areas. Like you can’t record multiple windows at the same time.
We will save you from the long list of demerits. Here’s a quick snapshot of the Pros and Cons of using this Windows 10 built-in screen recorder -
The better alternative to making screen recording videos on Windows: Vmaker
As promised, in the rest of this blog, we will show you how Vmaker can help you make professional-looking screen recording videos even if you’re a beginner.
If you’re a light user, the free plan will meet all your video making needs. For the heavy users, there are many exciting features in Vmaker which will show you why it is miles ahead of the Xbox Game bar screen recorder.
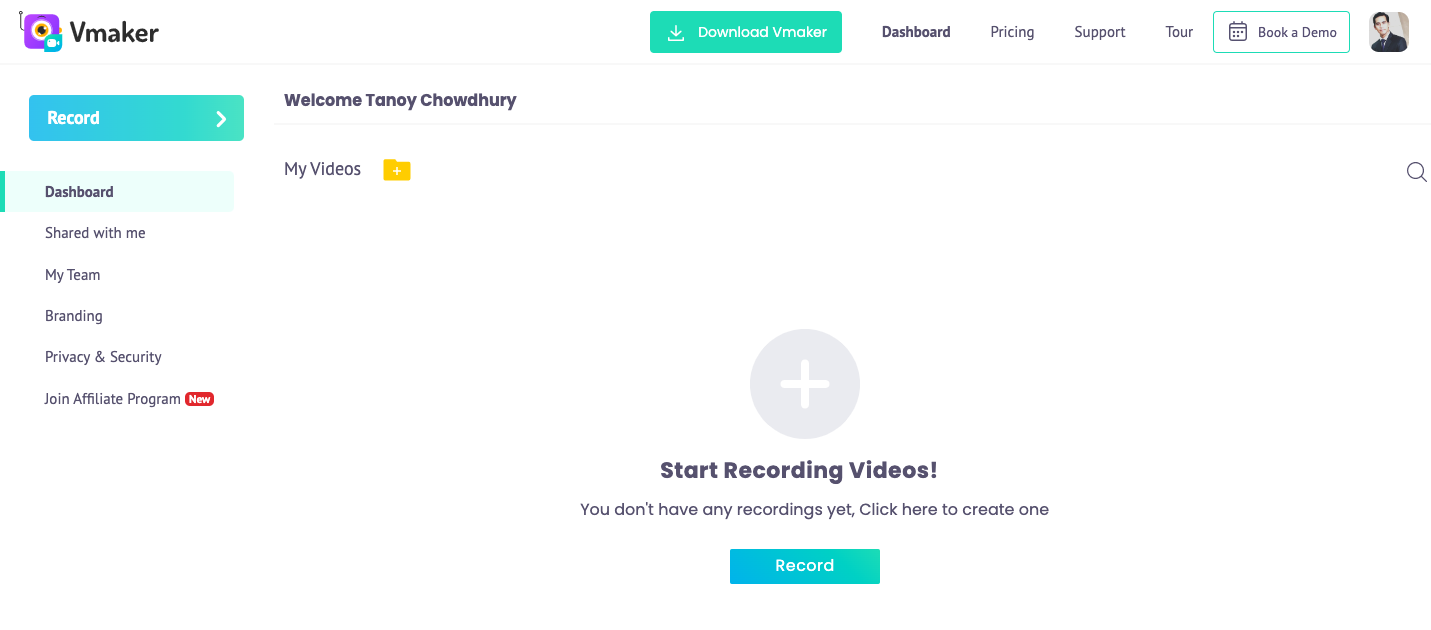
1) Unlimited recording
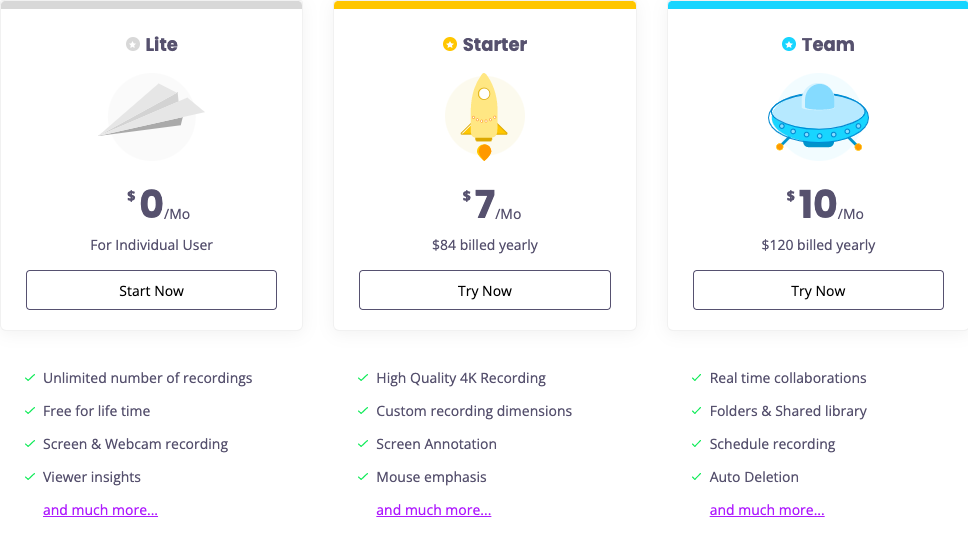
At Vmaker, we’re proud of the fact that there is no restriction on the number of recordings that you can create with Vmaker's Windows Screen Recorder. Even when you’re on the free plan, you can record unlimited number of videos with duration limit.
In our paid plans, your videos can be of unlimited duration and quantity. You will never be asked to upgrade if you want to record more videos if you’re on a paid plan. Whether you’re a gamer or an educator, uninterrupted recording is a must-have feature for you in a screen recorder.
2) Record the whole screen, only a window or custom size
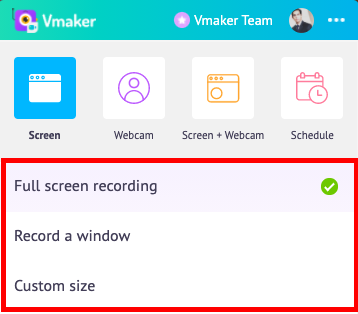
One of the biggest demerits of Xbox Game Bar is that you can’t record more than one window at the same time. This defeats the purpose of screen recording as you can’t freely switch from one window to another.
In Vmaker, you can record your entire screen, which allows you to record as many windows as you like. You can also select only one window or select only a specific area of a window. The choice is yours.
3) Mouse emphasis and annotations
Long sessions of screen recordings can get a bit uninteresting for your audience. In the absence of visual cues, your audience can also lose track of what you’re trying to explain.
A simple but ingenious feature of Vmaker that can help you avoid this is mouse emphasis and screen annotations. Mouse emphasis highlights the areas your mouse clicks to let your audience know where your mouse pointer is moving.
Screen annotations go a step further by helping you draw lines, arrows and shapes where you want to drive their attention. You can also choose colors, and perhaps have color codes to make it even easier for your audience to understand.
4) Cloud-based storage
The built-in Windows 10 screen recorder uses your disk space to save videos. This means every time you download a video after screen recording, it gets saved in your computer’s drive.
If you’re diligent, and you regularly create a backup for such videos in an external storage device, it’s not going to be a problem. But, if it’s left unnoticed, multiple video downloads will fill the storage, eventually, slowing down your computer.
Vmaker saves all your videos on cloud storage. This means your computer’s storage remains unhindered. Besides, you can also create folders specific to the types of videos you create. You can share these folders or specific videos with your friends or teammates to collaborate.
5) Advanced editor
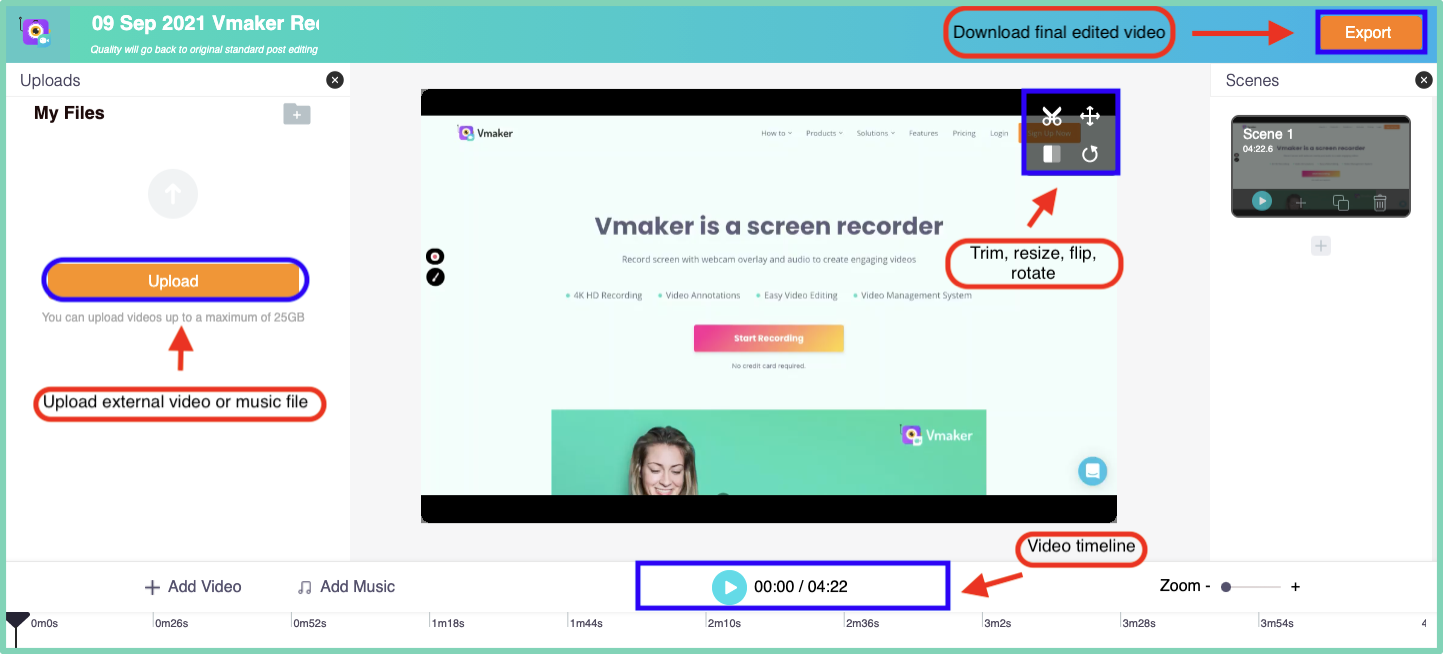
A built-in editor in a screen recorder will help you to weed out the unnecessary parts of your recording. It also helps to add more interesting effects to videos like intros, outros, audio files and subtitles without downloading an external application.
You can do all of this by using Vmaker. So, the next time you’re recording a gameplay video, make sure you do it with a screen recorder that has an editor. Because you can make it look a lot more entertaining than just a normal gameplay recording video.
6) Easy sharing
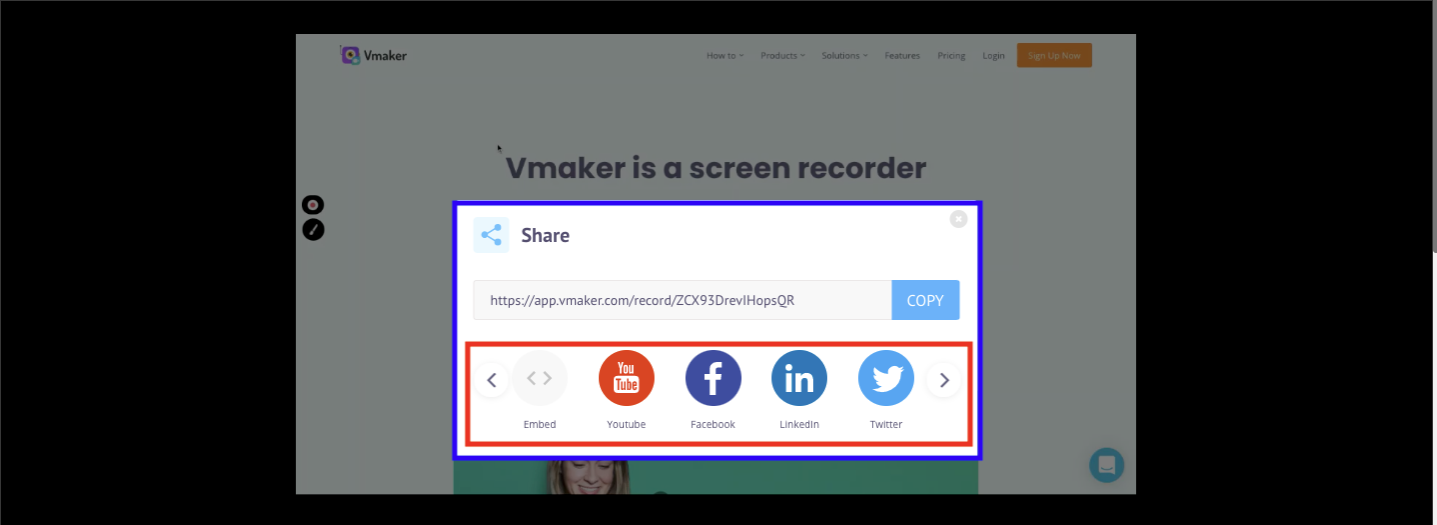
Lastly, when you’re all set with your video, click on the share button to upload your video to your YouTube channel. You can also share the link on Twitter, LinkedIn and Facebook.
If you want to send the video link to someone privately, you can copy the link and send it via Gmail.
Time to make a switch?
Xbox Game Bar, Windows’ built-in screen recorder does what every basic screen recorder can do - recording the computer screen. But, it comes with its disadvantages.
Therefore, we will never recommend using it for the long term. We will also advise you to stay away if you want to make quality screen recording videos. There are plenty of alternatives that you can choose to make better videos.
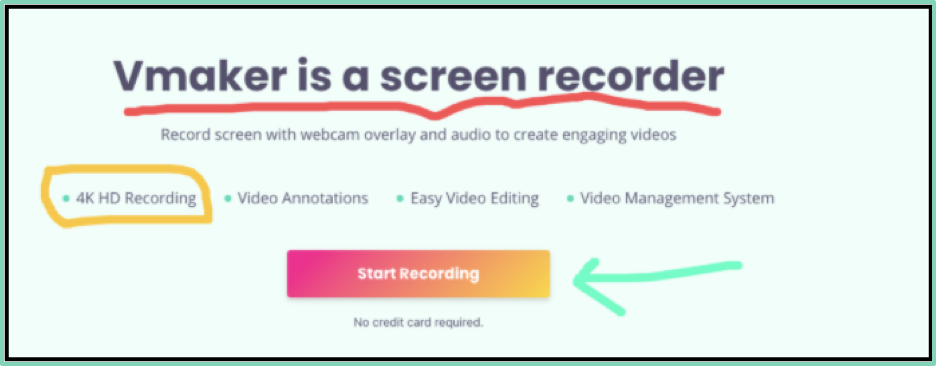
Vmaker is an advanced screen recorder that has all the essential features to record, edit and share videos on your Windows computer without working too hard.
FAQs
1) Does Windows have a built-in screen recorder?
Windows 10 and Windows 11 come with a built–in screen recorder called Xbox Game Bar. You don’t have to download an application or pay extra to use this tool. On top of that, it’s easy-to-use, you can record webcam and audio at the same time.
2) How do I record the screen on Windows 10 without software?
You can use the Xbox Game Bar which is a built-in screen recorder on Windows 10 PC.
Here’s how you can record it:
- Open the application that you want to record
- Close all other windows that are open
- Press Windows Key + G
- Click on the Capture icon
- Check the webcam and microphone access
- Click on the record button to start recording
- Click on the same button to stop recording
- Vmaker
- OBS
- Screenrec
- Bandicam
- Loom
- Icecream screen recorder
- Flashback Pro
- Movavi
- Ashampoo
- Apowersoft
3) How do I record the screen on Windows 10 without the Game Bar?
You can use any other screen recorder that can record screen and webcam with audio.
Here’s a list of the best screen recorders that you can use on Windows 10 other than Game Bar:
Recommended Reading
10 Best Screen Recorders for Windows [Free & Paid]
7 Best Explainer Video Software For Windows and Mac
How to Screen Record on Windows 7 with Audio
How to Screen Record and Edit Video on PC