Contents
What is an instructional video?
What makes an instructional video great?
What are the different ways of making an instructional video?
How to Make Instructional Videos with Screen Recording
How to Make Instructional Videos with Screen Recording
So, you want to make an instructional video.
Great decision. Instructional videos are very helpful, and with easy access to the internet, more people are watching instructional videos to learn new stuff online.
But, just like you don’t start driving a car without proper training and the right technique, instructional videos require some focus too. Don’t worry, we’re here to help you with that.
In this blog, we will start with the basics of instructional videos, how you can ensure they are engaging, what are the different ways of making instructional videos, and how to make an instructional videos with screen recording in the simplest way.
Let’s jump in.
What is an instructional video?
An instructional video is a visual instruction for performing a task or completing a job. As compared to printed manuals and booklets, videos are more friendly for learners. Reading is not so pleasurable when compared to watching videos. Also, it helps to retain information for a longer duration.
Depending on your goal, the length of an instructional video will vary. If you’re recording an onboarding instructional video for new recruits in your team, the length of your video will be longer. On the other hand, if you’re making a video on how to assemble an IKEA standing desk, your video will be much shorter.
Either way, there are some golden techniques that will help you to improve the quality of your video. Let’s talk more about it in the next part.
What makes an instructional video great?
There's a difference between driving and great driving.
You know the difference between a good cook and a great cook from the taste.
Likewise, your audience can smell bad, all over the place and clickbait content from miles away. People spend a lot of time watching videos, and they’re almost used to identifying bad content.
However, just like great cooks know what they have to do differently, and keep doing it consistently, you can make your instructional video content stand out by following some very simple ideas.
These ideas are not filled with technical jargon, they’re just obvious things that are often missed while looking at the bigger picture. So, here are some of those tips that will help you nail your instructional video.
Start with planning
This is the basic step when you’re starting something new. At the planning phase, think of all the areas that you would want to cover in your video. Write them down. It’s not necessary that you actually cover all of them in the video, but jotting them down on your notepad or on a piece of paper will help to declutter your mind.
If you find yourself getting stuck, think about your audience’s troubles. This will help you to come up with a problem statement, and keep the content more empathetic.
Create a storyboard
A storyboard is a visual representation of your video content consisting of multiple frames. It helps in deciding the flow of your content and analyzing it from your viewers’ standpoint. Now, don’t start scrolling. A visual representation doesn’t mean summoning all your best artistic talents. Keep it simple. You can doodle the characters, as long as you’re able to understand them.
In a typical storyboard, in every frame, different sequences of the video are broken down into small pieces. Like where the camera angle will be, how the character will react, or what the surrounding will look like. If you’re recording yourself, you can leave cues about how your facial or body expression will be, what background music you will play in a scene, and so on.
Write a script
As your storyboard gets ready, start writing your script. Now that you have a good idea about the scenes in every frame of the video, you can write dialogues that compliment them. While doing that, keep your target audience in mind. They are here to learn. Therefore, using difficult words or technical information can get overwhelming. So keep the language simple, and if you have to explain technical details, then use images and numbers to make your job easy.
Moreover, using humor will also keep things light. Too much of it will make the content uninteresting, so ensure that you space them out throughout the video.
Decide a length for the video
This requires special mention. While you’re scripting, you might be a bit tempted to stretch things. Storytelling is important for your video, but too much of it can ruin things. To avoid that, have a rough time limit set in your mind for the video. This will help you start, build and end your video content within that time frame. You might not get it right the first time, which is ok. You can go back and tinker with the content. But, when you don’t have a yardstick, you can go off-limits easily.
It’s also important to mention that keeping your video on the shorter side is more preferable. The audience attention span is low, so you have a very little aperture to let your content sink in. If your video has too many details, break them into smaller videos and collate them to make a series.
Pick your video format
There are many ways in which you can make an instructional video, what will work for you depends on the timeline, budget, and what you’re most comfortable with. Also, consider the availability of your team members. If you’re working solo, then an animation video or a live-action video can take up a lot of your time. Both of these require more time in production and editing. In this case, a presentation video or a screen recording can be a good choice.
This particular point deserves a separate section. It’s difficult to do justice here, so let’s build more on this in the next part of this blog
What are the different ways of making an instructional video?
In this part, we will take a closer look at each of the popular types of making instructional videos
Presentation videos
Fire up your PowerPoint and start writing content on slides. The good part about using a slide is that you can use images, graphs, and numbers. Videos can be added too. However, the bad part is that presentation videos are less personal. Although they can hear your voice if you record it, your audience cannot see you. Besides, presentation videos are a little old when you compare them with the other forms of videos.
Animated videos
This is probably one of the most popular forms of making instructional videos. Animated videos are fun to watch, they are great for explaining difficult concepts, and it’s easier to remember the content. On the flip side, it costs a lot of money to produce animated videos. Also, It takes more time. So, if you want something quick and efficient, this might not be the best choice for you.
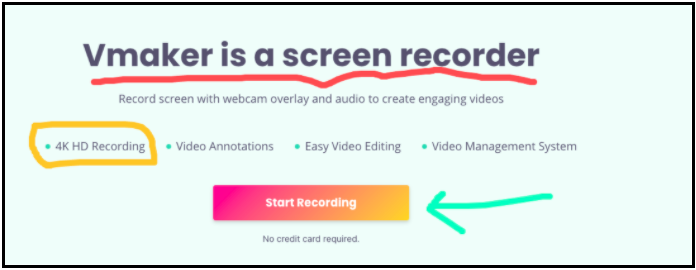
Screen recording videos
Screen recorders are made for recording instructional videos and using screen recorders is the best way to make instructional videos. They are versatile, personal, and less expensive too. You don’t need professional training in handling a screen recorder. It’s easy to get started and start making videos. The biggest advantage of using screen recording programs is that you don’t need an external device to make the video. Your laptop or computer can get all the work done. On a serious note, screen recorders don't really have a con. Except for the fact that a few of them do not have an advanced in-build editor. However, there are exceptions. Stay tuned.
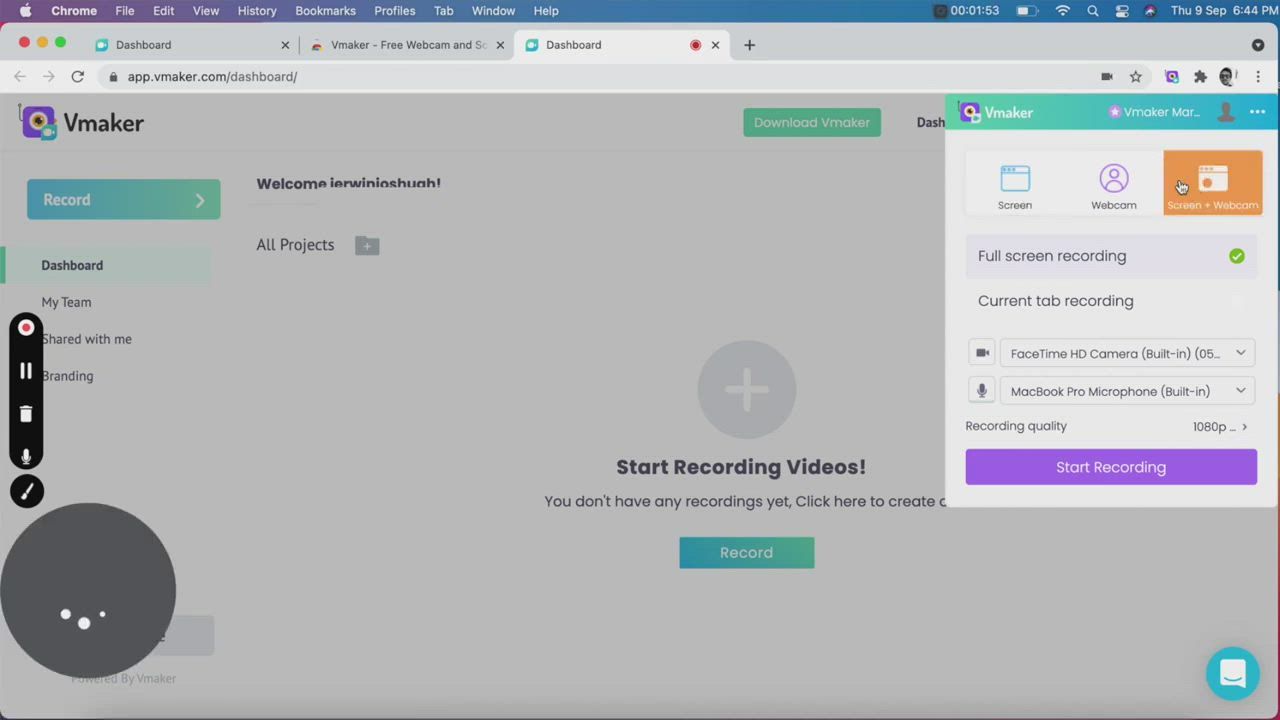
How to Make Instructional Videos with Screen Recording
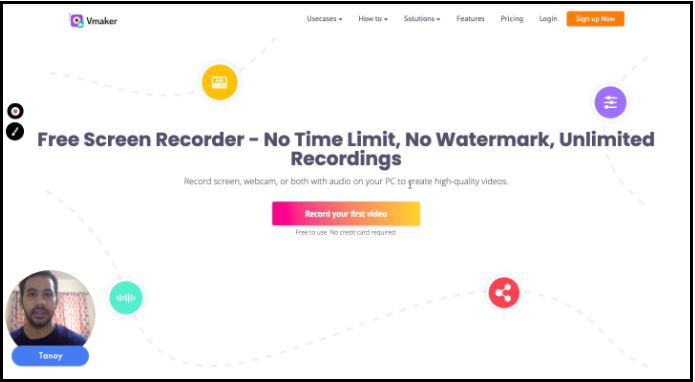
There are ample screen recorders in the market. In this blog, we will be telling you how Vmaker instructional video maker is one of the best apps for making instructional videos and better than its counterparts, what are its advanced features that can help you nail your instructional video
Record screen + webcam
While your content gets recorded on the screen, your face gets captured with a webcam. Your viewers can now not only see your content but can see you too. This builds more trust and easily adds more personalization to your content.
When you’re using a tool like Vmaker, you can experiment with your webcam view too. You increase or decrease the size, add your name and filters to it. This further helps in establishing a stronger touch base with your viewers.
Add your voice too
All you have to do is plug-in your earphones. That’s it. Now you can record your voice to narrate the steps, add modulations to them and let your audience feel like they’re getting a personalized demo.
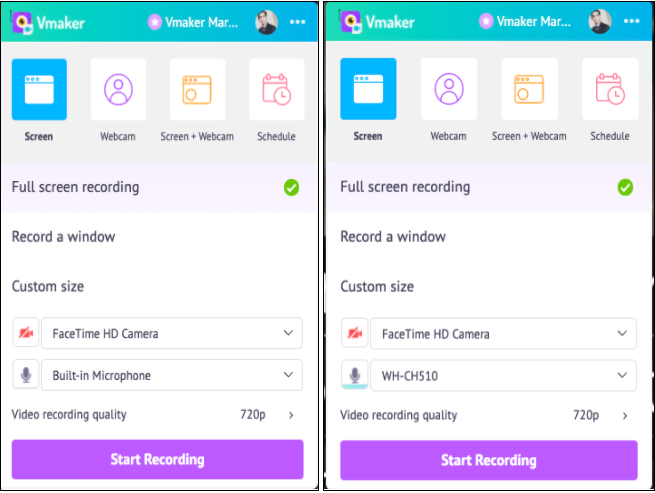
Vmaker’s intuitive system automatically identifies your microphone. If you’re using the system audio to record your voice, it will display a “built-in microphone” message. When you connect your Bluetooth headphone, it will display the model name of your headphone.
Annotate and emphasize
This is something that sets screen recorders like Vmaker a notch higher than other tools. To ensure that your content is clearly understood, you can underline or highlight areas of your content with annotation. Plus, with mouse emphasis, viewers can track the movement of your mouse cursor. Further, ensuring that they DO NOT MISS any details
When you’re using the annotation feature, you also get the option to choose from different colors to customize your content. This is a great feature, especially if you’re an educator sharing content that has a lot of numbers, figures, and diagrams
Edit like a pro
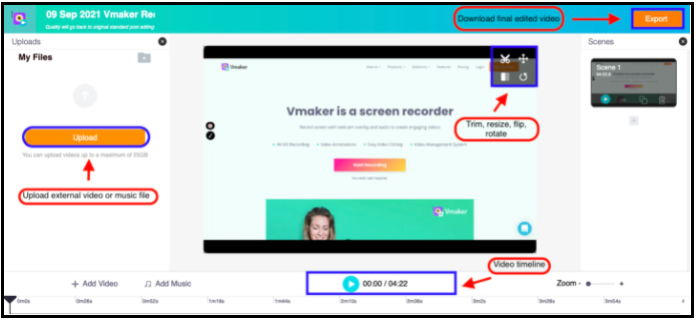
This is where the game changes. With advanced screen recorders like Vmaker, you don’t have to spend time exporting the recording and uploading it in a third-party editor to chisel things to perfection. The in-built editor is strong, and capable of handling video cropping, trimming, and resizing. You can also add external music and videos in your recording to add more oomph to your instructional video
Upload it directly
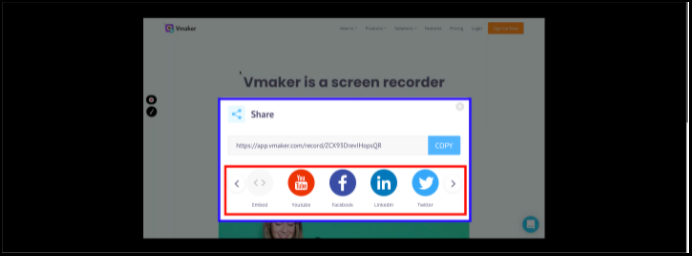
The same goes for uploading videos on social media. Once your recording is ready, you can directly upload the video from your dashboard without changing tabs. This is great if you want your videos to go online on platforms like YouTube, Facebook, or Twitter. It can help in going a long way in building social engagement.
Bonus: The Ultimate Guide to Create an Instructional Video Without a Script
This was only a gist. If you want to know how you can make videos with Vmaker in a step-by-step manner, we highly recommend checking out this video:
Final words
Instructional videos are great for making content that is helpful, relevant, and actively searched for by people. However, before you get started, plan things in advance. Along with that, create a storyboard, write a script, decide a video length and the right tool for recording the video.
Screen recorders like Vmaker are an excellent tool for instructional videos. They can help you get started in no time, create personalized content, edit and upload it without changing platforms.
If you enjoyed reading the above article, then here are a few cherry-picked ones you might be interested in reading further!
Ultimate Tutorial videos Guide with Tips and Free Template
How Does Video Storytelling Help Create The Best Explainer Videos?
A Complete Guide On Product Videos ~ Definition, Types and Tips