
Contents
1. How to add audio to PowerPoint slide by slide (built-in recorder)
2. How to add audio narration to an entire PowerPoint presentation (built-in recorder)
3. How to add audio narration and edit a PowerPoint with Vmaker
How To Add Audio to PowerPoint Presentations
PowerPoint presentations are now used for far more than slide decks in a meeting room.
You can add audio, video, animation, cinematic motion, transitions, and interactive elements to make them more engaging.
Adding this kind of media boosts engagement and helps the audience retain more of what they hear.
This guide covers how to turn a static PowerPoint presentation into an engaging e-learning lesson by adding audio and voice-over narration.
Topics covered:
- How to add audio to PowerPoint presentations using the built-in recorder (slide by slide)
- How to add audio narration to an entire PowerPoint presentation (using the built-in recorder)
- How to add audio narration and edit your PowerPoint videos with Vmaker
For more on how teams use video for training, see videos in learning and development.
1. How to add audio to PowerPoint slide by slide (built-in recorder)
Follow these steps:
Step 1: Open the slide where you want to add audio.
Click the Insert tab on the menu bar.
You will see a list of features you can add to your slide (images, video, audio, symbols, shapes).

Step 2: Click the Audio icon. You will get two options:
- Audio on my PC
- Record Audio

- To add an existing audio file, choose Audio on my PC and pick the file from your computer.
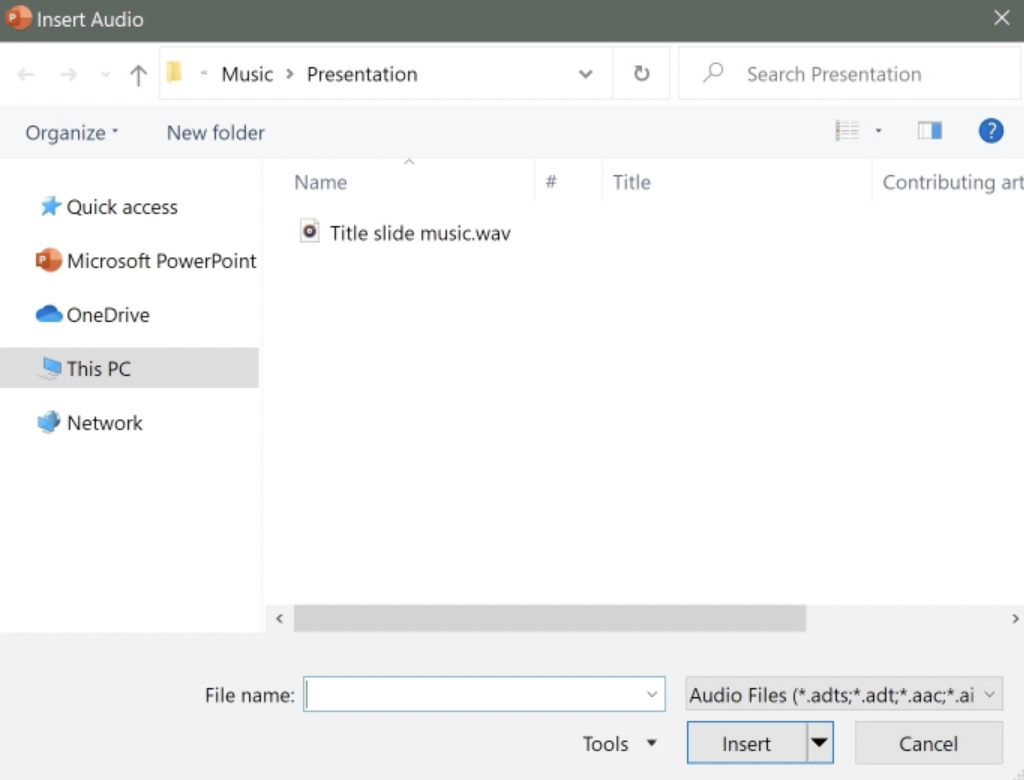
- To record a new audio clip and attach it to the slide, choose Record Audio.
A small pop-up appears with play, stop, and record controls. Click the red dock button to start recording.
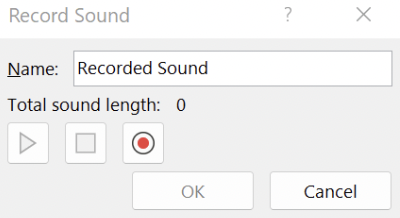
When you stop, an audio icon appears on the slide. Click it to play the recording back.

2. How to add audio narration to an entire PowerPoint presentation (built-in recorder)
The previous method handled audio per slide. To narrate the whole deck in one pass, use the full-presentation recorder built into PowerPoint.
Step 1: Go to the Home tab and click Record.
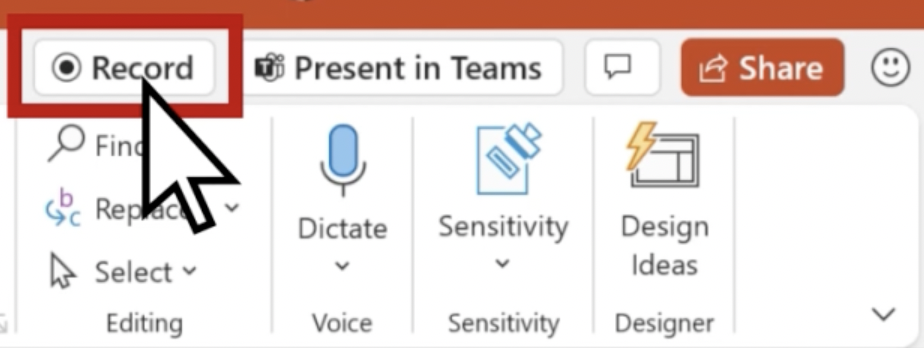
The recording features will load.


Step 2: Customise your recording. Turn the camera and microphone on if you want to be on screen. To blur your background, switch to camera mode and pick Blur Background.
Step 3: Once your settings are in place, click the Record icon at the top to start.
Step 4: Stop the recording when you finish. Click Export to export the video.

Step 5: To share, click View and share video.

3. How to add audio narration and edit a PowerPoint with Vmaker
This method uses Vmaker to record voice-over narration over your PowerPoint, and then edit the resulting video. Vmaker is a screen and webcam recorder with a built-in video editor.
Step 1: Open Vmaker
Have your slides and your talking points ready before you start.
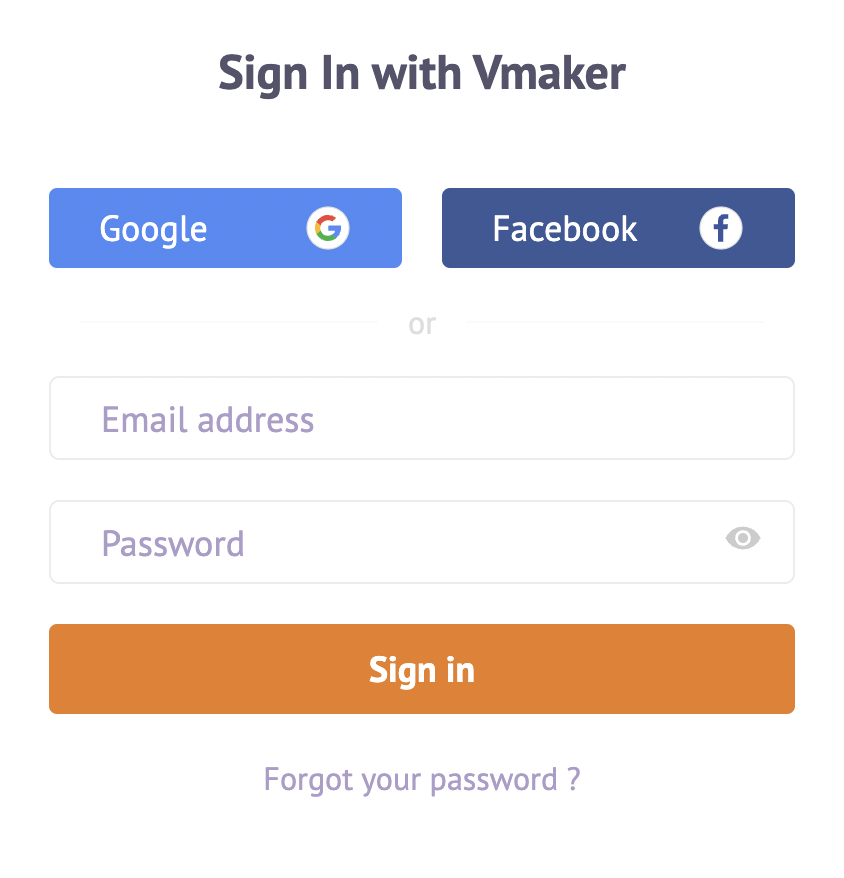
Head to the Vmaker site and sign up.
After signing up, log in and download the version that fits your setup. Vmaker is available in four formats:
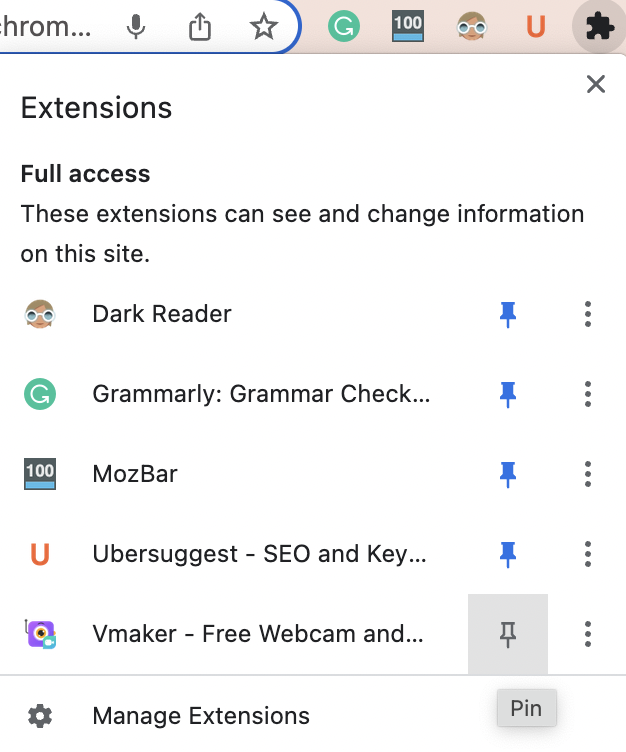
Tip: If you use the Chrome extension, pin it to your toolbar so you can launch it in one click.
Step 2: Set your recording preferences
Once Vmaker is open, you can record screen and webcam together.
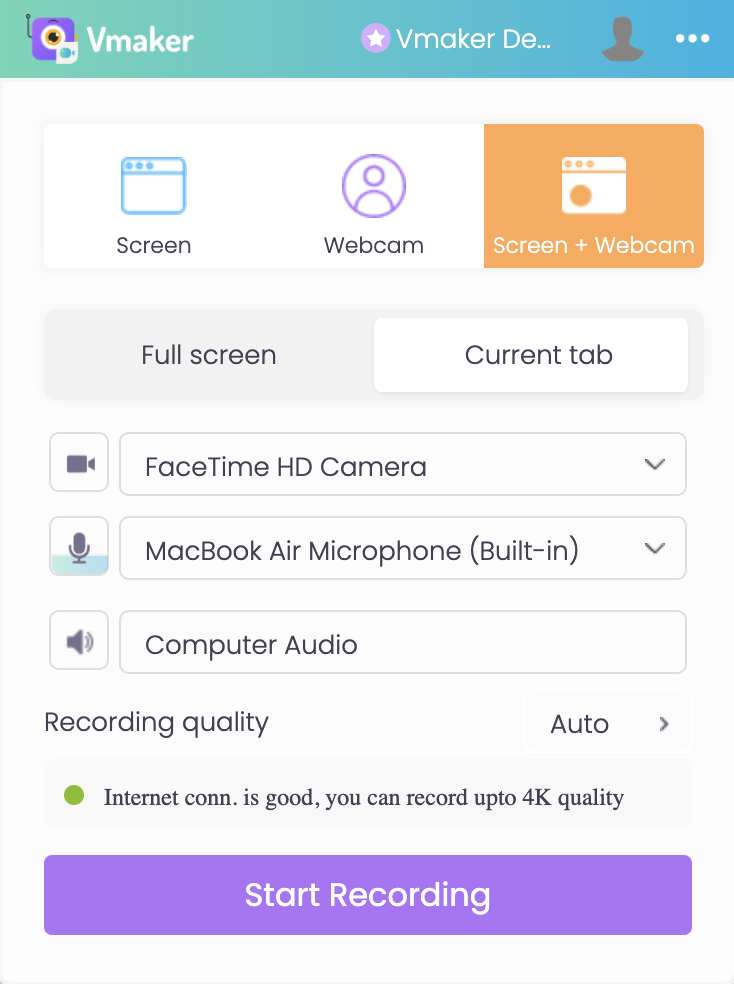
Open your PowerPoint and set your recording preferences:
- Pick full-screen mode if you want to record the entire screen.
- Choose your audio inputs and recording quality.
- Turn the webcam on if you want to be on camera. You can also blur, change, or remove your background.
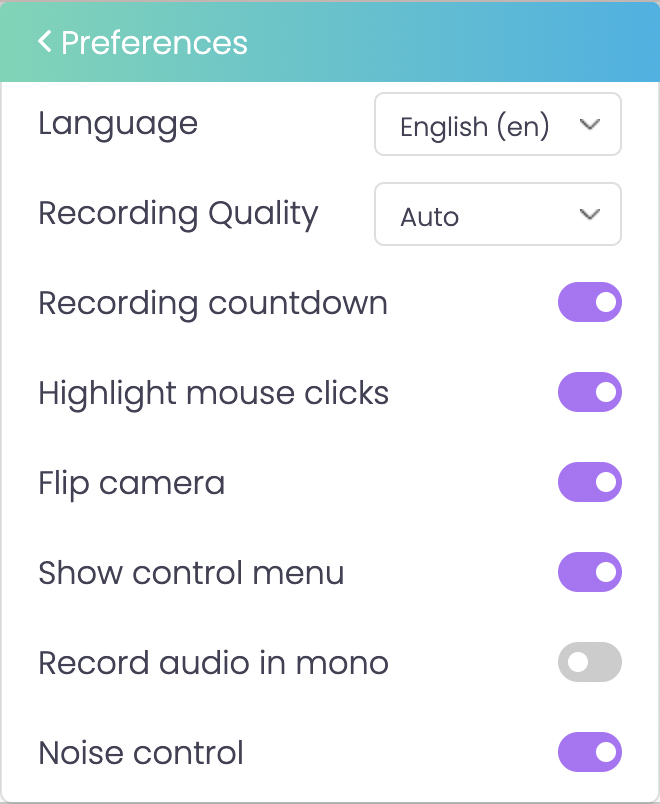
For advanced options, click the three-dot menu and pick Preferences.

You will see a settings pop-up. Enable any features you need.
Step 3: Start recording
Click Start Recording. Begin narrating your slides.
Use the screen annotation tools to highlight key sections as you go.

When you finish, click the red dock button in the bottom-left corner to stop the recording.

Step 4: Edit the recording
The recording uploads automatically to your Vmaker dashboard.
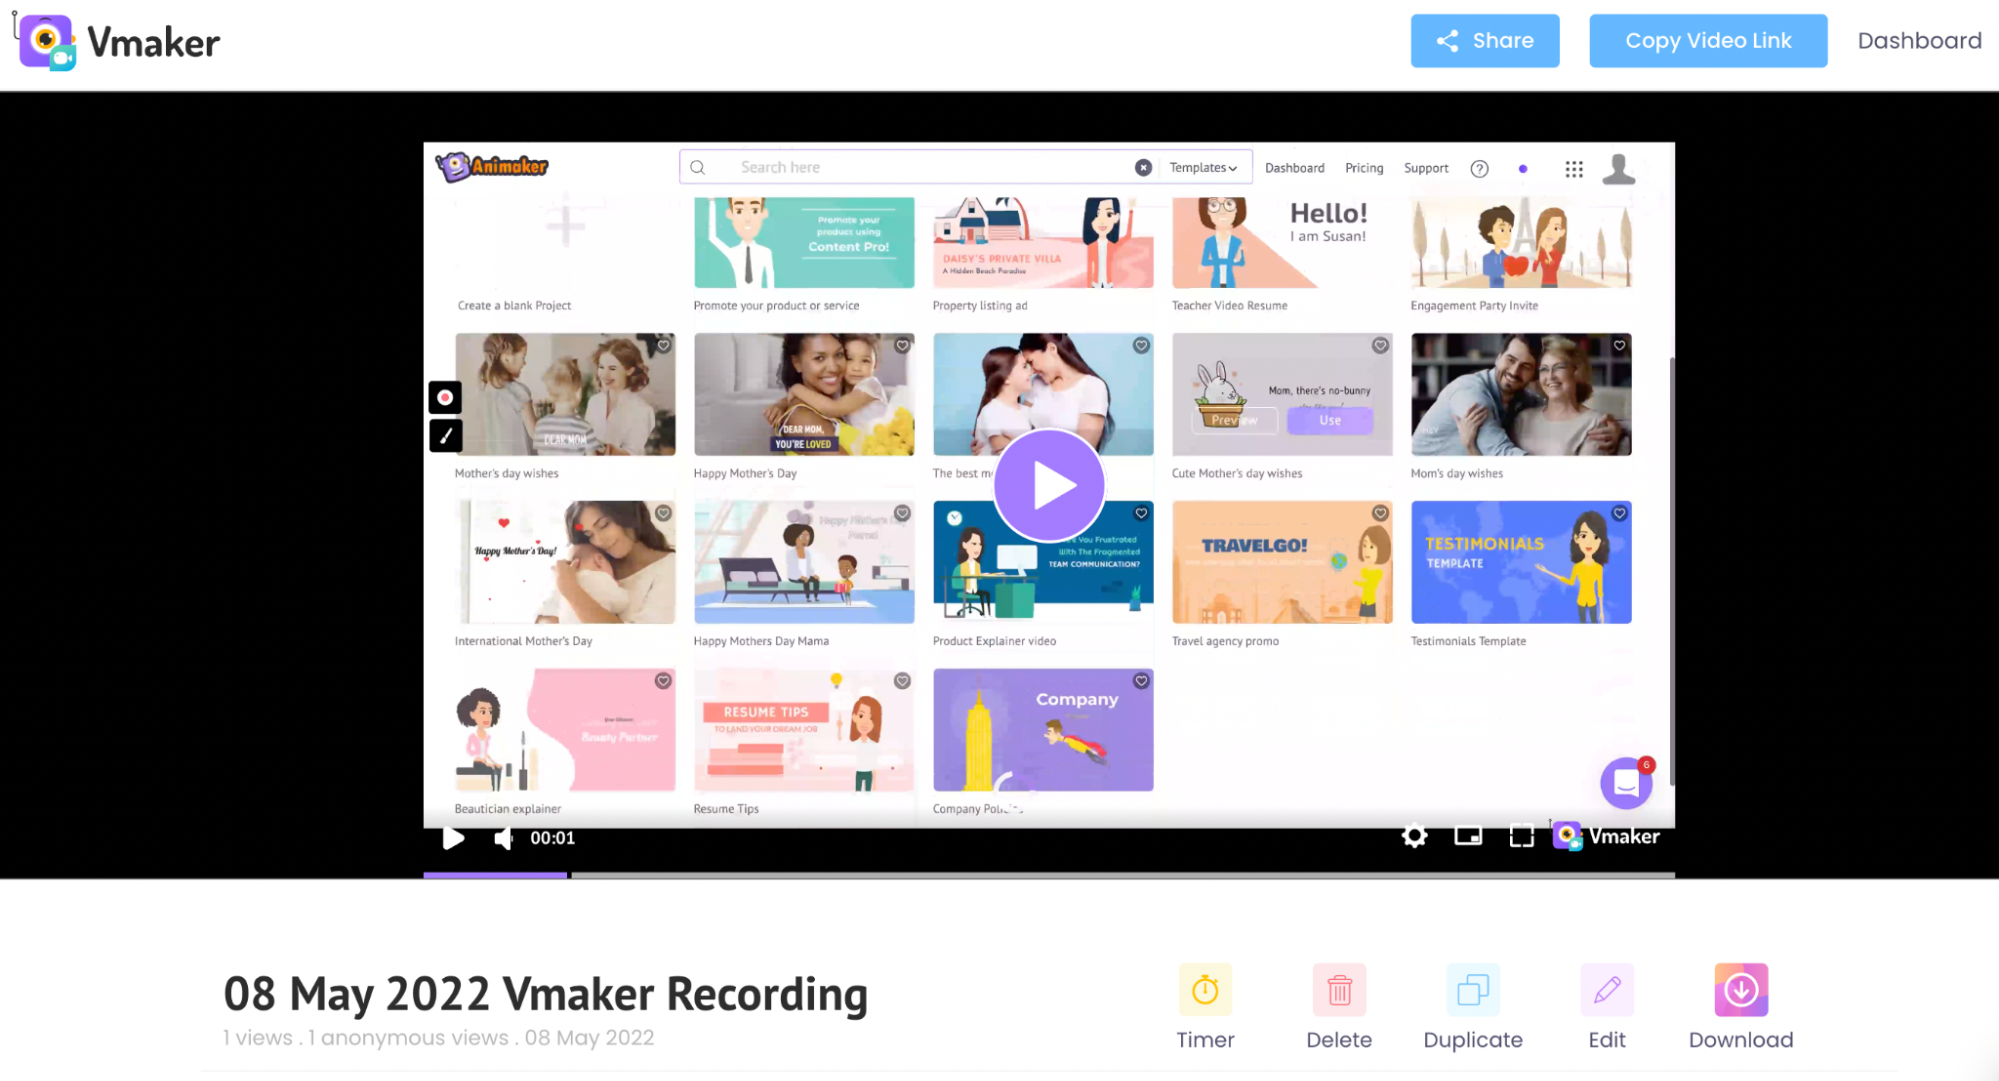
From here, you can edit, share, download, or duplicate the file.
To clean up the recording, click Edit. This opens Vmaker's AI video editor.
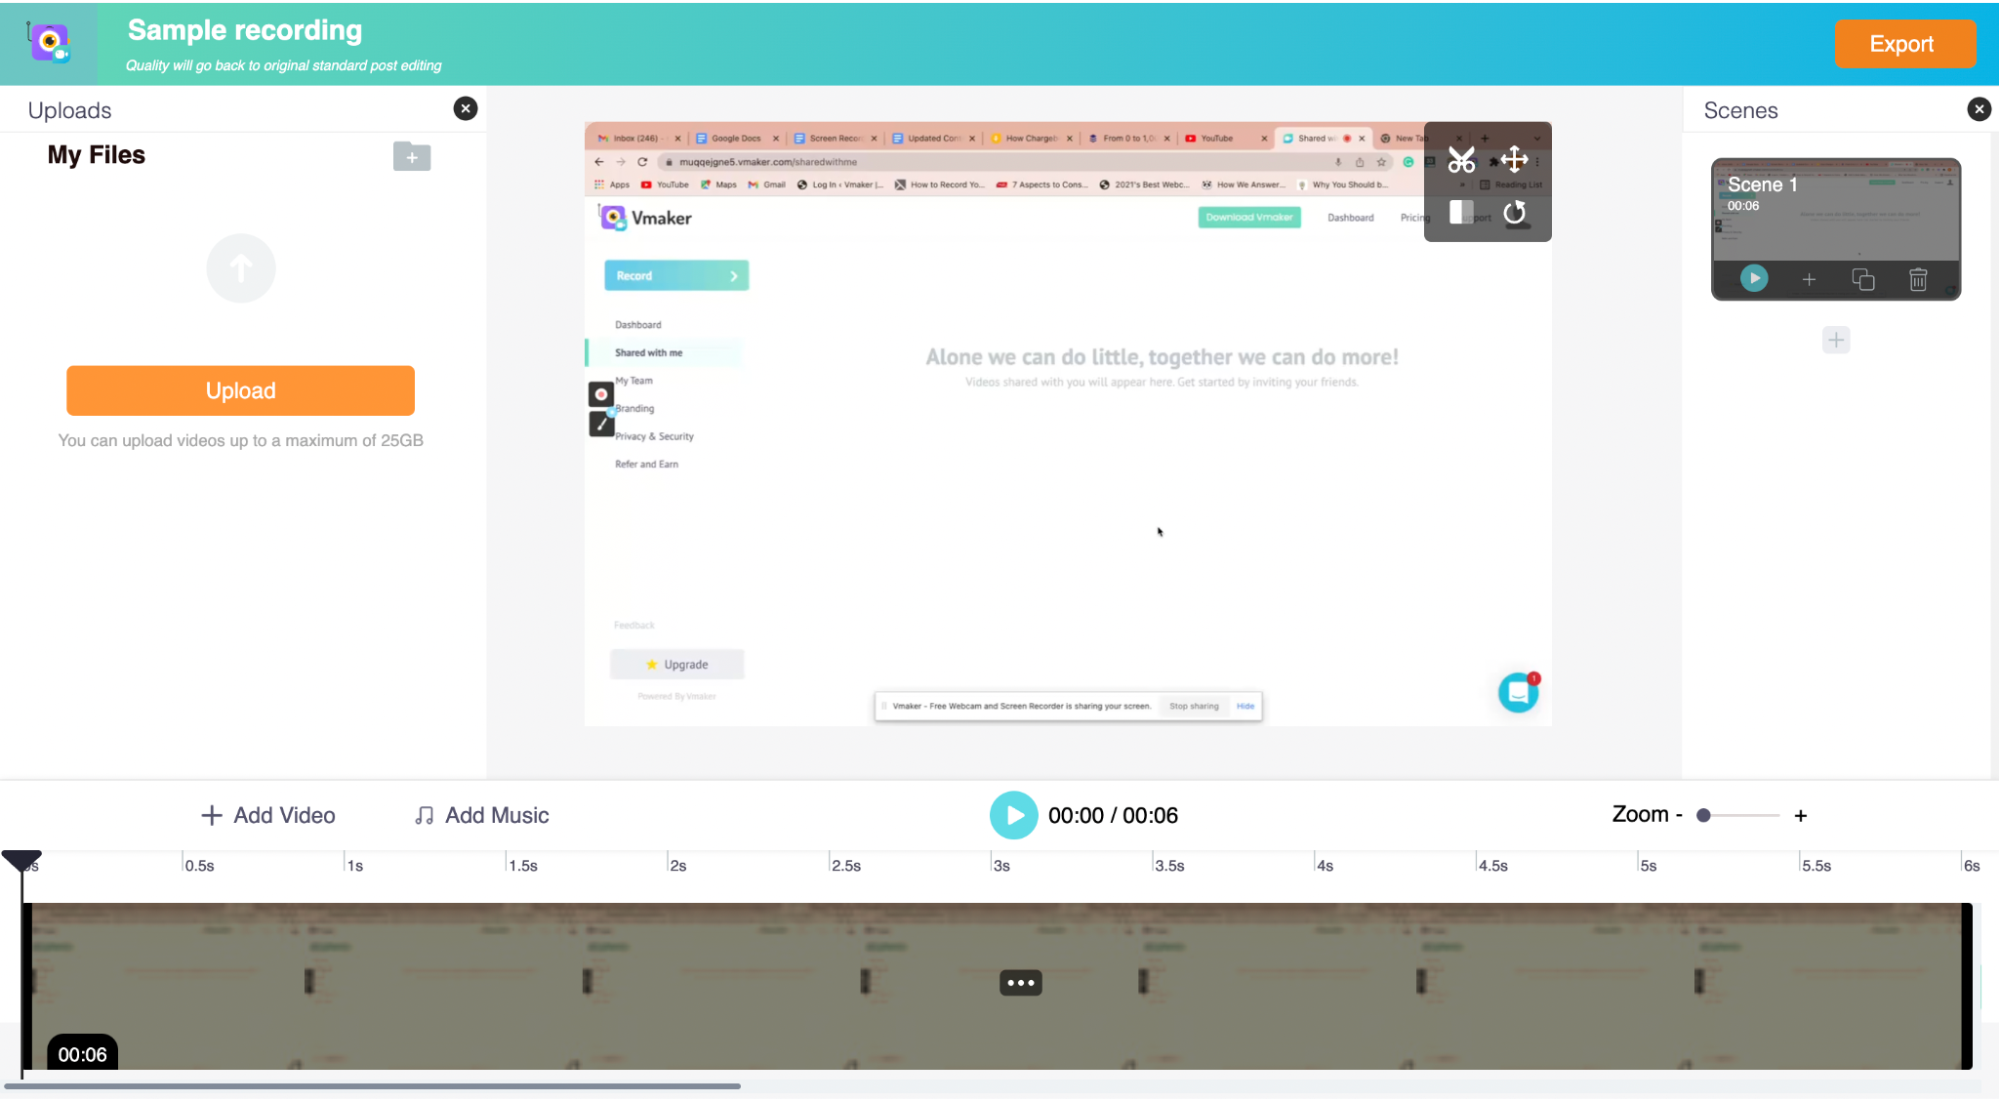
Trim out the parts you do not want. You can also auto-generate subtitles in 35+ languages, which is especially useful for e-learning content.
Step 5: Export and share
Once you are done editing, export the recording as a video and share it.
Options:
- Download to your PC
- Share via a shareable link
- Upload to YouTube, Facebook, or other social platforms
Conclusion
Audio and voice-over narration bring presentations to life. Combine them with interactive elements and animation, and you have a much stronger experience for the viewer.
You now have three ways to add audio to a PowerPoint, from quick built-in options to a full Vmaker recording with editing on top. Pick the method that fits your workflow and start building.
Recommended Reads:
How to Record Screen and Yourself on Windows
How to Screen Record and Talk on Windows
How to Screen Record and Edit Video on Windows
How to Record Screen and Webcam on Windows 10