How to Auto Caption Screen Recording Videos?
Adding captions to your screen recordings is like customer delight. It’s like getting a complimentary upgrade to business class seating. Who would not like that?
Captions help your audience follow what you’re saying in the video. It makes their job easier. Especially if your audience base is from different countries, and they do not follow your language like a native speaker.
It also tells your audience that you care about their convenience, and you’re ready to go that extra mile.
But generating captions is a tough job?
Well, it depends. If you’re following the old technique of writing a script, uploading it in an external editor, and finally exporting the video, then yes, it’s a tough job. More than tough, it’s time-consuming.
An AI video caption generator is your best bet for adding subtitles to your video. It’s easy, quick and doesn’t require an effort. If you’re more extemporaneous and don’t enjoy reading from a script while recording, then this is a match made in heaven.
An AI caption generator automatically identifies the words and displays them on the screen for your audience.
Step-by-Step instructions for adding auto captions to your video?
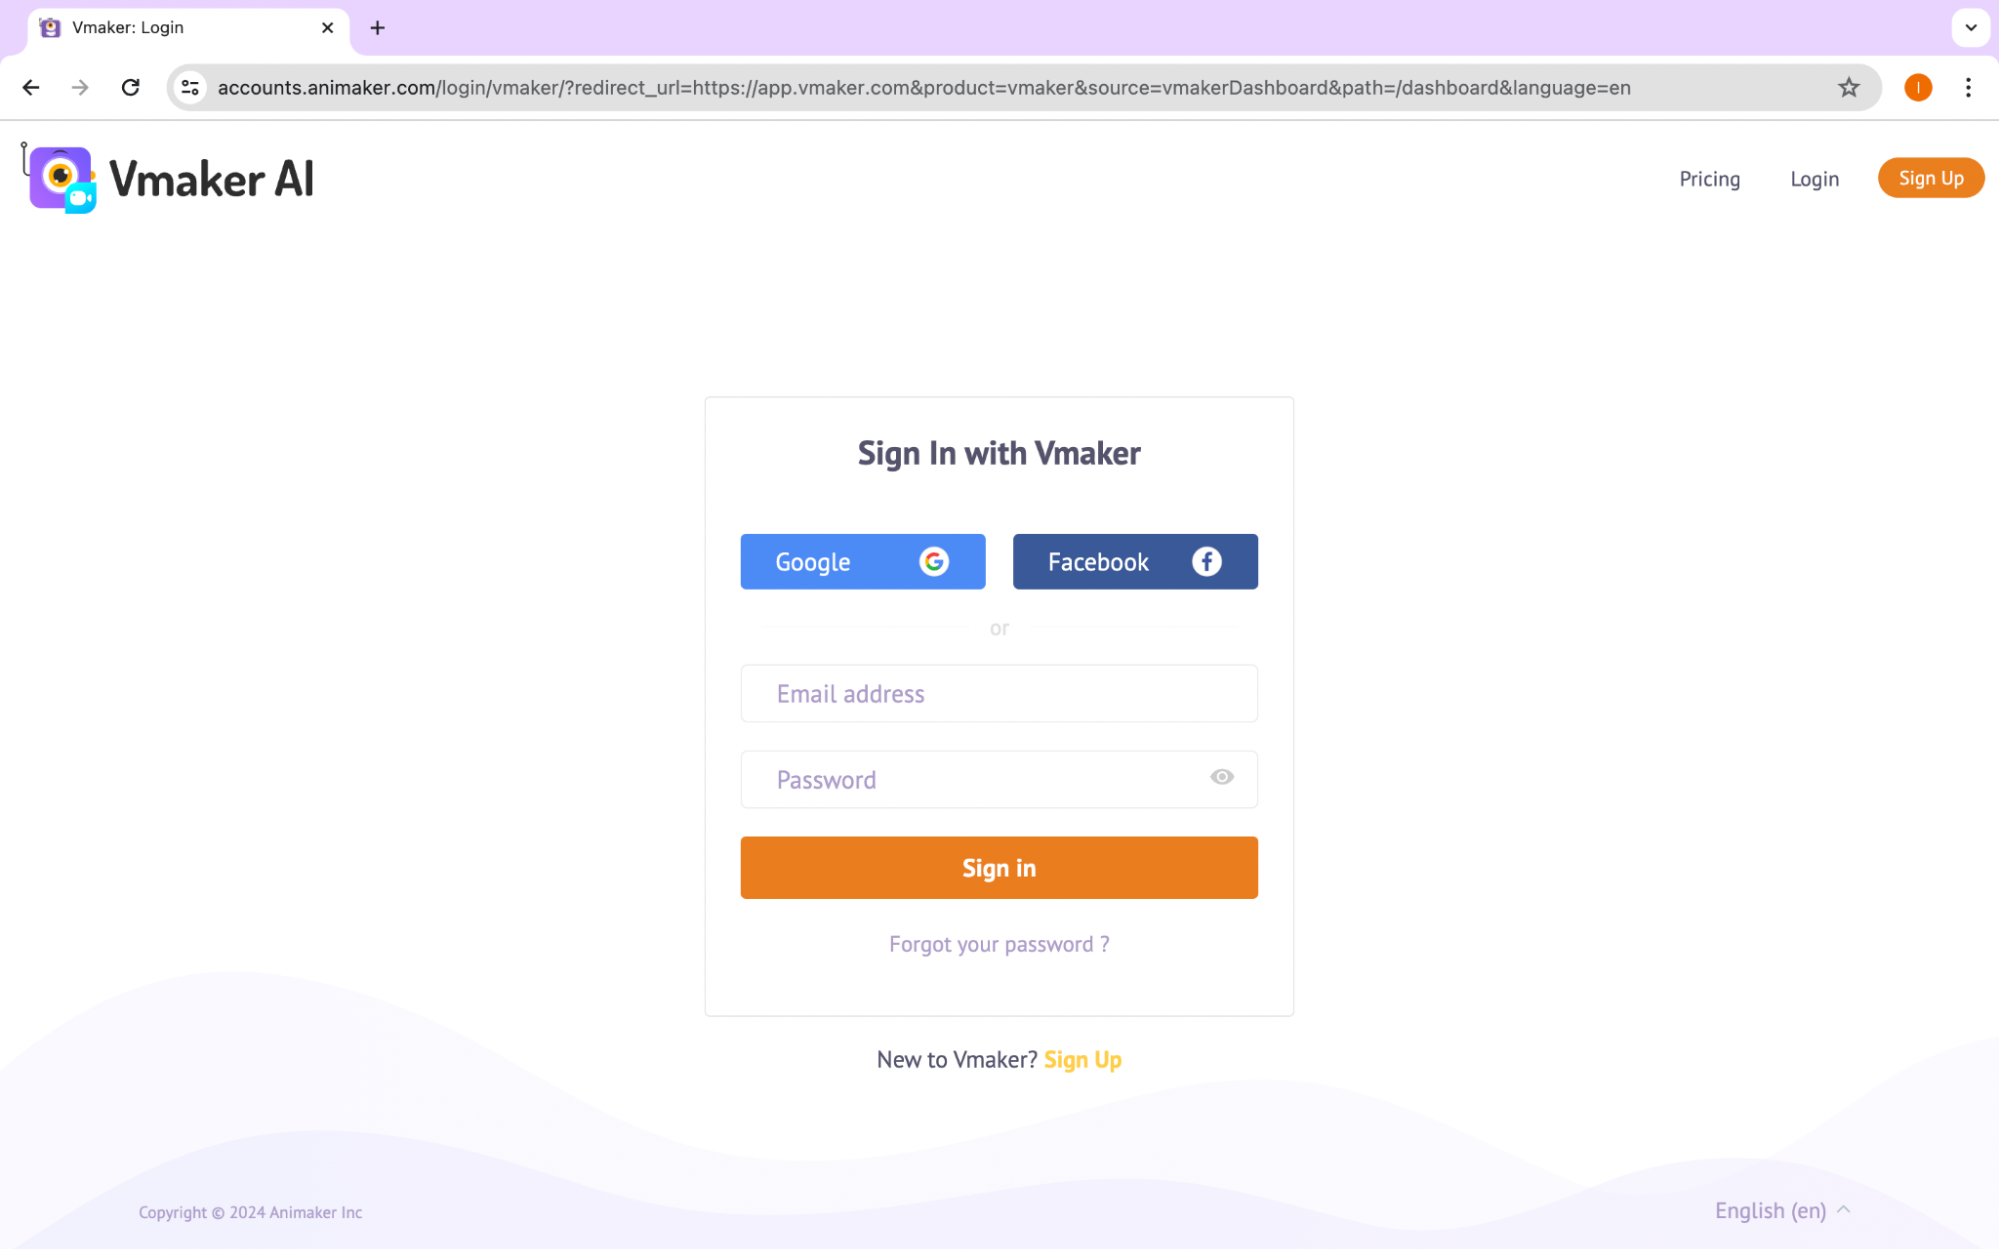
Follow the exact steps mentioned below and add subtitles to your videos. We will be showing the Free Vmaker AI Subtitle Generator here. If you don’t have an account, you can create one for free.
Step 1: Upload your video
Once you sign up, all you have to do is upload your screen recording to the Vmaker AI video editor.
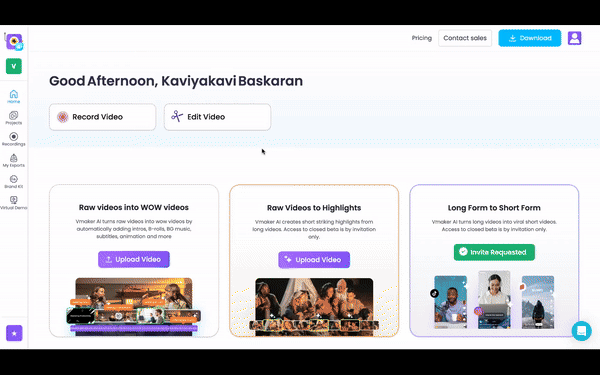
Once you sign up, you’ll be taken to the dashboard with an Edit Video option like this:
Once you click on the Edit Video button, you can either upload your screen recording video.
Pro tip: If you use Vmaker to record your screen, then your recordings will be available in the My Recordings folder.
Step 2: Generate subtitles for your screen recording
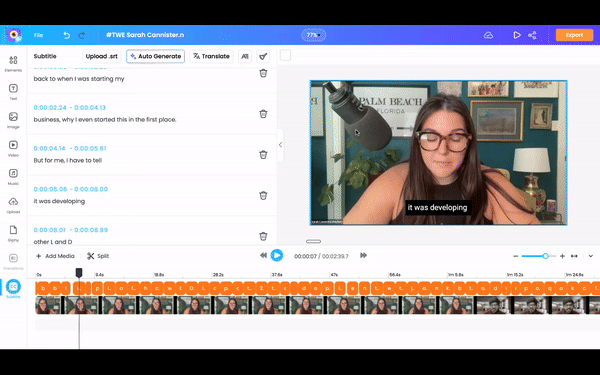
After uploading the screen recording video, you’ll be taken to the editing dashboard as shown below. Then, you have to click on the Subtitles button. The sidebar opens up to a menu with two options to generate Subtitles.
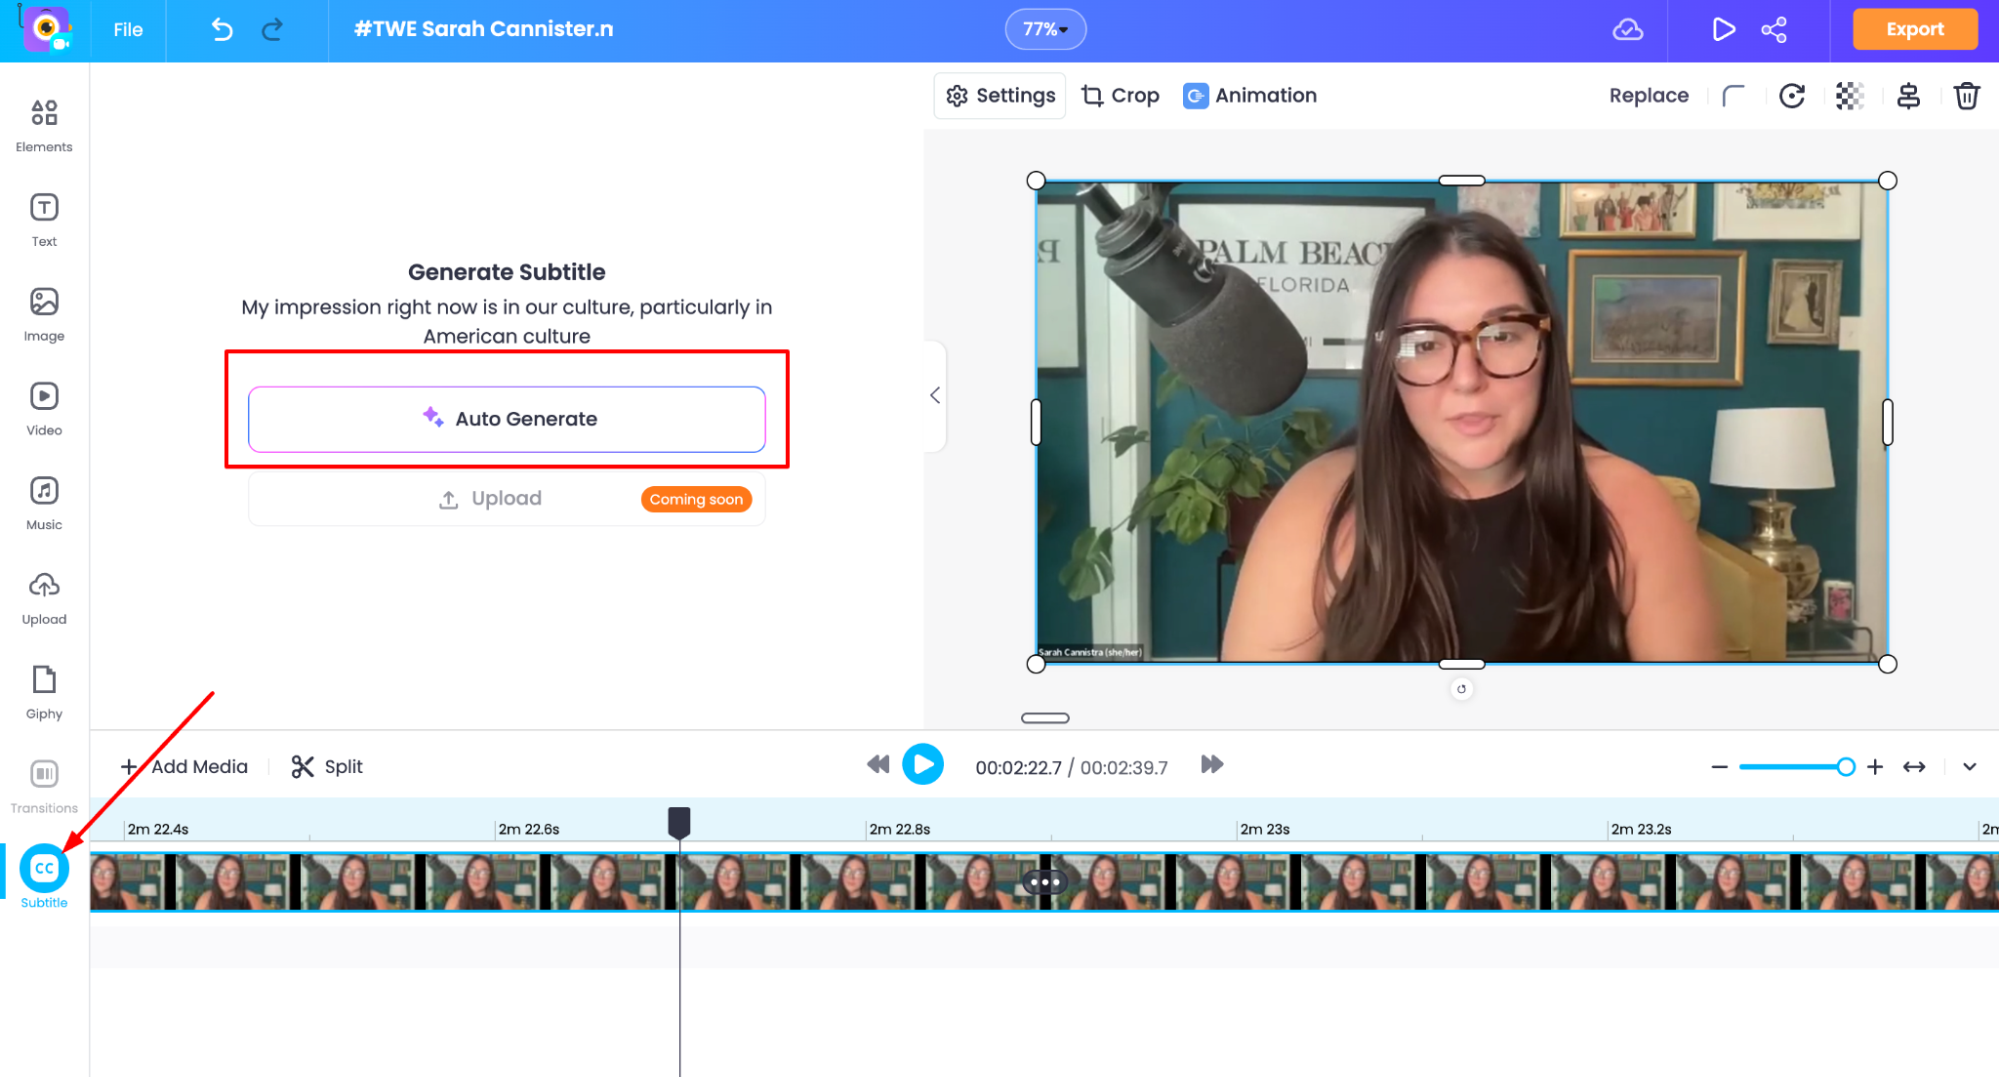
Now, you have to click on the Auto-generate options and wait for the Vmaker AI to generate subtitles for you in minutes.
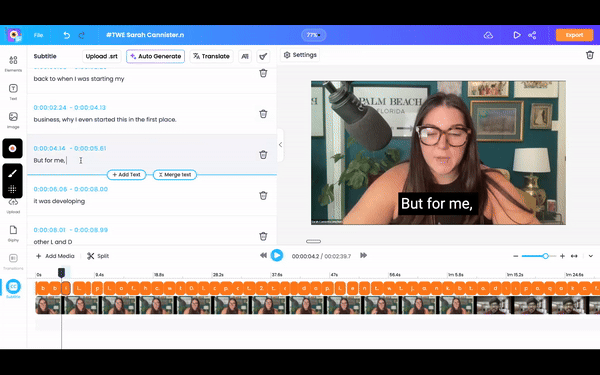
Step 3: Customize the subtitles
This is the part where you can customize the appearance of the subtitle on your video. You can change the font type, color, size, alignment, and character spacing too. We recommend spending some time here to find out the best combination that will work for your video.
As you can see in the screen recording above, once you click on the Edit Styles button, you’ll see three ways to customize the captions.
You can pick from the presets we’ve already designed for you. Once you click on the design you like, the text color, background, animation, and text effects change to fit your recording.
Secondly, you can customize the subtitle styles from scratch. This gives more room for customization.
Thirdly, you can pick any style from our hand-picked collection of viral styles from the top content creators around the world. We recommend you use the viral styles for any social media videos you’re creating.
And the best part? Every change you make to your subtitles is saved automatically. And if you want to tweak them, you can also use the Undo & Redo functions.
Step 4: Download
After you’re ready, download the video after pressing the “Export” button in the top right corner of the screen.
Step 5: BONUS!
The AI magic gets even better from here. Remember we talked about the global audience at the beginning? Their unfamiliarity with your language and how subtitles can help?
With the Vmaker AI subtitle generator, you can auto-translate the subtitle file in your audience’s language. It supports 100+ languages.
The Subtitles translator is almost here. Sign up today and be the first one to try out the Subtitles translation feature.
What about screen recording?
If you’re also looking for a screen recorder to make screen recordings, then we will be able to help you with that too. We understand that this market is filled with choices, and therefore, it’s not easy to make a decision.
Check out Vmaker. A cloud-based screen recorder for both Windows and macOS trusted by more than 500,000 users worldwide. You can use Vmaker for free to record 7-minute videos without any watermark.
It has advanced features like screen annotation, custom background, record screen with internal audio, and a lot more in the premium versions. If that got you interested, here’s a video to download the app and record your first video with Vmaker.
That’s all you need to know to create subtitles for your screen recording. Isn’t it simple and smart? As the next step, sign up for Animaker, and try this feature hands-on. In the free plan, you can create subtitles for videos up to 50 minutes. If it works for you, you can decide upgrading if you record many videos in a month.
Recommended Readings:
How to Screen Record and Edit Video on Windows
How to Screen Record and Voice Over on Windows
Ultimate Video Presentations Guide With Tips & Examples
How to Screen Record on Windows 10 with No Watermark